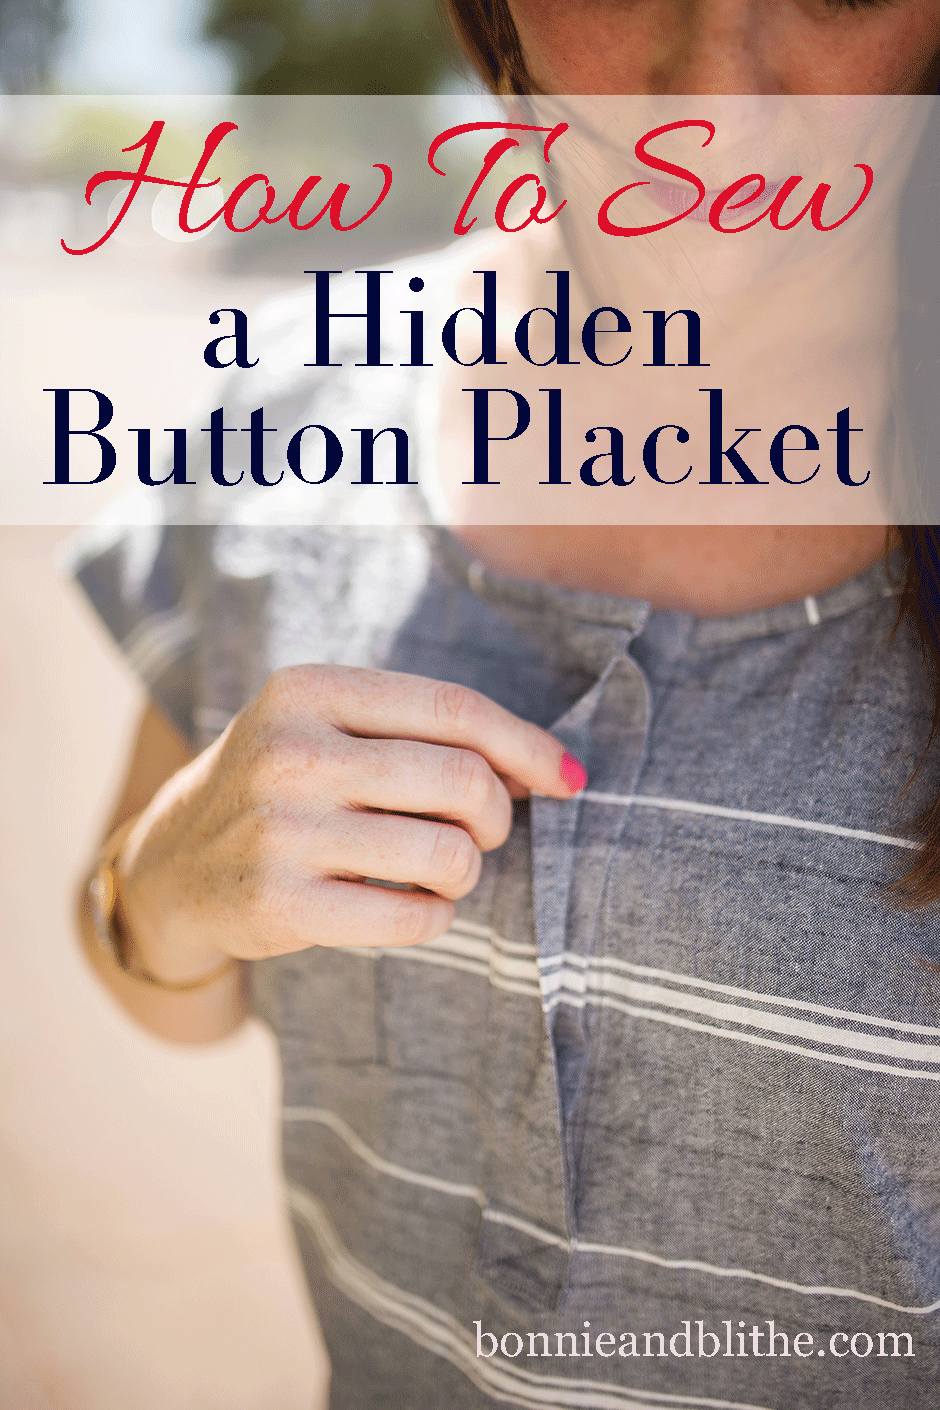
Ever wondered how to make a hidden button placket? Today’s your lucky day!
This video tutorial will take your placket making skills to the next level.
Hi guys! I promised this video back when I posted this dress DIY and now I’m delivering! I’m so excited to show you this technique because it’s WAY easier than it looks and it’s super fun to make a placket that looks so professional. The bonus? It hides wonky buttonhole goofs! At least it hides mine…I kind of assume everyone’s buttonholes look better than mine – ha!
Read the following tips before trying this yourself and then watch the video below. And let me know how it works out for you or if you have any questions!
NOTES:
1. The video shows how to do this for a placket opening on a women’s garment. If making something for a man or boy, reverse the placket so that the top placket is on the wearer’s left side instead of right.
2. You can obviously make your placket any length you want (the video shows an opening of about 8.5″). Just be sure to cut your placket pieces about 1″ longer than the opening you cut in your garment.
3. In the video, I show how to cut into your garment and leave a 1/2″ gap, but I neglected to mention that you need to center this gap! For example, if you’re making a button opening in the neckline of a dress, mark the center of the neckline and cut down into the garment 1/4″ away from each side of that mark. I hope that makes sense! (I just used a scrap of fabric as my “garment” in the video)
4. While you can add your buttonholes anytime after making the placket, I’ve found that it’s easiest to do so before stitching both plackets together at the bottom. I made a note in the video (around 3:40) of where to install buttonholes.
5. In the video I install the smaller placket from the right side of the garment but it’s probably easier to do so from the wrong side (and topstitch on the right side), like I do the larger placket! I guess I just like doing things the hard way.
6. If making this in the neckline of a top or dress, the neckline will need to be finished off with a bias binding.
That’s it! I hope this tutorial is helpful…let me know in the comments what other sewing tutorials you’d love to see videos for! You can watch my other sewing videos here!


9 Comments
Pauline Perry
December 3, 2017 at 5:11 pmThank you for your video on how to make a hidden button placket – very well done. I am curious to know what the grey and white mat is that you were using – I thought it must be a rotary cutting mat, but then I saw that you ironed the placket on that mat as well. Thank you for all of your tutorials.
Pauline
Bonnie
December 3, 2017 at 7:33 pmThanks Pauline! So glad you liked it. Yes, it is a cutting mat; I probably shouldn’t iron on it but it was on low heat and it was easier than moving my camera to the ironing board 😉
Liane Fleury
January 20, 2018 at 8:22 pmThank you so much for this video tutorial. I’ve been trying to find a video on doing a placket and this is the first one that I can truly understand. One question: what would I do different if I didn’t want a hidden placket, but a normal one? Thank you in advance.
Liane
Bonnie
January 22, 2018 at 9:28 amHi Liane, glad it’s helpful! So for a regular placket, you just make both sides of the opening like the second side shown in the video. Hope that makes sense! There are lots of other ways too but this is pretty simple.
D.I.Y White Cotton Shirtdress – NICHELLE B. BLOG
July 31, 2018 at 6:02 am[…] here if you want to see the video tutorial I followed to do the hidden placket. It was a quick and easy […]
rachael
January 30, 2019 at 10:23 amso quick and so helpful, thank you!!
Bonnie
January 31, 2019 at 2:44 pmYou’re so welcome!
Abigail
July 25, 2021 at 1:26 pmSew excited to find your page! Mom of 3 kids (5 and under), wedding gown seamstress, second born or 12 kids, and sewing hobbyist. Thank you for the tutorial and pictures. It’s inspirational. Maybe making professional looking clothes doesn’t have to take a few days worth of my “free time.” Thank you busy Momma for the hope and joy you share!
Bonnie
August 13, 2021 at 6:18 pmSo glad to hear, Abigail! Thanks for taking the time to comment.