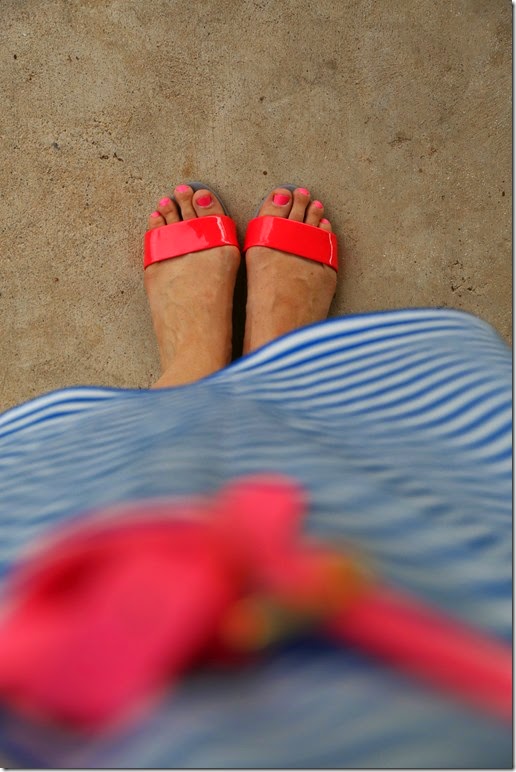
After a long, blissful summer of traveling to wonderful (much, much cooler) places, the whole fam is home now, back together, with a fresh new (home)school year ahead of us. We dragged everyone to Walmart tonight for back-to-school supplies where I‘m allowed, nay, expected to spend oodles of money on fresh notebooks, crayons and packs of markers. What could be better than that??!
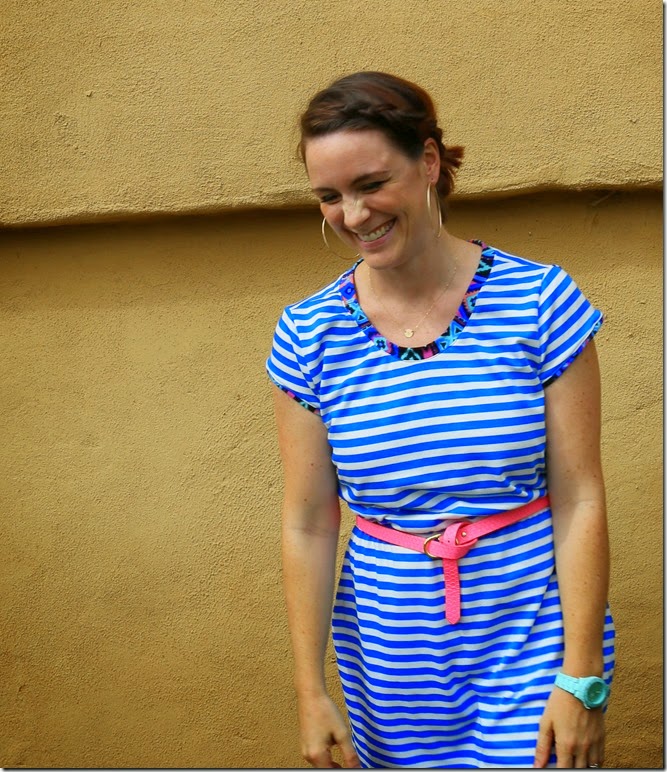
I plan to share some glimpses into homeschooling life this year since I know many people are curious how our every day schedule works (or doesn’t…) plus some upcoming pics of our last adult-only trip to Hawaii – but for now, a super simple T-shirt dress to keep you cool for whatever summer still has to throw at you.
First off: fabric. Good quality knits are tough to come by, especially for a decent price. My all time favorite online source is Girl Charlee. Great little fabric company with amazing prices. Get on their email list and keep an eye out for their bargain lot sales. You get a big surprise package full of knit remnants for next to nothing.
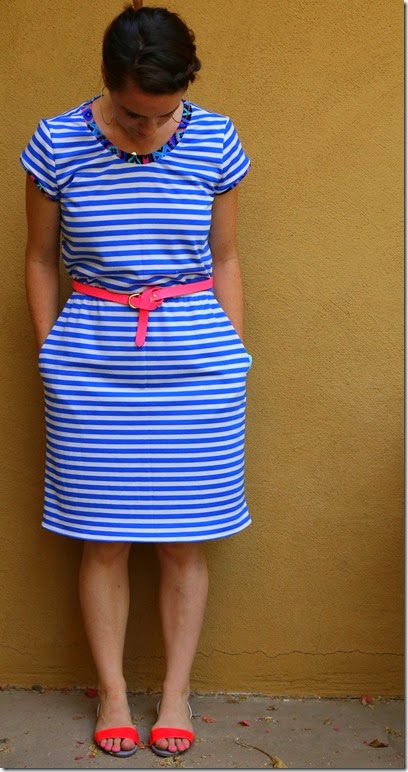
I was holding on to this striped knit (AGH…I canNOT stop with the stripes! My closet it full of them) for the perfect simple dress and finally decided to pull out an old pattern. I used McCall’s M6747 but only because I had it…this thing is equally easy to recreate by just tracing any loose-fitting T-shirt you own. If you’ve never done that before, start with this awesome tutorial from Dana at Made. And if you’ve already got a knit dress you love, that’s even easier! Make sure you add in enough fabric for whatever type hem you want on the bottom edge when cutting! Just serge (or zigzag) the bottom raw edge, turn it under and topstitch (if yours is loose like mine, you won’t need a stretch stitch).
I added an elastic waistband to give it more shape but I usually wear it with a belt anyway. Just mark where you want the waistline and, while stretching the elastic, zigzag it directly to the inside of your dress.
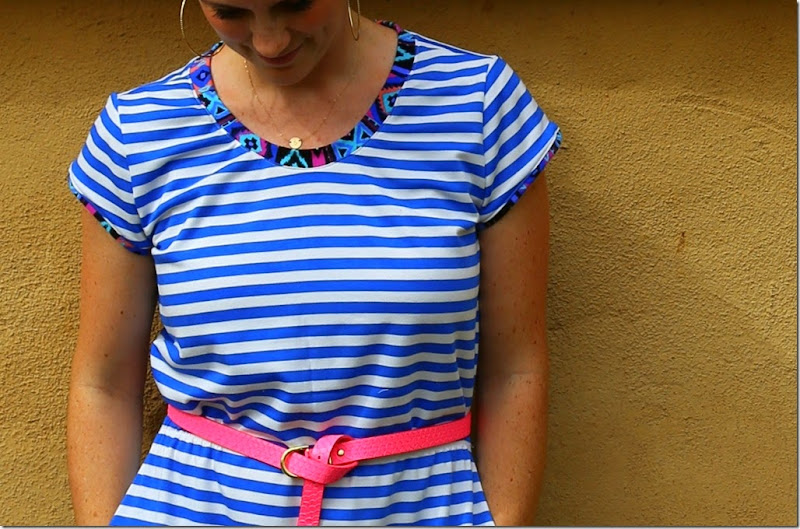
My very favorite part is the contrasting neckline and sleeve trim. I cut up the fabric (from an old cheap skirt that never fit right) into strips . Cut the neck trim just a couple inches smaller than your neckline so that it lays flat. Then fold all 3 pieces of trim in half lengthwise and sew the raw edges to the neckline (and sleeves) of your dress. Then press the seam allowance toward the dress and topstitch (using a stretch stitch on a regular machine).
Yes, you are welcome for this glorious shot of my bum. And our dead grass.
I followed my pattern and made the back out of two pieces serged together but you could just make the back out of one piece too.
Lastly, this baby’s got pockets. Because, let’s be honest…right after finding a cute dress or skirt that fits and isn’t $800, we check for pockets. Instant bonus. I followed this super easy in-seam pocket tutorial from Craftiness Is Not Optional. Bam, done.
This has been my absolutely favoritest go-to summer dress for the last month so thanks for letting me share. Knits can be scary the first couple times you sew with them but they are so worth it. If you’re a knit newbie, check out another great post from Made about sewing with knits.


No Comments