

Today’s tutorial is about the easiest beginner sewing project possible! This step-by-step DIY will show you (or your kids) how to make a super easy but professional-looking simple tote bag for all their treasures. Read on for a great way to help kids learn an easy project for beginners.
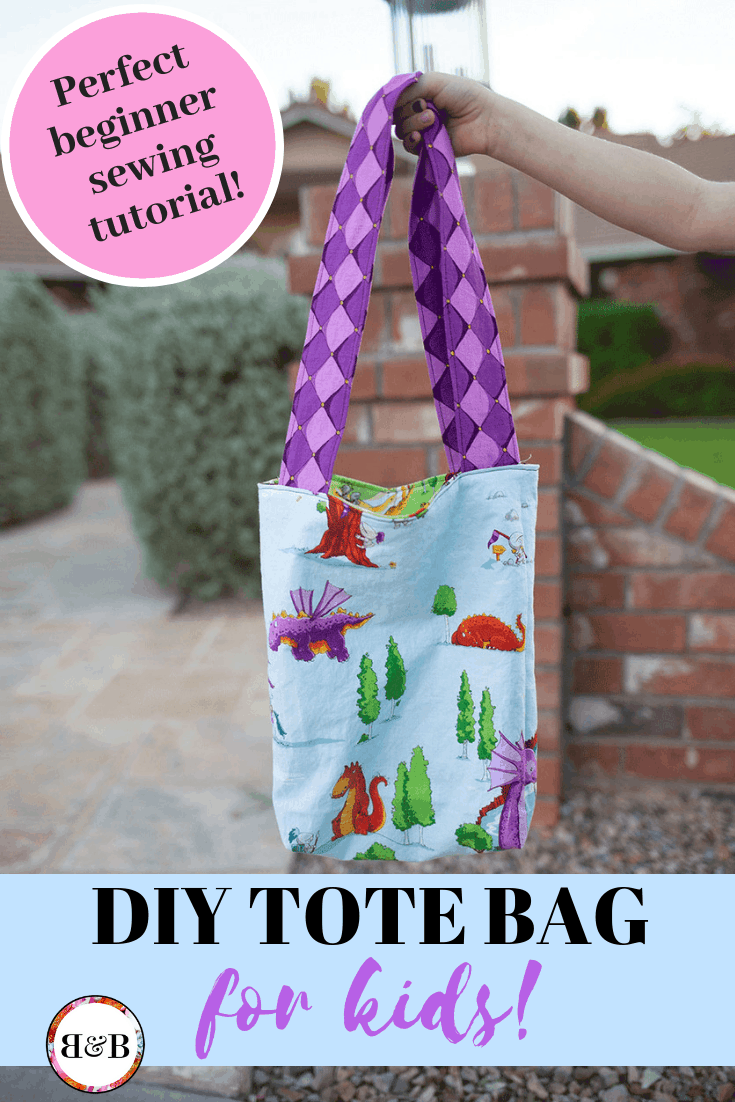
Today’s super cute kids’ tote bag is about the easiest sewing project ever and this cute dragon fabric would make the best Christmas gift for any little one! You really only need to know how to sew a straight line and press really well to make a professional-looking bag with these step-by-step instructions. It’s even easy enough for little ones to make their own tote bag (with adult supervision, of course).
Vivian has been dying for a tote bag to haul her stuff around in and she was just tickled pink with this cute fabric. This whole dragon collection is available from Riley Blake fabrics and I just love it. So adorable! This basic bag tutorial can be compeltely transformed depending on your fabric choices. I love creating these bags with excess fabric scraps, fun cottons that I have sitting around in my stash and even different fabrics that I salvage from the thrift store- an old pair of jeans would be great to use, complete with pockets already sewn on!
Once you’ve made a bag using these dimensions, I encourage you play around with different sizes. You could make a giant one for kids to use as a bag for a sleepover or even a tiny one so that your little girl can have a matching tote bag for her doll! They also make fantastic gift bags since you could fill them with any sort of knick knacks and be the best gift giver on the block. Or gift one to your friends for a reusable grocery bag. The gift options are truly unlimited!
Supplies
• Sturdy cotton fabric (I used quilting cotton here but canvas would also work great). You’ll need 1.25 yards if you use the same fabric for lining, outside fabric and straps. If you want different fabric for each part of the bag, you’ll need about 1/2 yard for each lining and outer fabric piece and 3/4 yard for the straps.
• Coordinating thread
• Sewing machine
Instructions
The first step is cutting out all our fabric. Cut 4 pieces of main bag fabric measuring 12″ wide x 14″ long (2 main fabric pieces and 2 lining pieces). Also cut 2 strap pieces measuring 5″ x 25″ long.
NOTE: if you’d like to include an interior pocket in your bag, do this before any of the steps below. Simply cut out a rectangle piece of fabric measuring however large you want your pocket piece to be. Then fold under the raw edges on all 4 sides and topstitch the top of the pocket to keep that fold in place. Then stitch the other 3 sides of the pocket to the inside of the lining where desired before continuing below.
Next, sew your outer bag pieces, wrong sides out, along 3 sides (2 long edges for either side seam and one short side for the bottom seam), right sides together to create two separate bags (outside of bag and lining). Next, fold each strap piece in half lengthwise (like a hotdog) and sew along the raw edges. I generally use a 3/4 or 5/8 inch seam allowance for this project. It’s really up to your preference.
NOTE: If you choose, you can eliminate the lining step of the bag and simply sew the side seams using the french seam technique to make the inside look nice and polished. There are lots of great tutorials for this on Youtube if you’ve never done it before.
Turn the straps right side out and press well. Top stitch along both long sides, about 1/8″ from the edges.
Next, we’re going to box the bottom corners of the inside of the bag. Take the main fabric of your bag (whatever fabric you chose for the outer piece that people will see) and pull out the sides so that the bottom and side stitching lines are on top of each other and the corner becomes a triangle (see above). Then measure in 1.5″ from the corner and sew a straight stitch across the bottom of the bag, perpendicular to the line of stitching.
Repeat with the other corner of bag and both corners of lining. Press all seams well. now the bottom edge creates a box-like structure that helps your bag sit up when it’s filled with treasures!
With main fabric inside out and lining right side out, insert lining into main fabric and line up raw edges. Insert one strap into bag (ensuring strap is not twisted) between main fabric and lining, and pin to main fabric, keeping raw edges even (I placed mine about 1″ from the side seams). Baste in place. Repeat with second strap.
Stitch lining and main fabric together, all the way around the top of the bag (be sure to back stitch a few times across straps) leaving a 2-3″ opening in seam.
Turn bag right side out through this hole, push lining fabric into bag and press opening of bag well. Stitch around the top edge of the bag (about 1/8″ from top), folding in the edges of this hole that you just pulled the bag through.
And that’s it! I hope you loved this free tote bag sewing pattern. Now you’ve got a super cute, kid-sized finished bag that’s easy enough to whip up in just about an hour. In fact you can even have your kid help make this easy sewing project for beginners next time!
2 Comments
Easy Dragon Tote Tutorial – Riley Blake Designs
November 14, 2018 at 2:47 pm[…] stop on the Dragons Project Tour takes us to BONNIE & BLITHE, where Bonnie is sharing a tutorial for this adorable little tote made with fabrics from Ben […]
25 DIY Tote Bags That's Super Simple - Susie Harris
January 27, 2023 at 7:19 pm[…] This diy tote bag that you see here is made especially for the kids and they will surely love this. This is probably the easiest beginner sewing project that you will ever come across. You will need sturdy cotton fabric, coordinating thread and sewing machine. Tutorial […]