

Hate buttonholes? Try installing a zipper in the Infinite A-line dress instead!

Let’s face it: even veteran sewists find themselves with tasks they dread and buttonholes are often at the top of the list! I’m much happier now that I have a machine that does automatic buttonholes, but no machine is perfect and I still find myself crossing my fingers before making them. 🙂
When I made Kira’s Dia de los Muertos dress, I knew we needed to try inserting a zipper into the Infinite A-line bodice. If you’ve never added a zipper to a fully lined bodice, you’re in for a treat! The finished product is so nice and pretty that you’ll wanna give yourself a pat on the back…and brag to anyone who will listen!
It’s really not as difficult as it looks and takes WAY less time than hand sewing a whole bunch of buttons and swearing your way through buttonholes. Ready?!
First off, you’ll need to purchase a zipper. I used a 14″ zipper here and ended up cutting off a portion of it. To double check that this length will work on your dress, measure from the back neckline down through the empire waist seam and into the skirt a few inches. You can also use a zipper with the basic A-line silhouette, you just won’t have a bodice seam in the way. In that case, I’d pick a zipper that extends past your little one’s waist by a couple inches.
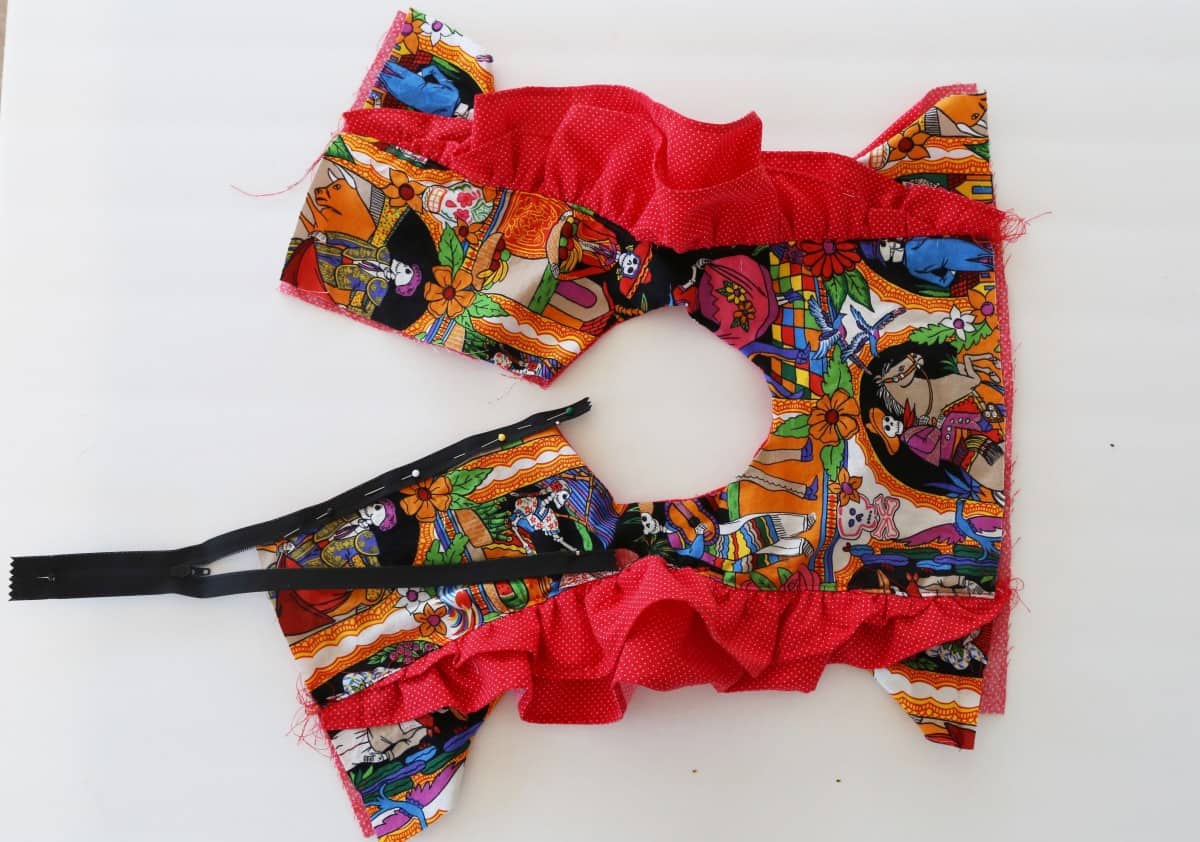
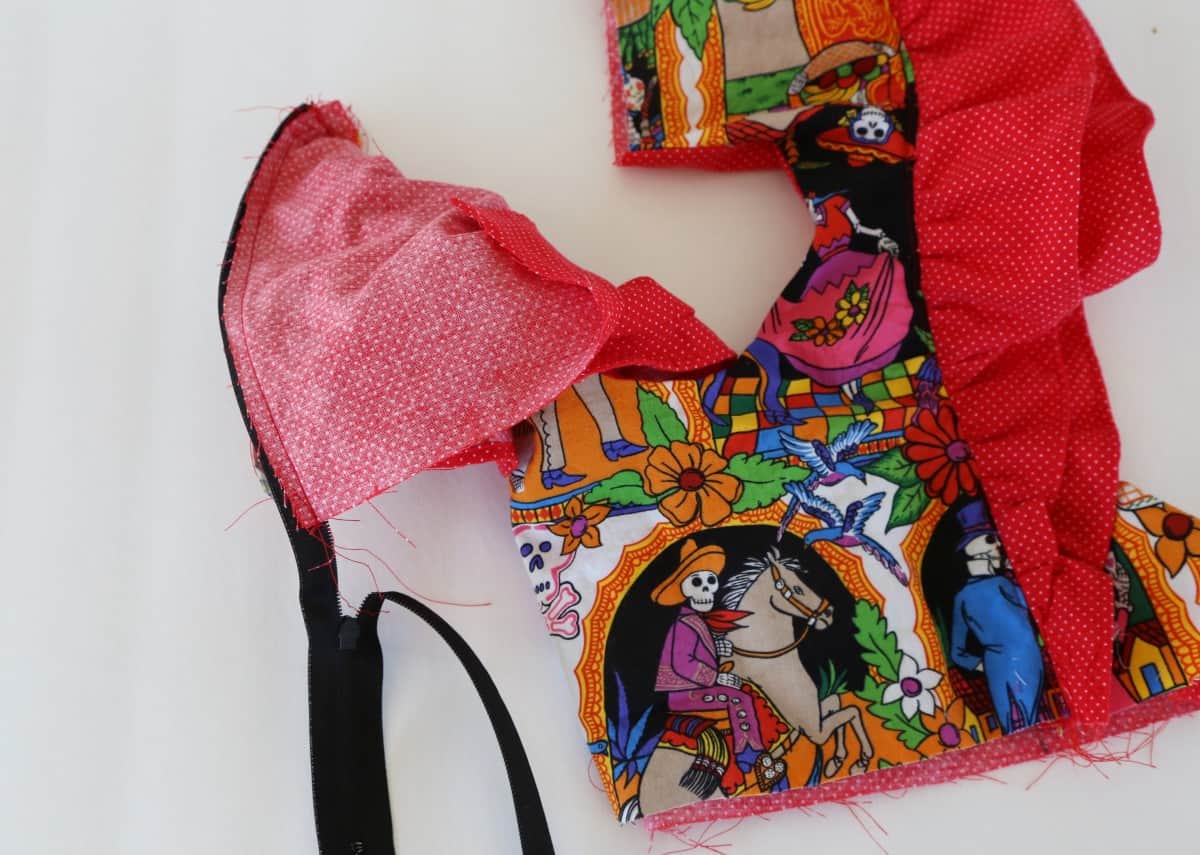
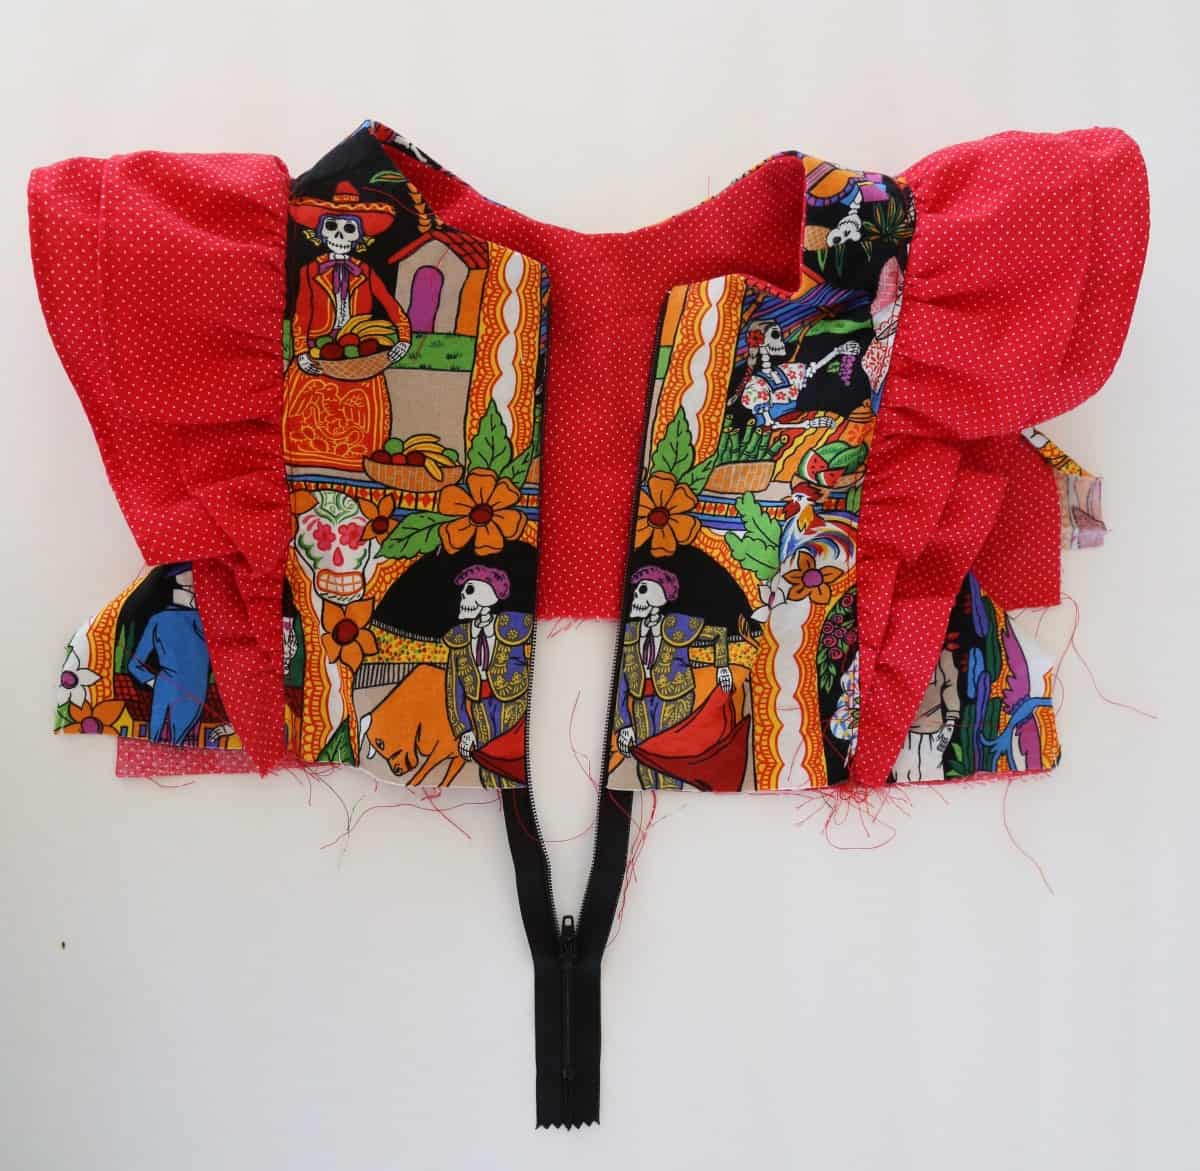
You’ll need to have sewn your dress through attaching the bodice and lining at the neck and the bodice roll technique (if making the sleeveless or sleeve ruffle versions). Lay your bodice flat, right sides up (as shown above) and pin the right zipper tape to the right side of the bodice back.
You will pin the tape and fabric right sides together, with raw edges of fabric and tape even. Pin ONLY through the bodice main fabric (not through the lining). Pin the zipper so that the top stop (that little metal piece above the teeth) is just below the neck seam.

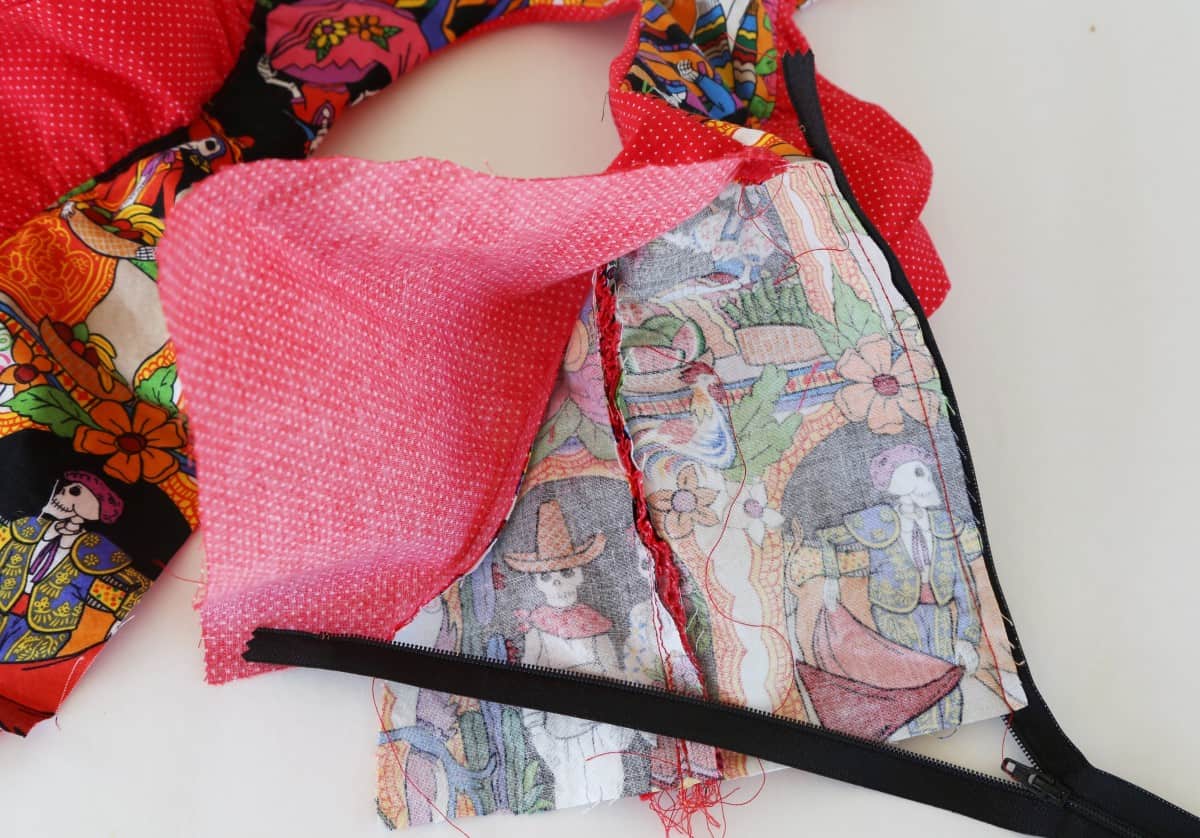
This is another view, with the bodice opened up so you can see how the lining is left loose.
Using a zipper foot, stitch through this single layer of fabric and zipper tape, as close to zipper teeth as possible. When you turn over and open up the bodice, it should look like the picture above…
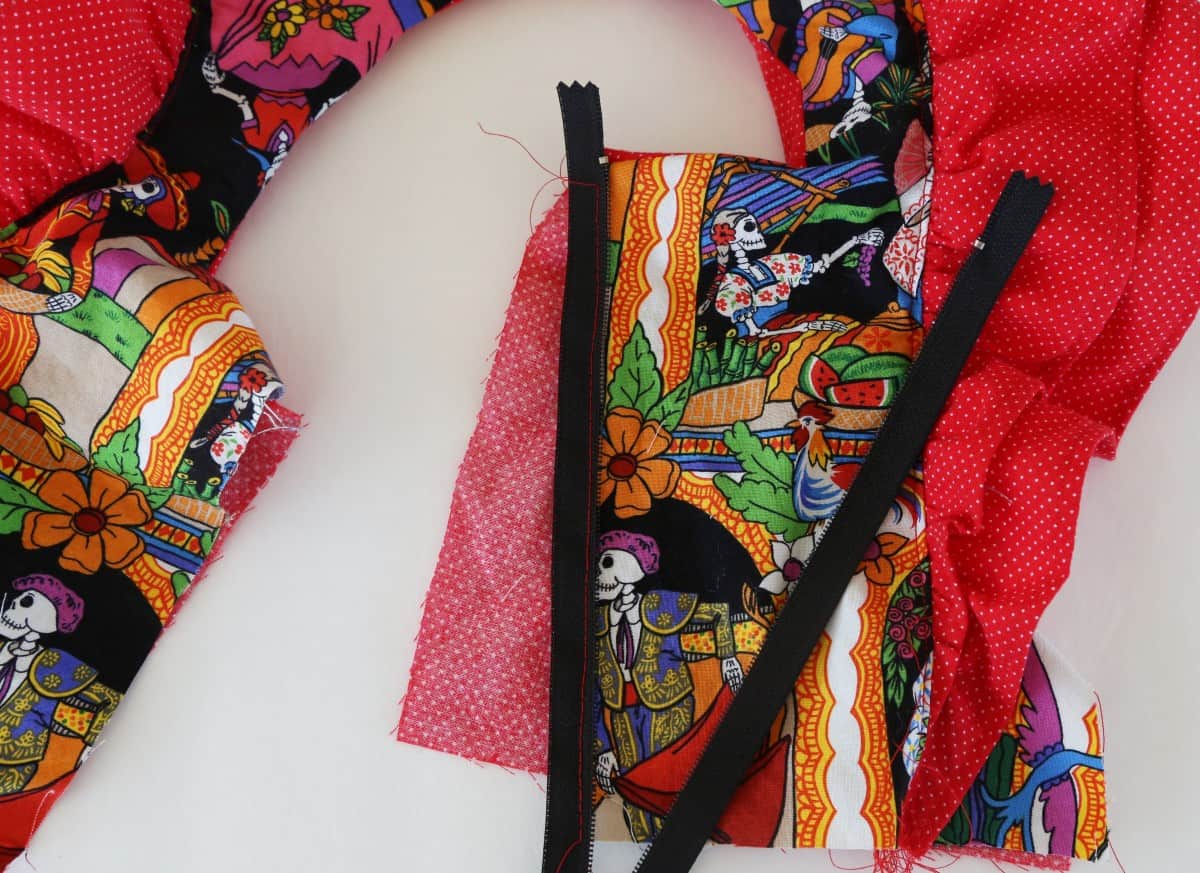
…and it will look like this picture on the outside. At this point, only one zipper tape is attached on one side and the lining is still unattached. (And yes, it does look like the zipper teeth are facing the wrong way…but after the lining is attached and it’s all pressed, it will all work out, I promise!)
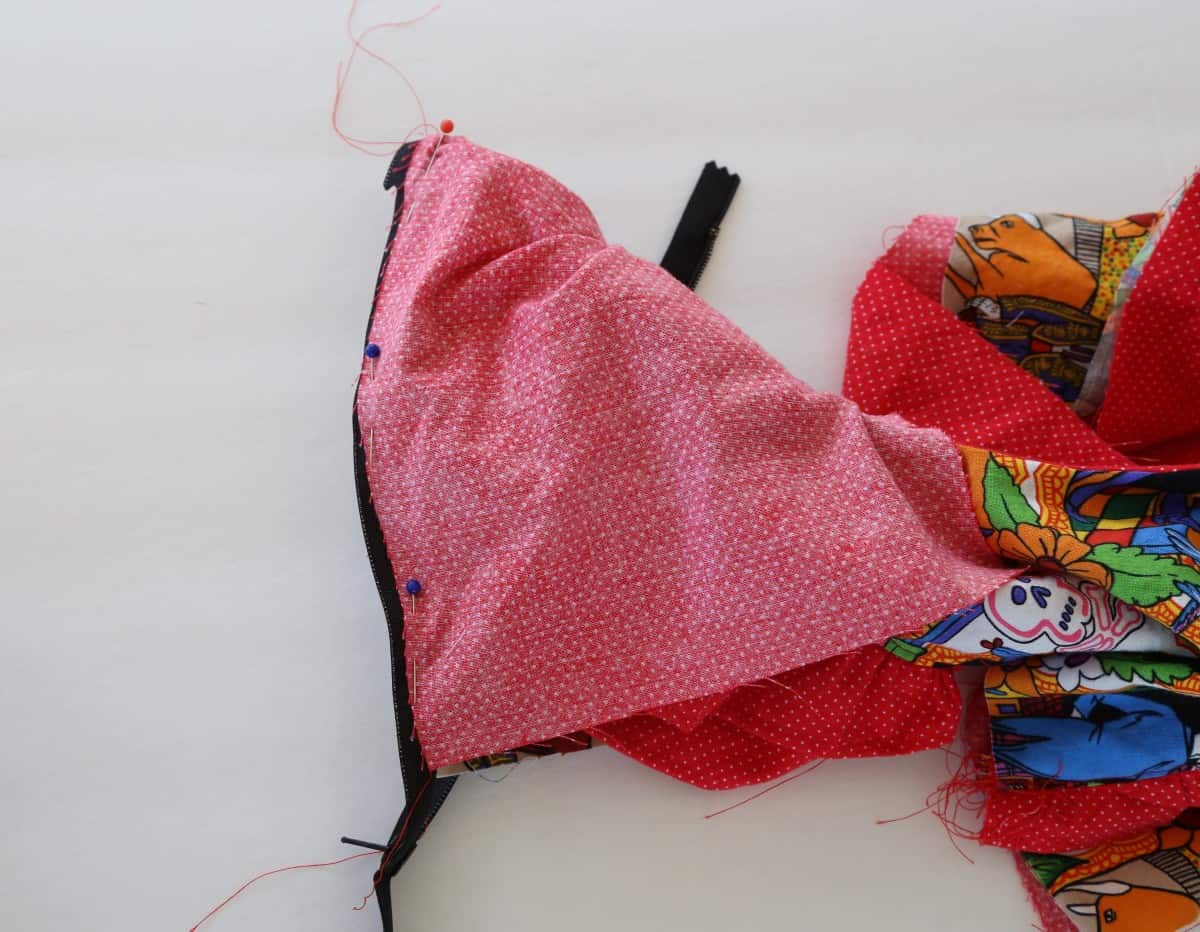
Now, flip the lining over so that it and the bodice back are right sides together. The teeth of the zipper tape you just sewed will be hidden; pin the lining to the zipper tape and bodice back, raw edges aligned. Stitch with zipper foot pressed up against teeth (you’ll have to go by feel since the teeth are now under the lining).
Now your right zipper tape will be completely enclosed within the right side of the bodice back and lining, as shown in picture above. Pull the zipper out so that the bodice turns itself right side out and press well. Repeat all steps with the left side of zipper tape and left side of bodice back.
If you’d only like the zipper to go through the bodice and not into the skirt, you can hand-stitch across the zipper teeth where you’d like it to end and cut off the excess. Then sew your side seams, attach your skirt as usual and you’re done!
If you’d like the zipper to extend into your skirt as I’ve done (this makes getting the dress on and off a little easier and extends the life of the dress since my girls can wear it even after they’ve grown a bit), then continue as follows:
1. Unpick about 3/8″ from the bottom of the seams you just sewed (those attaching the bodice back and lining to zipper) to give you a seam allowance to attach the skirt.
2. Now sew your side seams as the pattern instructions detail.
3. Cut a 3-4″ slit down the center back of your skirt, to match up with the bodice zipper placement.
4. Attach skirt to bodice per pattern instructions, beginning and ending at the zipper.
5. Stitch the raw edges of the skirt slit you cut in step 3 to the zipper tape, raw edges even, using a zipper foot, one side at a time. Be sure to take the seam allowance created when you attached your skirt to bodice and fold it up along the zipper tape and stitch that to the zipper as well.
DONE! It sounds like a lot of steps but it’s surprisingly easy! Give it a whirl and be sure to comment or email me if you run into problems. Have fun!

2 Comments
Martha
March 4, 2020 at 10:51 amI thought this was a great idea until I realized that the zipper teeth will show. I don’t want that. WAs hoping for something more like aninvisible zipper.
Bonnie
March 16, 2020 at 3:19 pmYou can absolutely use an invisible zipper here instead of a traditional zipper. Works either way!