

This shop has been compensated by Collective Bias, Inc. and its advertiser.
All opinions are mine alone.
#ShareTheHoliday #CollectiveBias
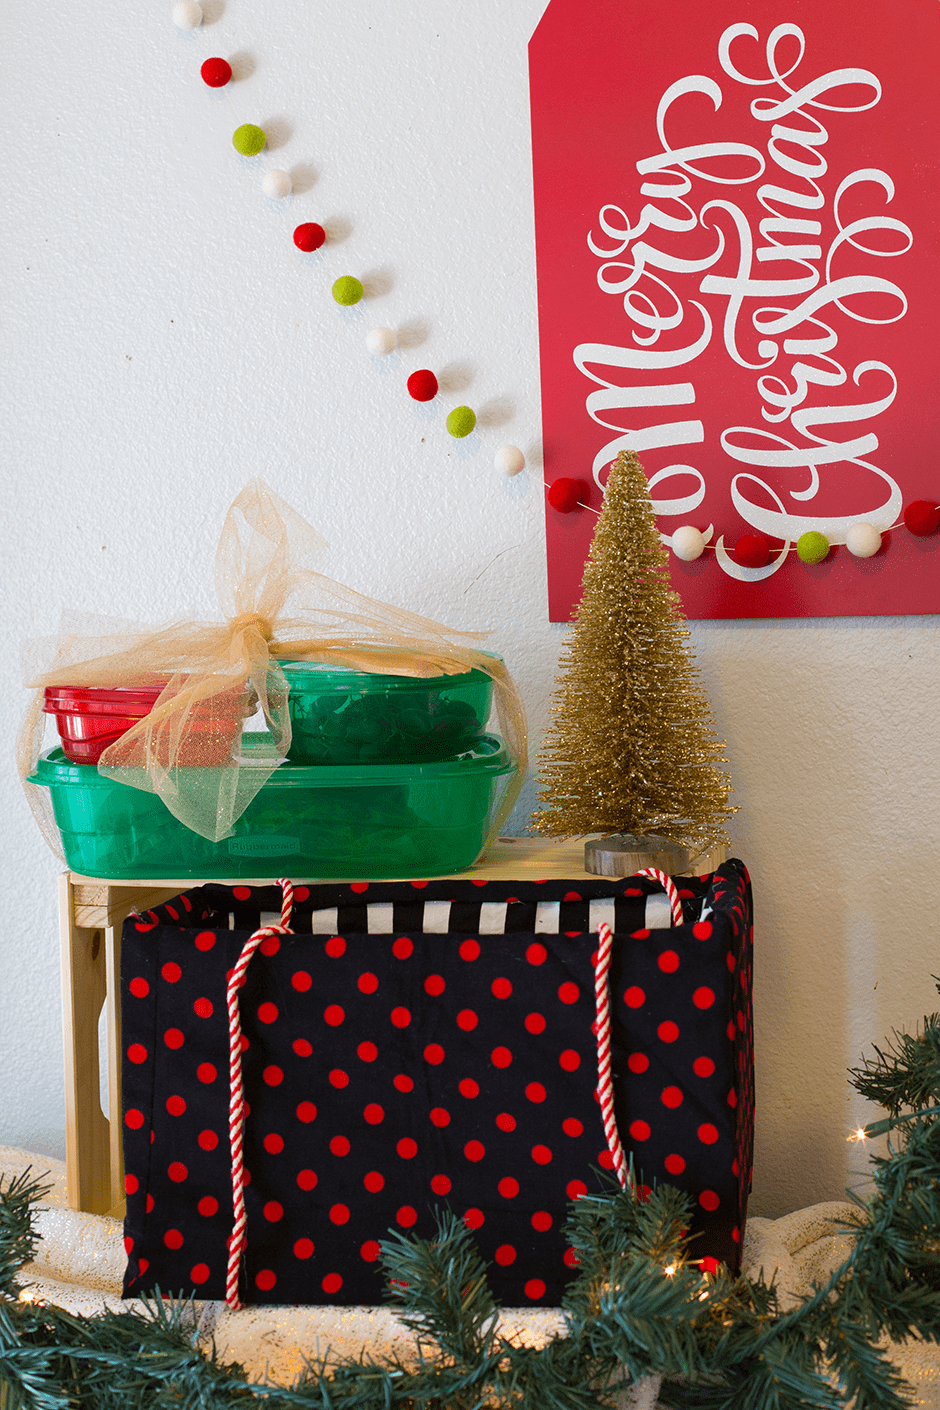
Make delivering treats and meals to neighbors easy this holiday season with Rubbermaid TakeAlongs and a simple tote tutorial!
Undoubtedly, my favorite part of the holiday season is the food. Mmm, the foooood! Thanksgiving feasts and cookie exchanges and Christmas parties and treats from neighbors…it’s all just such a glorious season for celebrating with delicious things.
While the cabinet where I keep my plastic food storage containers is always a big fat mess, I find myself running out of containers more and more at this time of year. Whether it’s delivering treats to friends and family or storing leftovers from all our parties and big dinners, I never seem to have enough containers to store food (to say nothing of matching lids…where do those things GO?!).
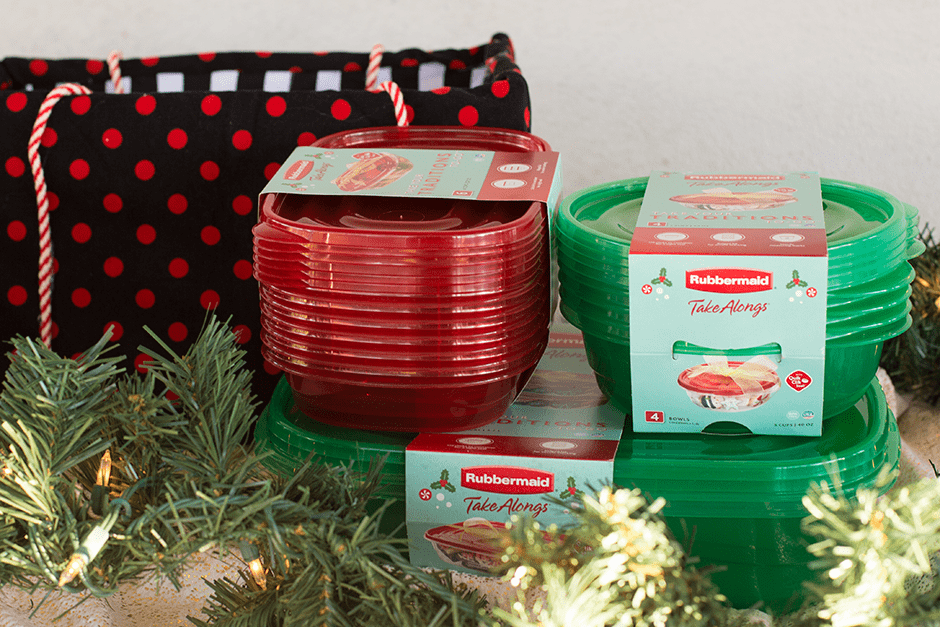
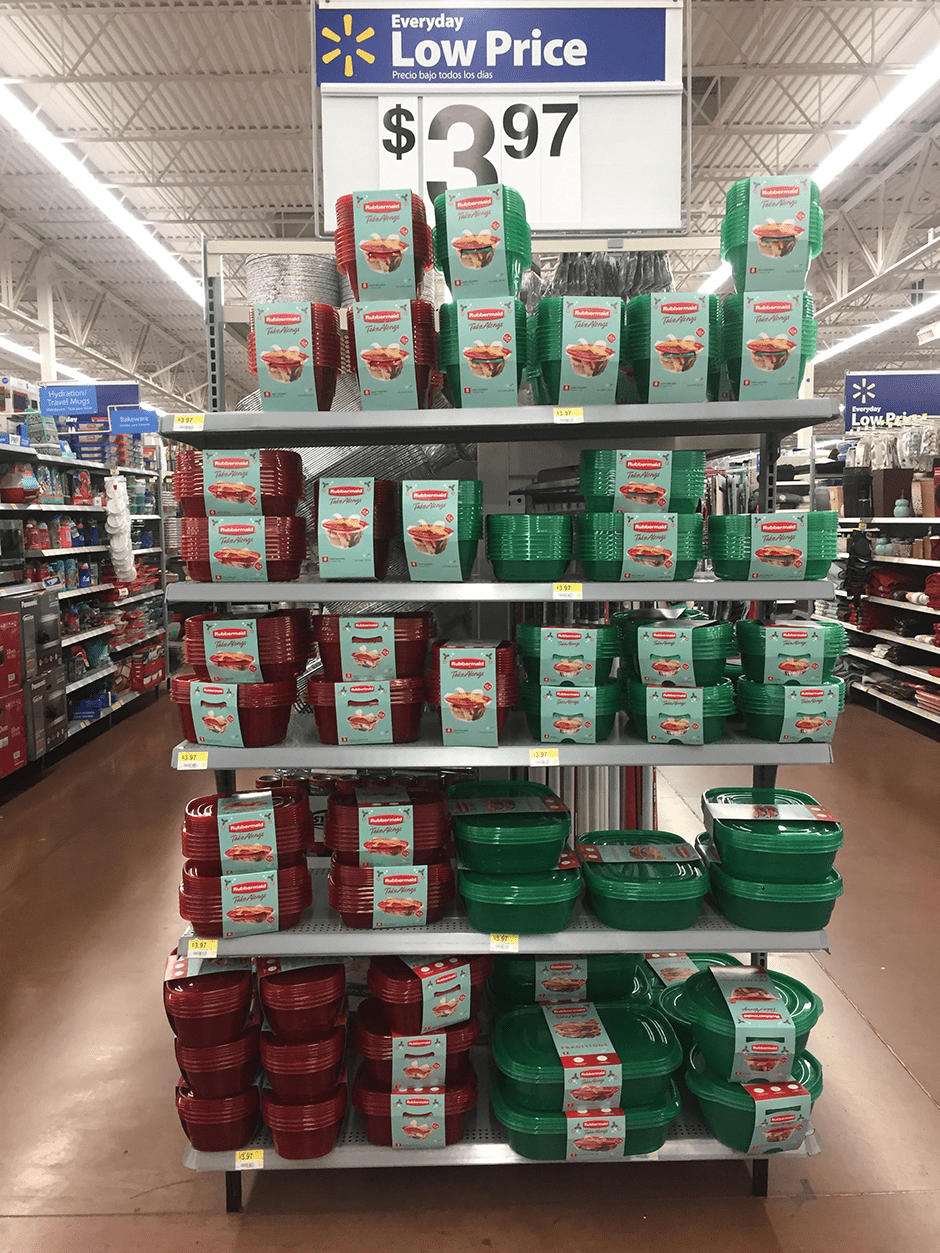
I love these Rubbermaid TakeAlongs from Walmart because they’re available in festive red, green and holiday prints (from now until December 24th!), are available in tons of sizes and they’re affordable enough to give away! They’re super easy to open and close securely, and they can safely go in the freezer, microwave and dishwasher. (You can find them on an end cap in the housewares department.)
I recently found myself wishing I had the perfect tote to carry several food storage containers so that I could more easily deliver dinners and treats to friends. So today I’ve got a tutorial for a quick and easy solution! This tote is the perfect size for the biggest of the Rubbermaid containers (as well as perfect for hauling a 9″x13″ casserole pan) and deep enough to stack several on top of each other. There’s room for an entire dinner for a friend (with room for entree, side salad and dessert) or just use it for delivering several containers of cookies!
Click Read more for the tutorial…
What you’ll need:
1 yard exterior fabric (I used a corduroy)
1 yard lining fabric (I used a quilting cotton)
2.5 yards twill tape, rope or ribbon for a handle
Heavyweight fusible interfacing or cardboard (cereal boxes work great!)
Hot glue gun and glue or 2 yards velcro
Finished tote measurements: 15″W x 9.5″D x 9″H
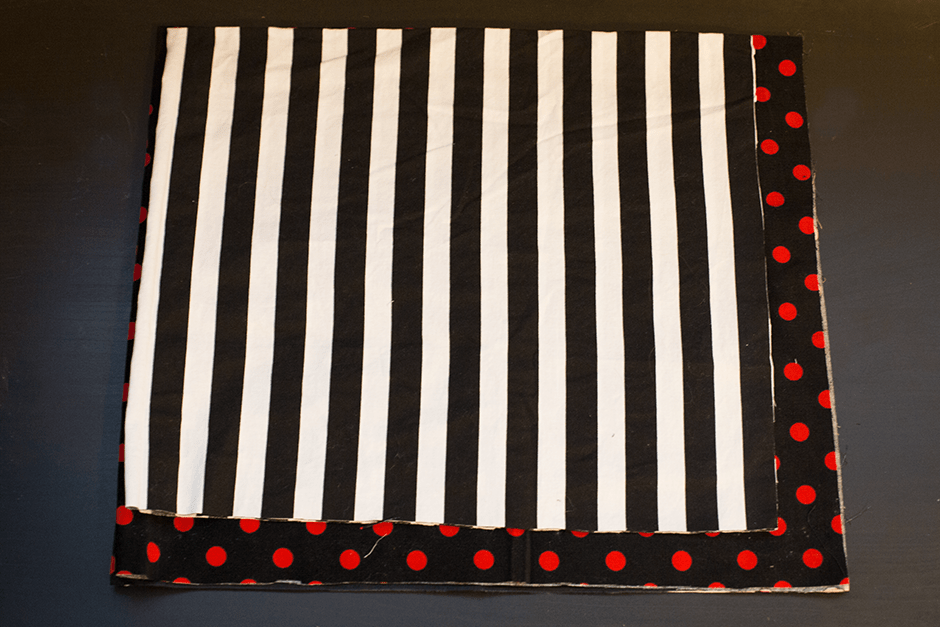
1. Cut your exterior tote fabric to measure about 32″ x 37″ and your lining fabric to measure 32″ x 28.5″. The image below shows my two fabrics folded into fourths and stacked on top of each other.
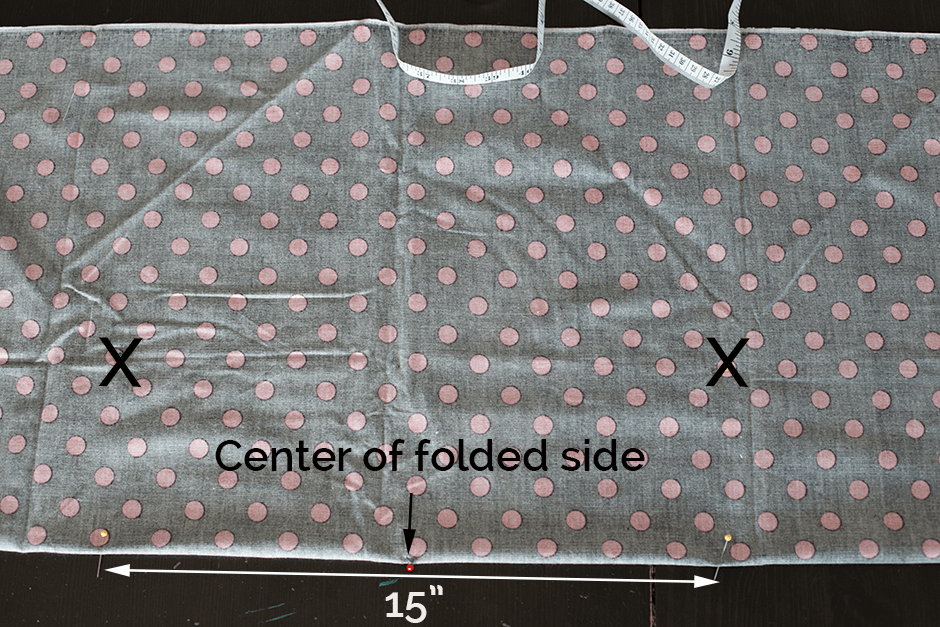
2. Take your exterior fabric and fold it in half lengthwise (that is, along the 37″ side). Locate the center of the folded edge (i.e. 18.5″ from edge) and mark it with a pin. Measure out 7.5″ from this pin on either side and mark both those spots with pins as well. Measure into the fabric 4.75″ and mark both of those with an X using washable fabric pen or chalk. Stick a pin in these X’s and flip the fabric over; mark the same spots on the other side with X’s. (You’re marking the corners of the base of your tote here)
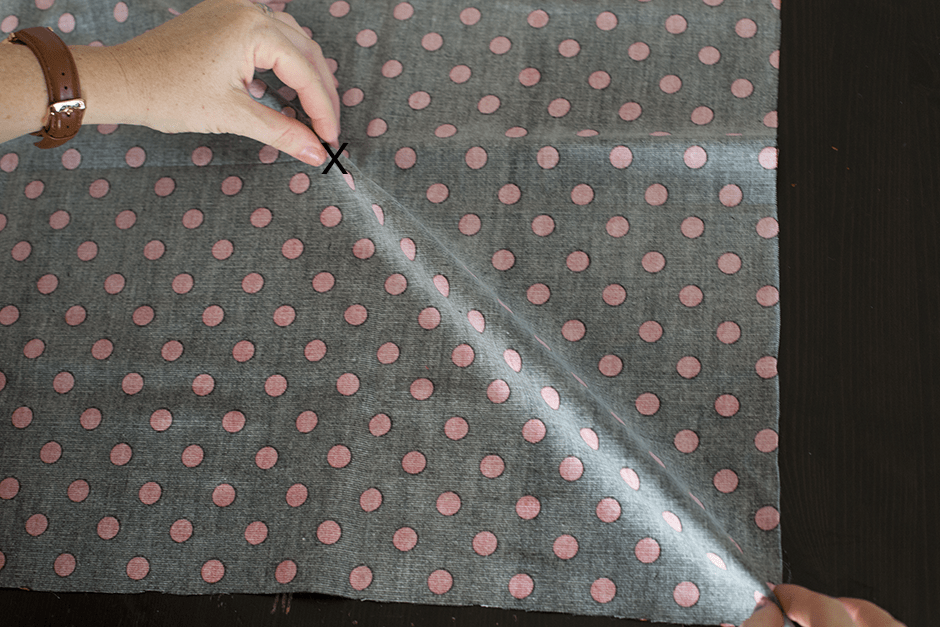
3. Unfold your fabric, take one corner of it and fold it so that right sides touch. Make sure the fold goes from the corner of the fabric to the nearest X you marked.
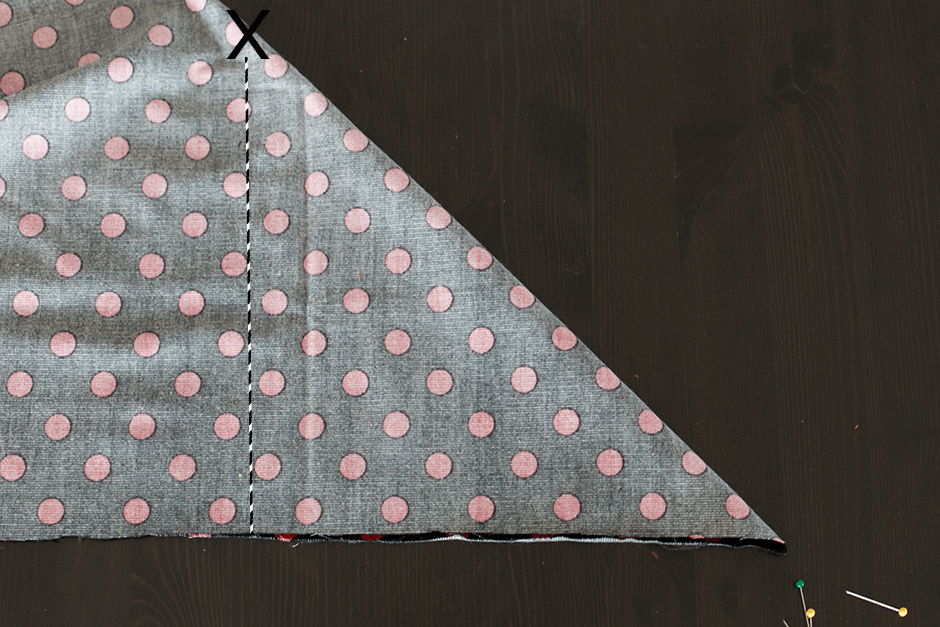
4. Stitch straight down from the X you marked to the raw edge of the fabric. Cut the corners off the fabric close to your stitching line (leaving about 1/4″ seam allowance).
Repeat steps 3 & 4 with remaining corners of your exterior fabric. Repeat steps 2-4 with your lining fabric.
Turn your fabrics right side out and they should look like a box at this point.
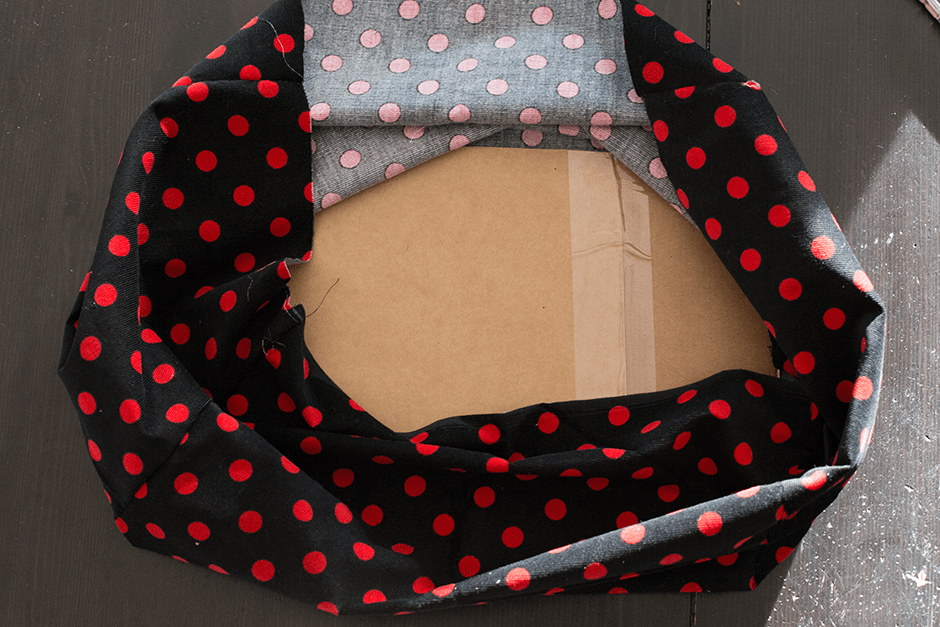
5. Decide whether you’d like to add fusible interfacing or simply line your tote with cardboard. I cut up some old cereal boxes and used those for my tote bottom and sides. Cut your interfacing or cardboard to the following measurements: (1 base) 15″ x 9.5″, (2 long sides) 15″ x 9″, (2 short sides) 9.5″ x 9″.
Optional: you can sew your straps to your exterior fabric now. See step 7 for details.
Iron your interfacing to the inside of your exterior fabric OR place cardboard base in bottom of exterior fabric, insert lining into tote and then insert side cardboard pieces. I taped all my side cardboard pieces together so that they formed a square and made the tote more secure.
6. If you used cardboard, you’ll need to decide whether or not you’d like your tote to be washable. If so, you’ll need to finish the raw edges of your fabrics at the top of the tote; add hook Velcro to the top of lining fabric (all the way around), and loop Velcro to the top of the exterior fabric. This way you can separate the lining from the outside and take out the cardboard to wash it.
If you’re looking for a quick and dirty finish, just hot glue the two fabrics together like I did! #lazy
Make sure to fold your exterior fabric edges under so that no raw edges are exposed.
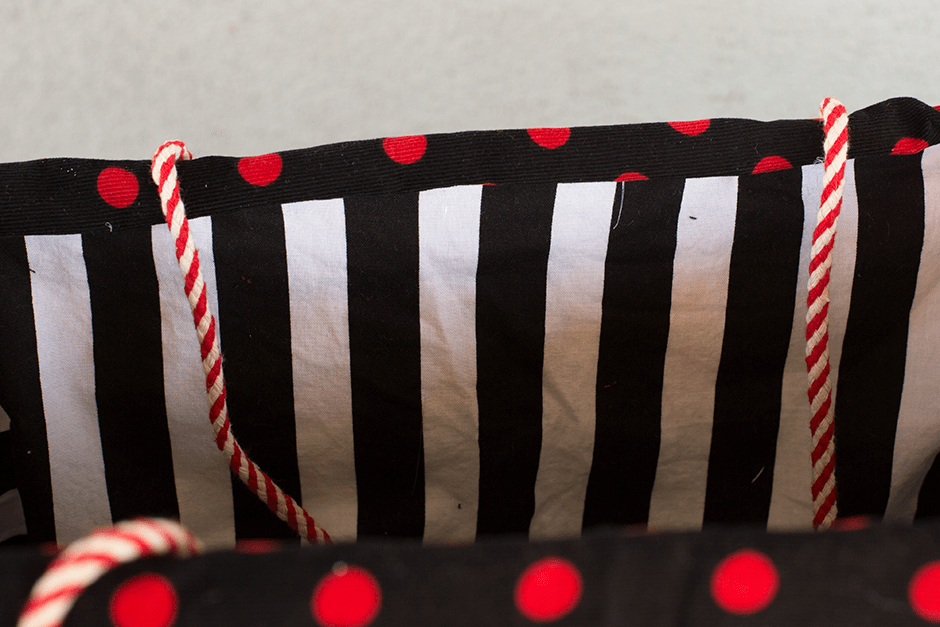
7. Finish by adding rope, twill tape or ribbon for a handle. Because I used rope, I just tacked it to the tote on the bottom and sides, but if you’re using ribbon or twill tape, you can use your machine to sew it onto the exterior fabric (before assembling the tote, obviously).
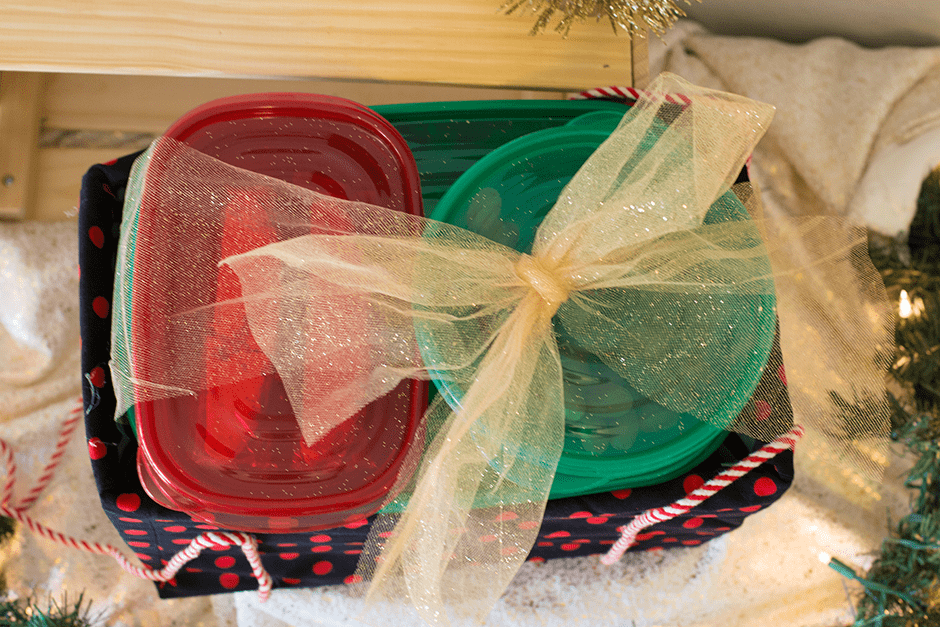
And that’s it! A cute, functional tote that can keep all your holiday Rubbermaid TakeAlongs safe and secure while delivering them to friends and family. Now let’s get cooking!
Click HERE for more great holiday inspiration!
1 Comment
Denise
November 15, 2016 at 11:44 amThat tote is so nifty! I definitely need one for next week! It’s just one of those things you never think of until it’s time to transport the dishes and you end up being at a loss on how to do it! (client)