

This simple easy sew dress tutorial is the perfect afternoon sewing project! Make a fun and breezy warm-weather dress by refashioning an old dress or from scratch using an existing dress as a pattern.

If dresses are my favorite thing to sew, then bright floral fabric is my favorite medium! I was walking by an H&M store on a date with Luke when this fabric jumped out at me from behind the window. I couldn’t walk away!
Much to Luke’s chagrin, I immediately ditched him and ran inside to take a look at this fabulous floral. It was actually an off-the-shoulder mini dress at the time (which I knew I wouldn’t wear) but instead of just walking away from such patterned perfection, I snagged two of them (they happened to be on sale – score!) and had plans to combine them into a fabulous Spring frock.

Fast forward a couple months and the dresses were still sitting on my sewing table when I finally found the time and motivation to get moving on them.
I was lucky that they already had these fun flouncy sleeves attached and the bodice was wide enough to fit around my pregnant belly so I decided to make it into a maternity dress that could transition to after baby as well!
If you’re refashioning an existing dress for this tutorial, obviously your steps will be a little different. But the key features here are the flouncy sleeves (make them out of a circle shape, using your sleeve hole opening as the circumference!), the a-line bodice and gathered skirt below the hips.

My refashioning steps went as follows:
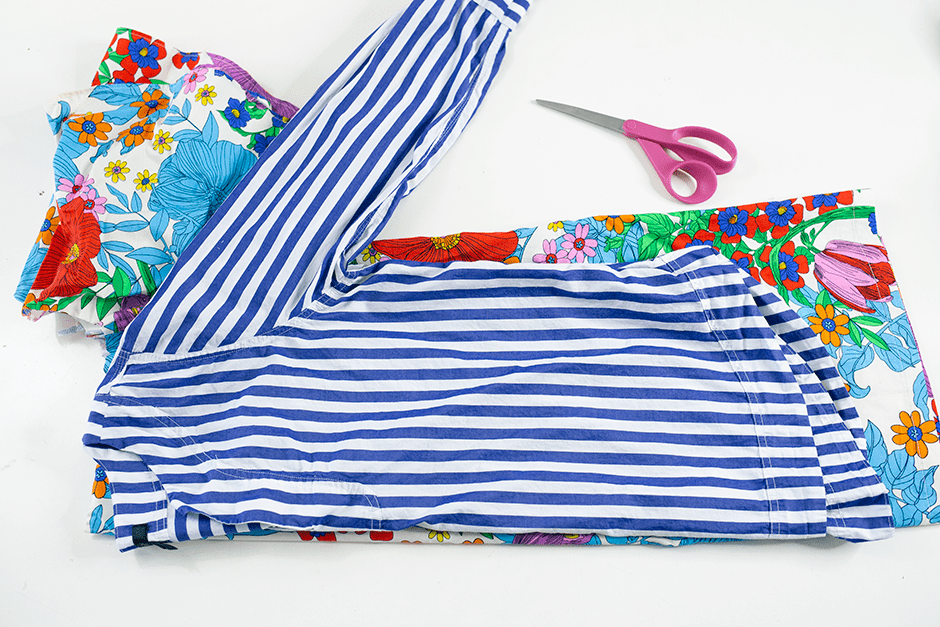
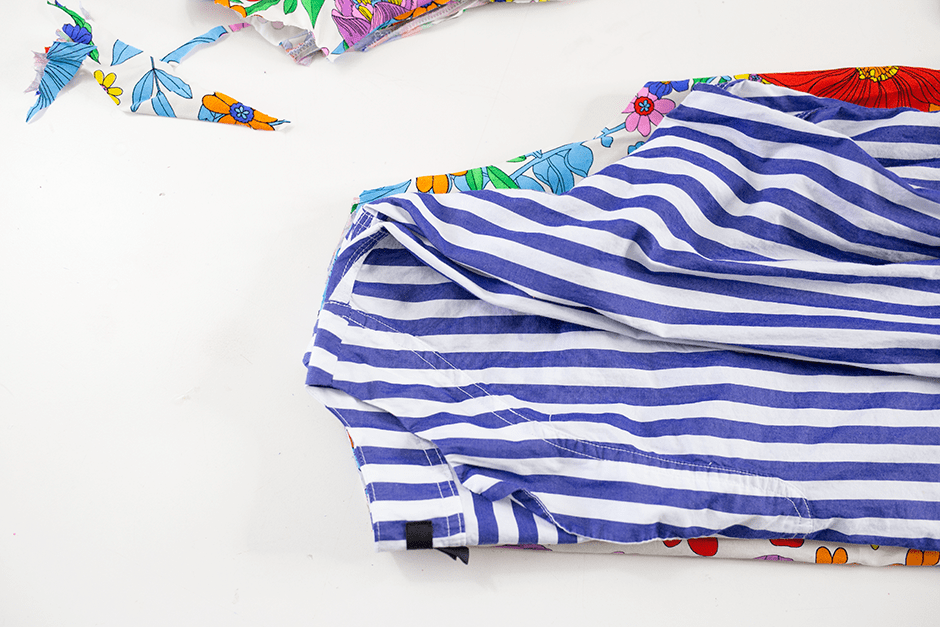
- Cut off sleeves and shoulder elastic from one dress.
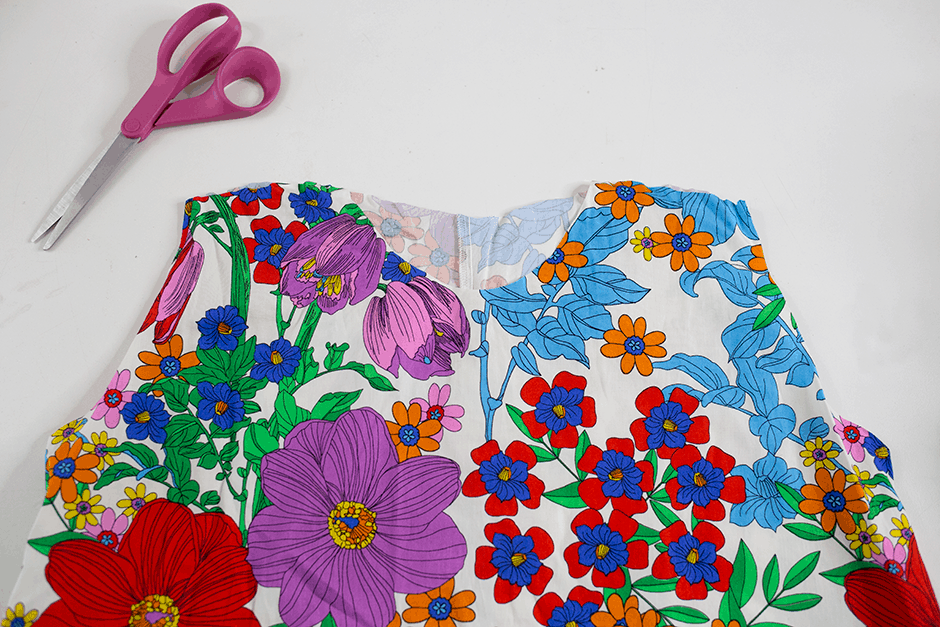
- Cut round neckline, shoulders and sleeve holes (I cut around a RTW shirt for this). Sew together shoulder seams.
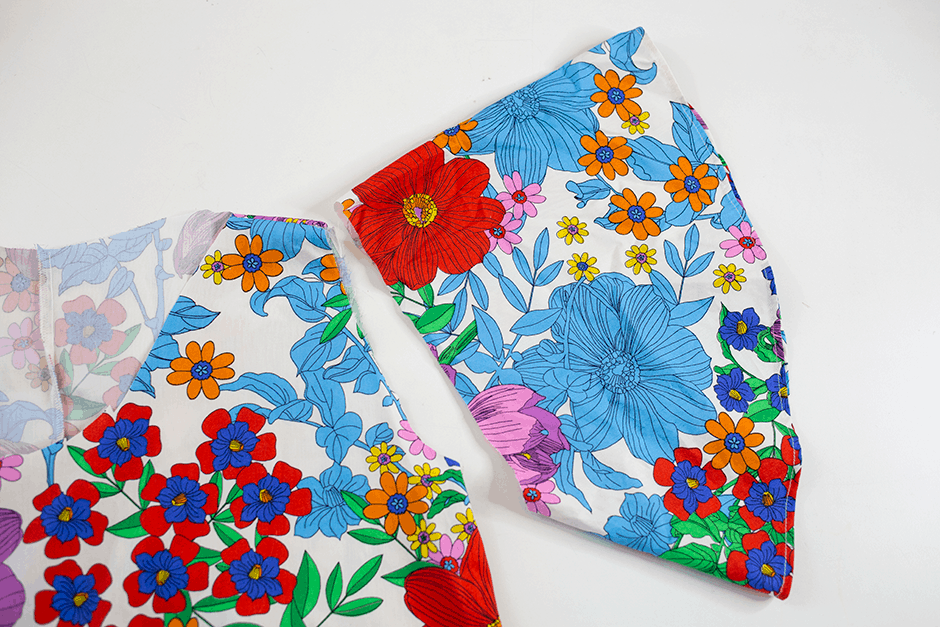
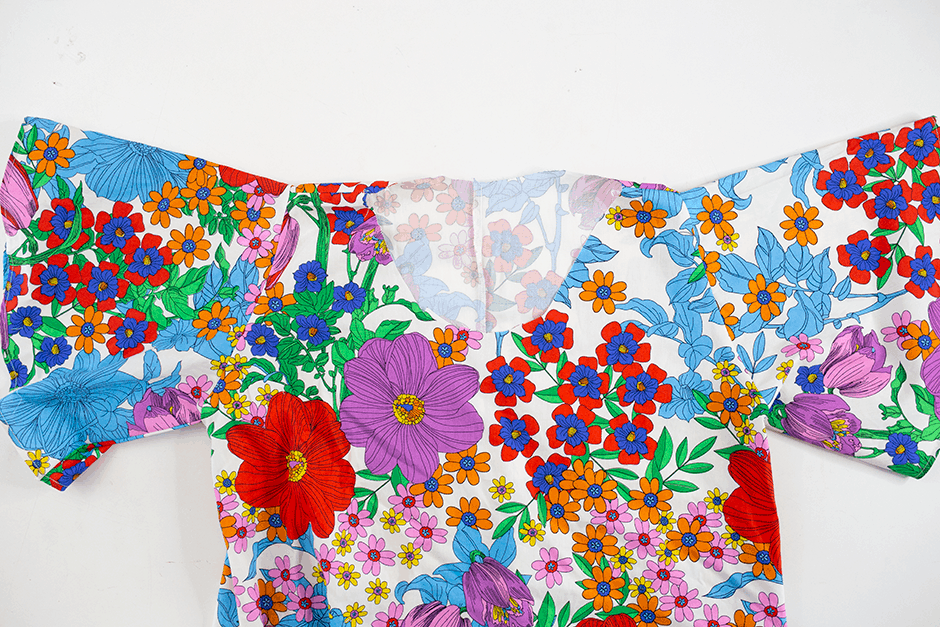
- Re-cut sleeve head to match the new sleeve hole. Attach sleeves to this new dress bodice. (I actually think eventually I’ll shorten these sleeves and probably even out the bottom hem since they’re a little longer underneath my arms due to the outside of the sleeve having to fit over my shoulder.)
- At this point the new dress was still very mini-length on me and so I decided to add the dropped waist ruffle from the second dress fabric. I first decided how long I wanted it to be (mine was about 12″), and then cut off this amount from the bottom of the second dress, reusing the existing hem.
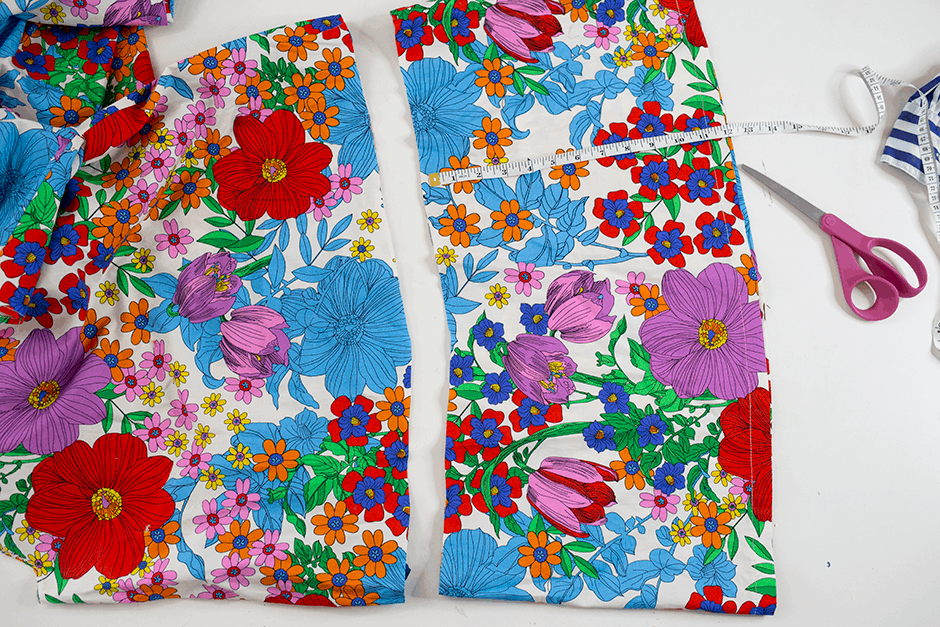
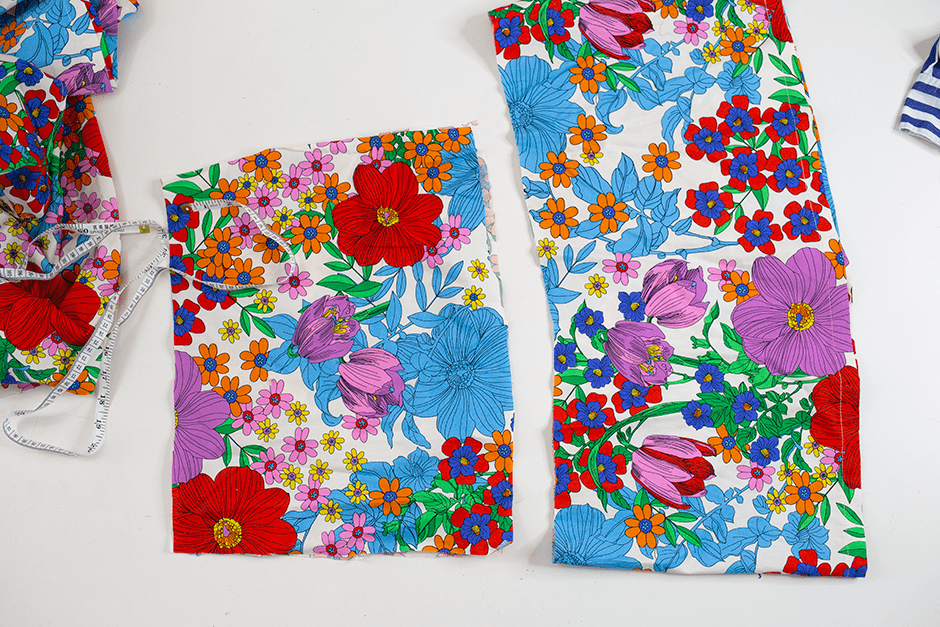
Then I cut off another strip of dress this same length above the first cut (this one was a little bit narrower, however, because the original dress naturally narrowed at the top). I then sewed the short sides of the two strips together into a giant circle. I finished hemming the portion of the circle that didn’t have the original hem on it and then gathered the other edge of it.
I pinned the ruffle to the bottom of the dress, adjusting gathers as needed to fit. Then I sewed the two together!

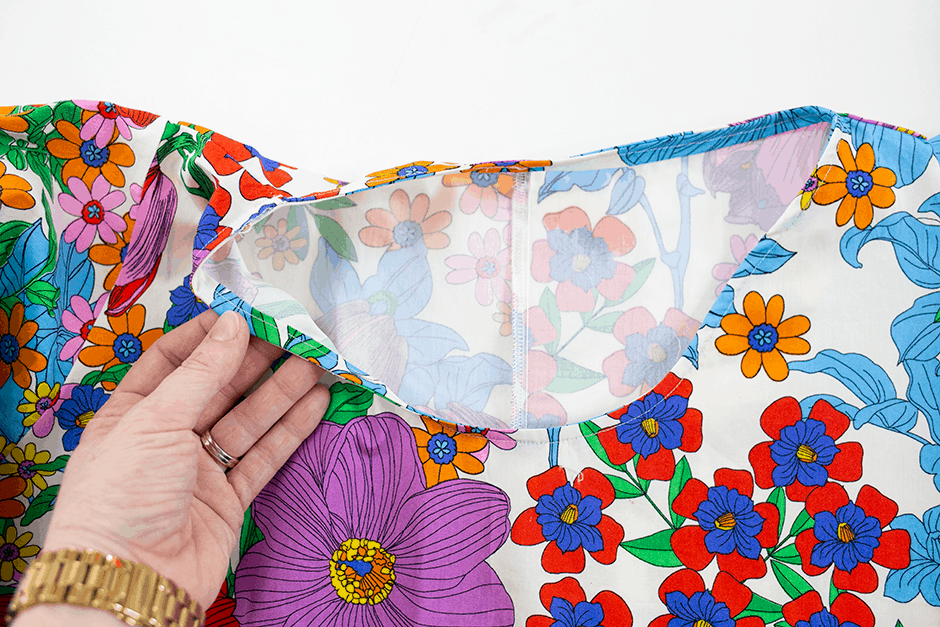
• Lastly, I made the neck binding by following this awesome tutorial and using some extra fabric from the discarded sleeves of the other dress.
It’s my favorite way to install woven necklines!

Is this easy sew dress a project you think you could tackle? If you’re looking for an easy (and FREE) dress pattern, try the Alcoy dress!

No Comments