


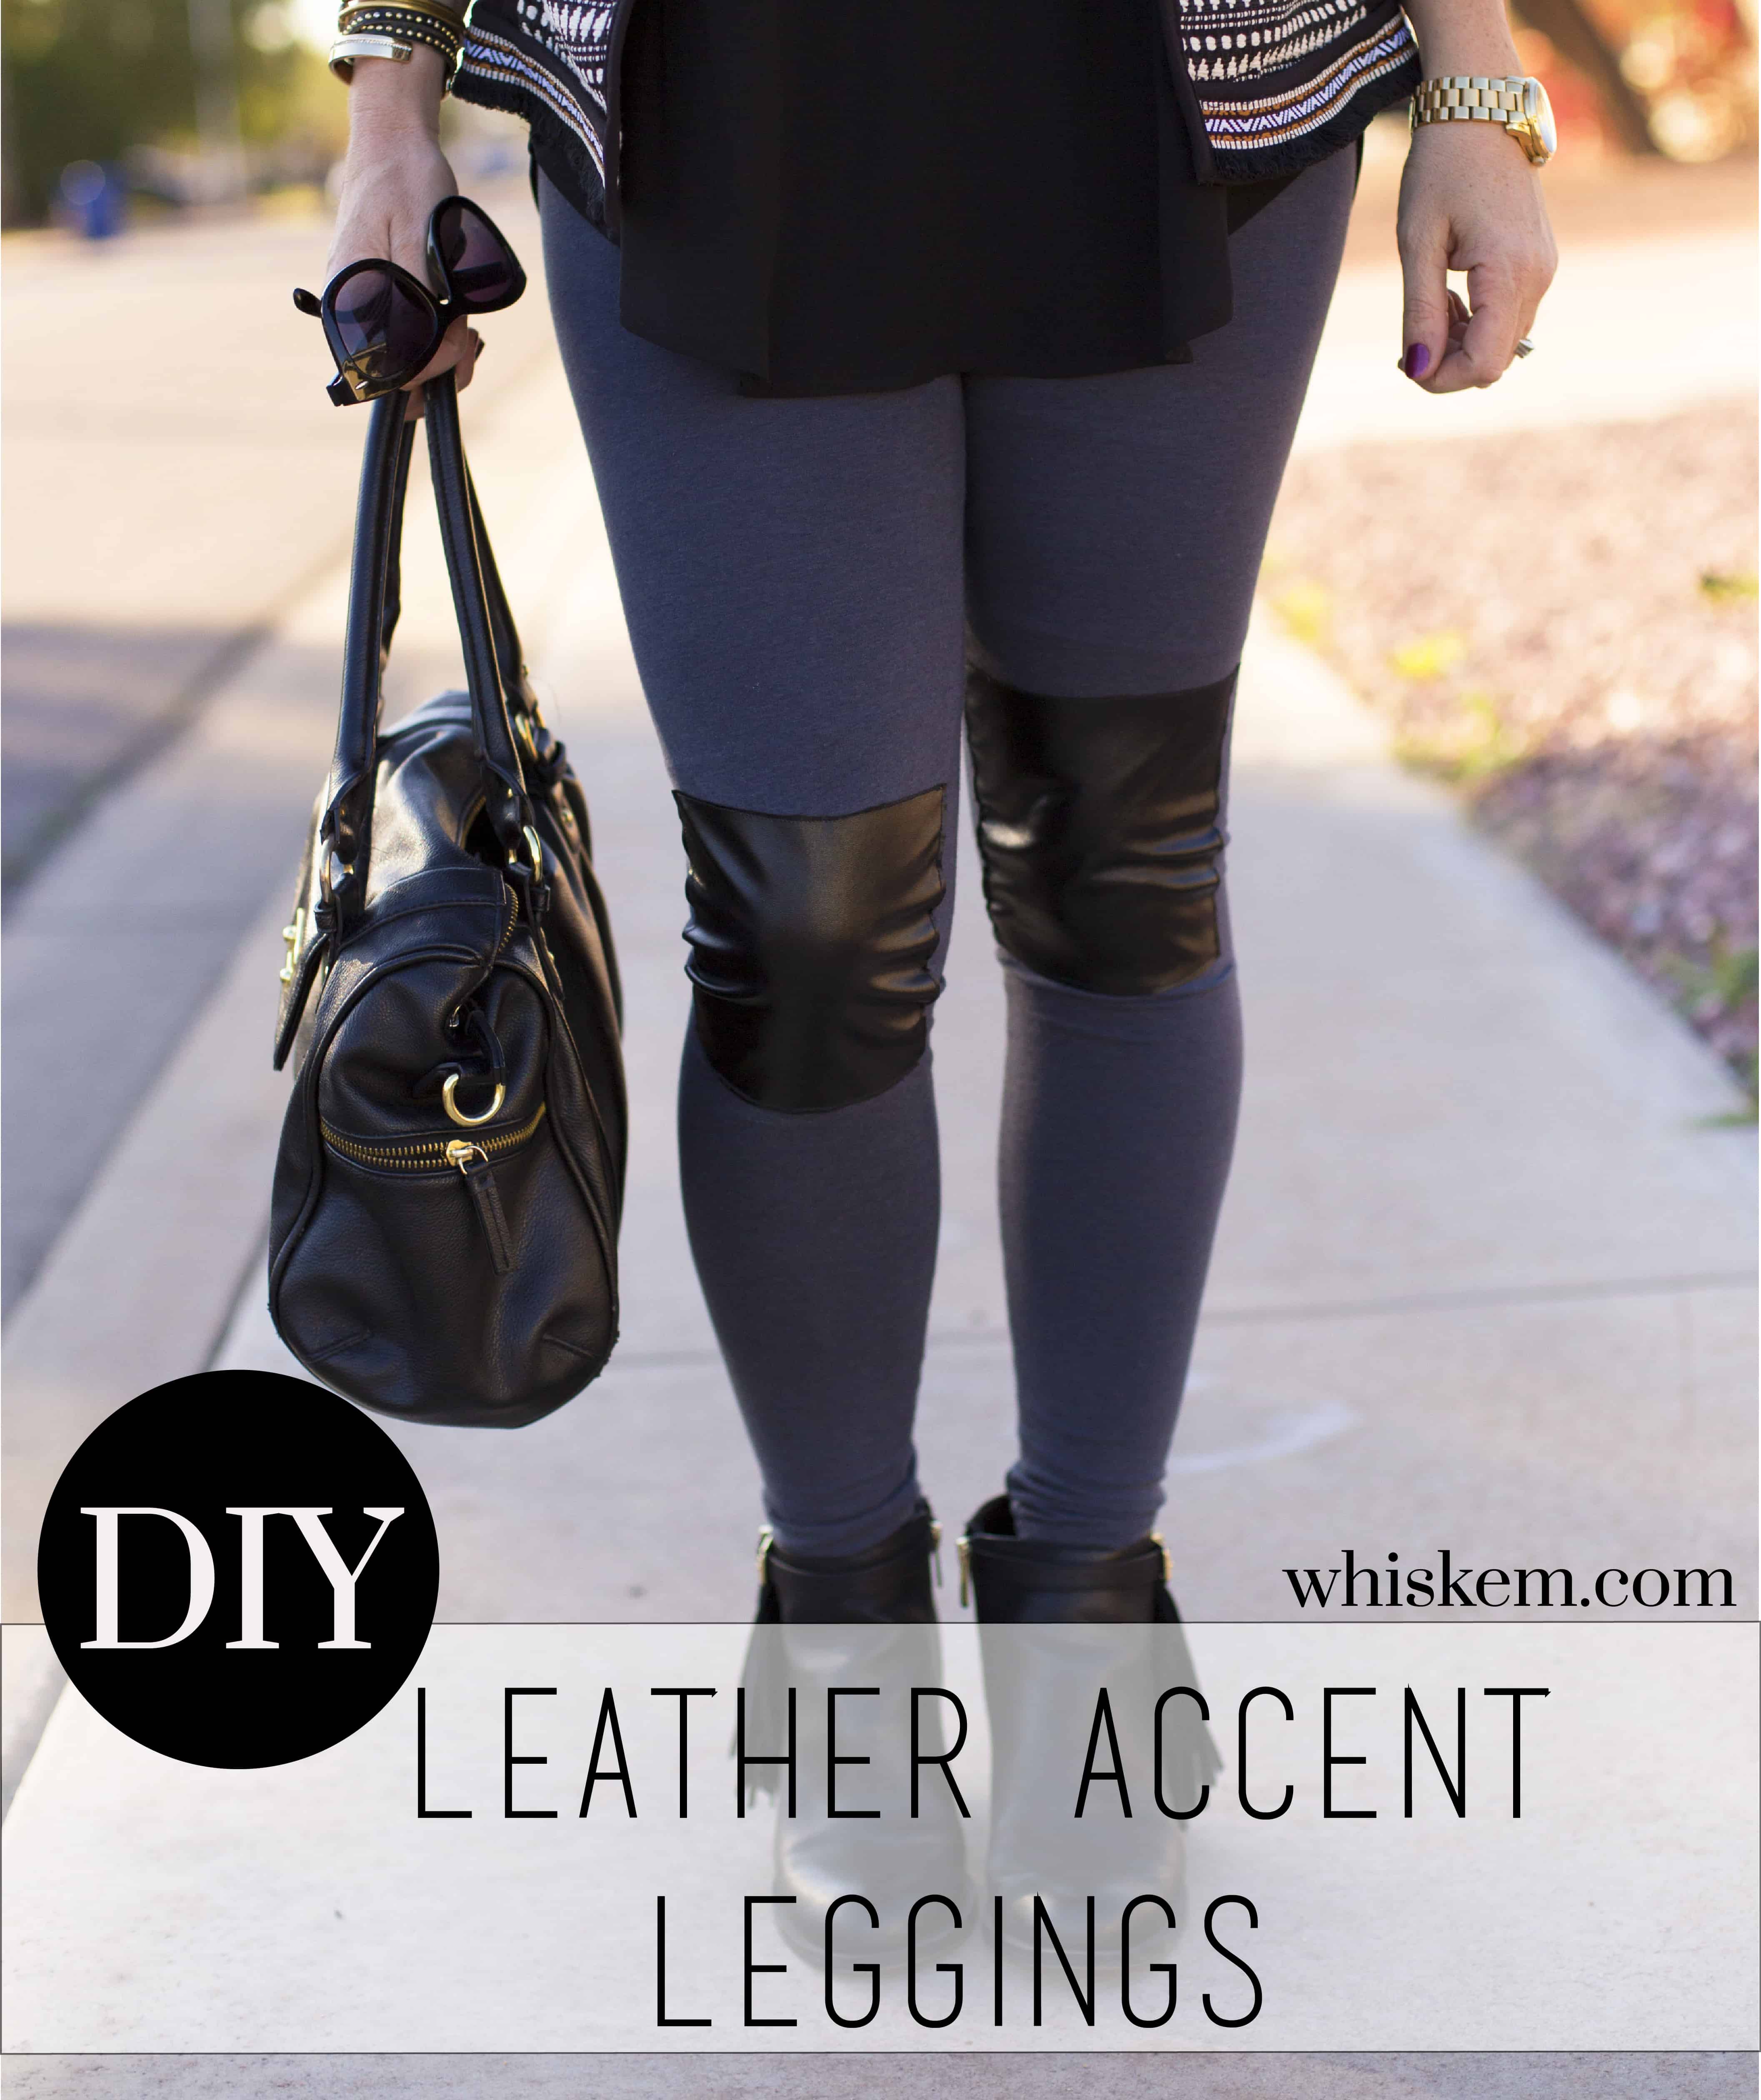
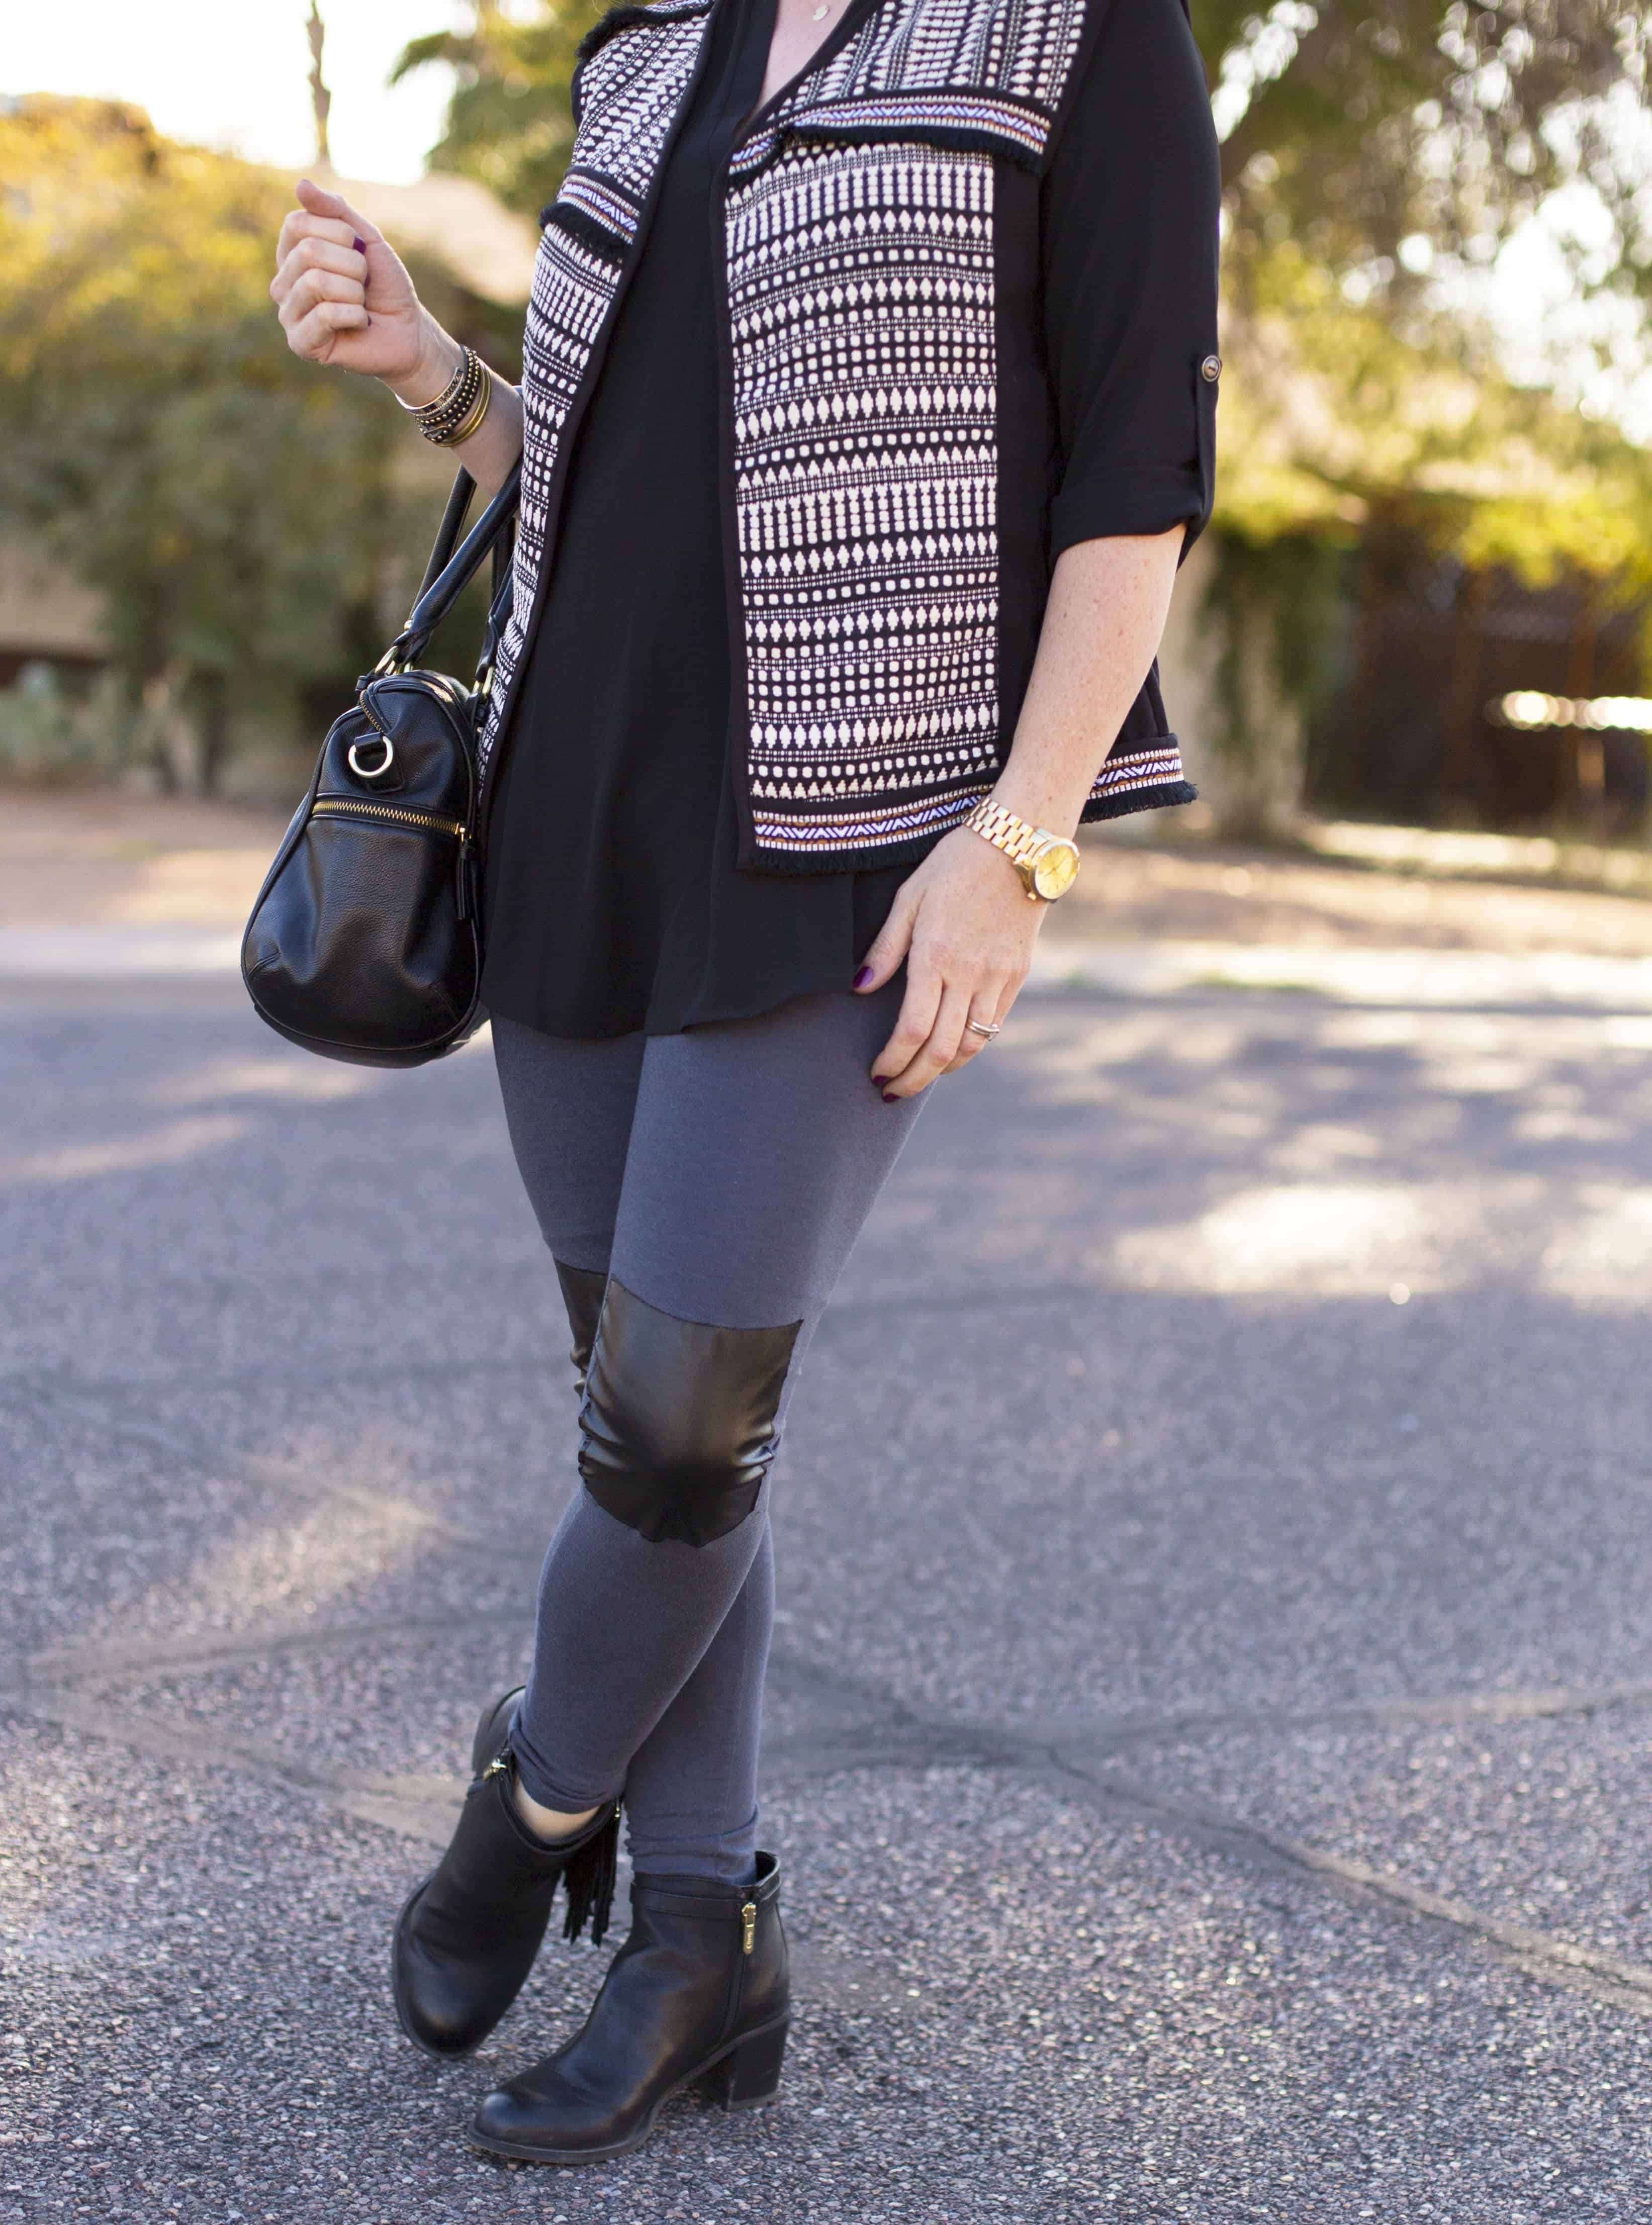
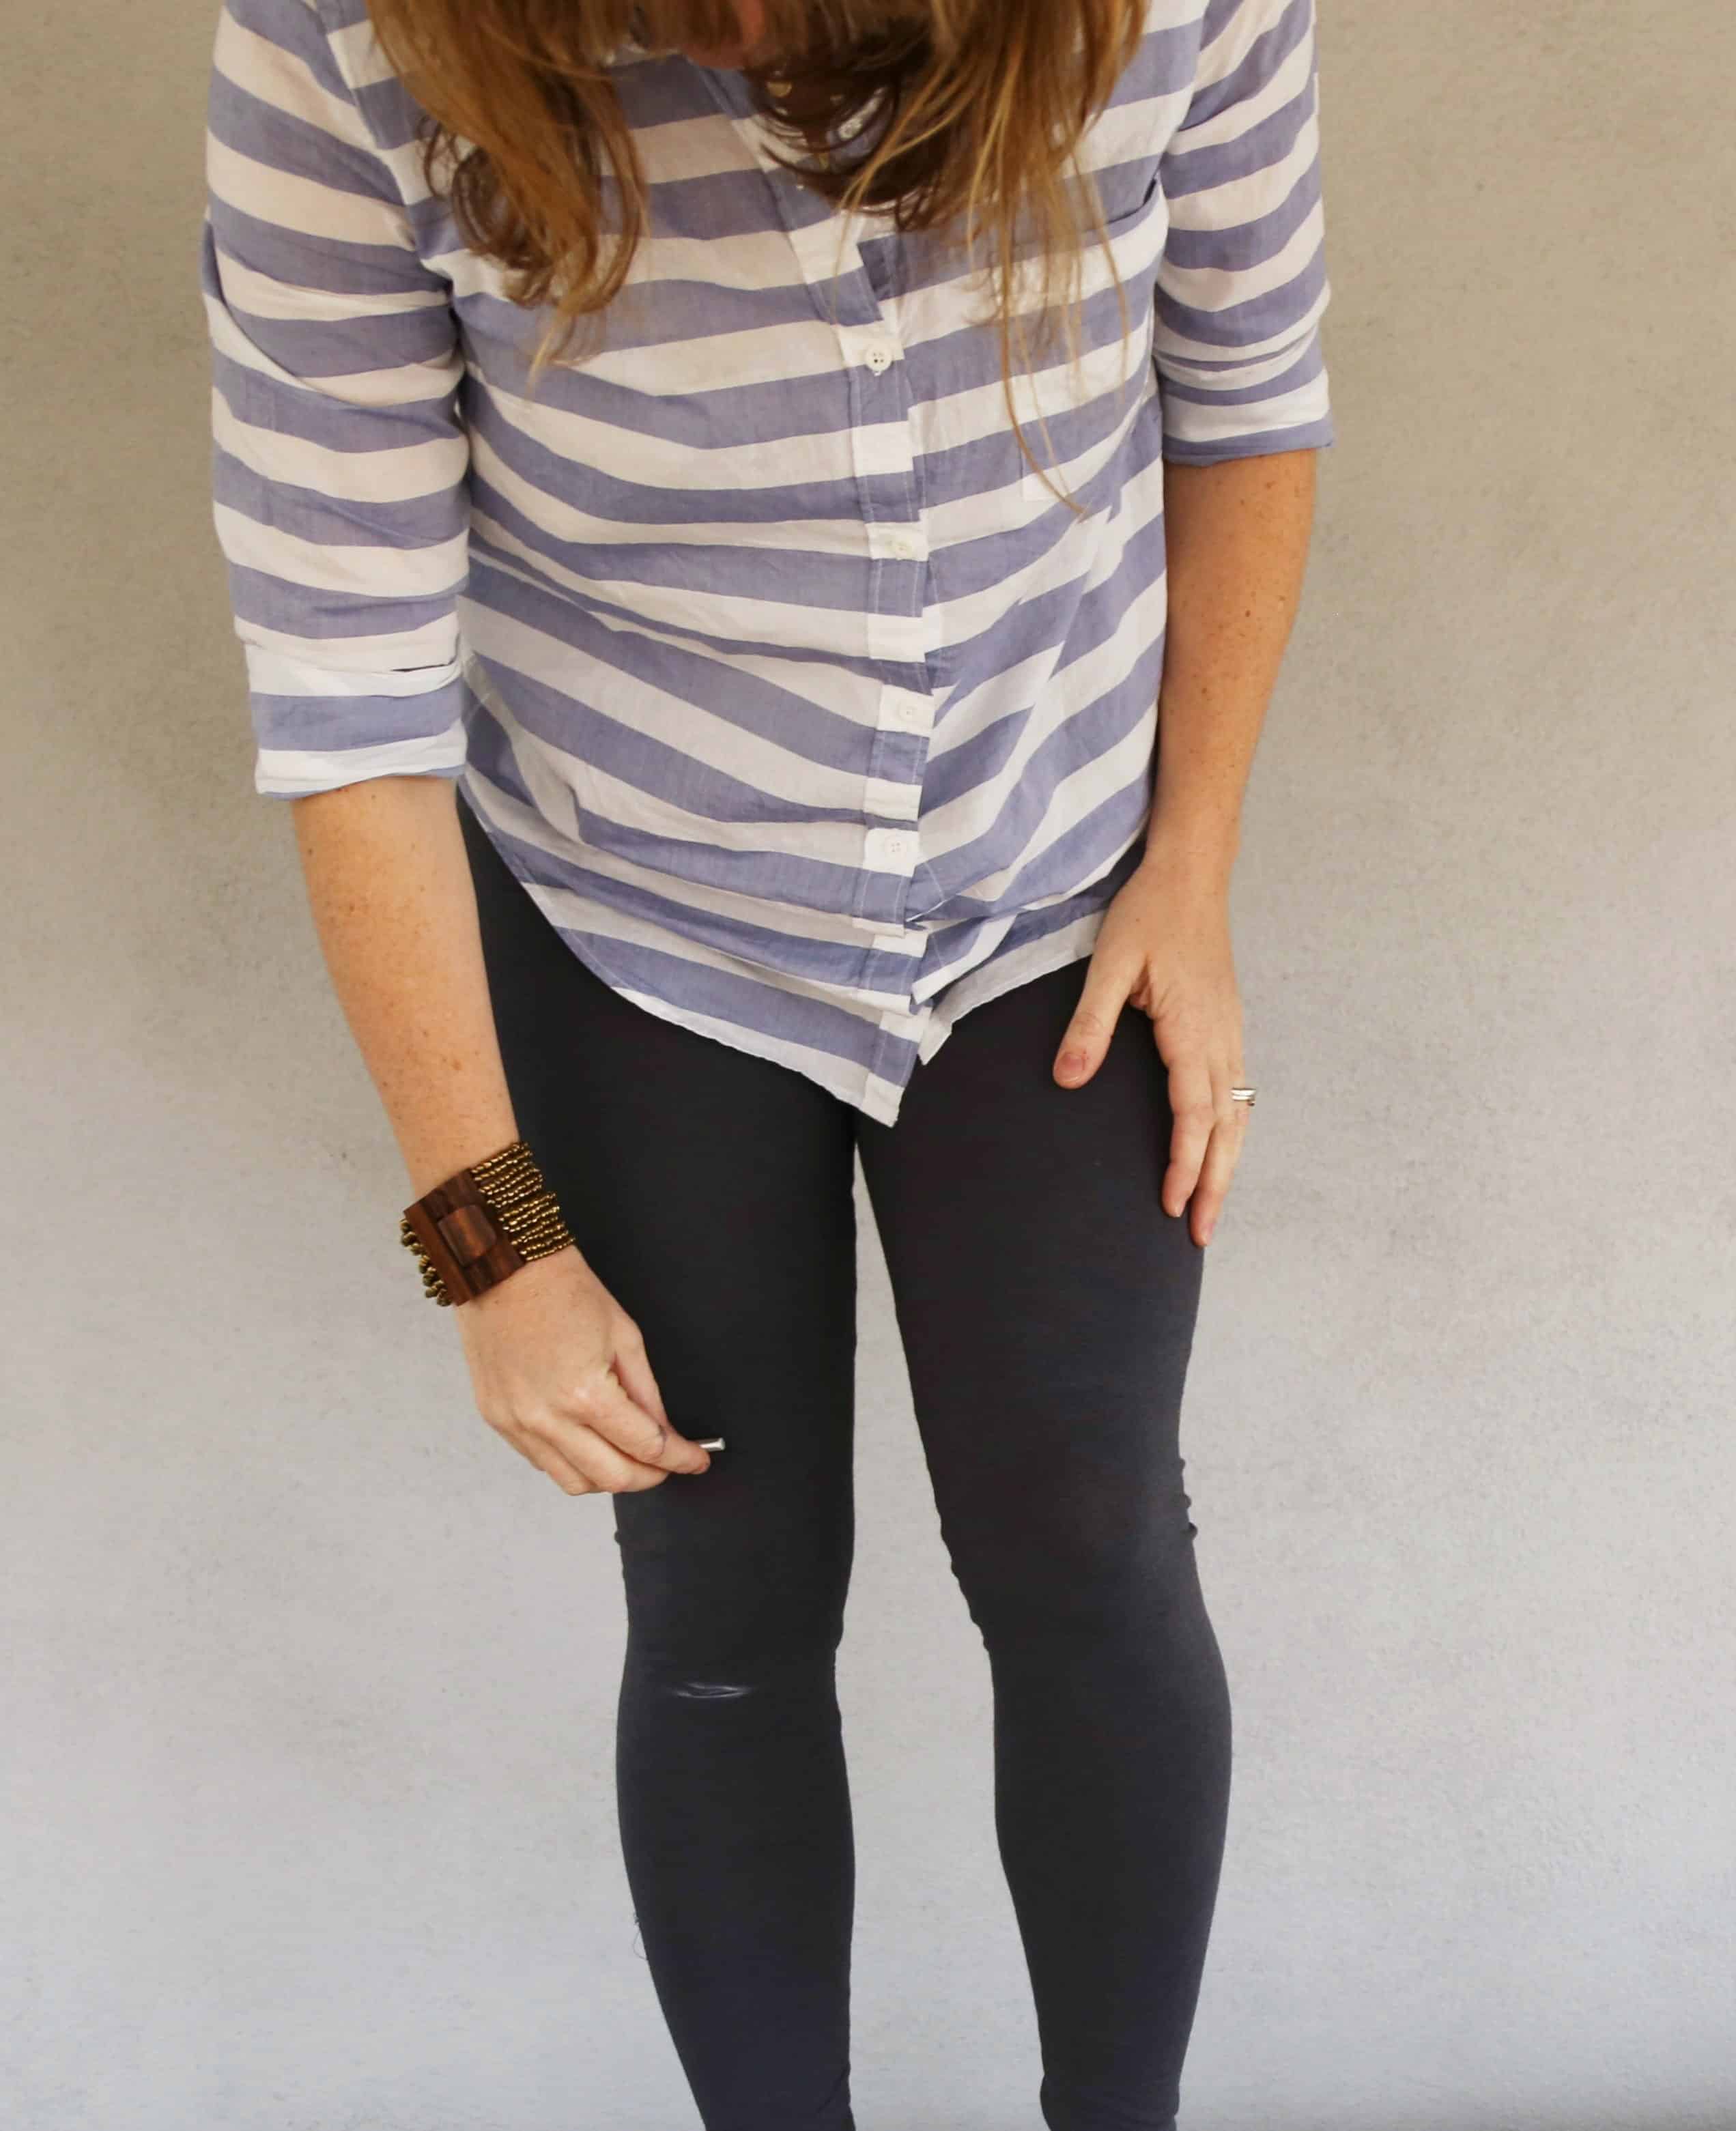
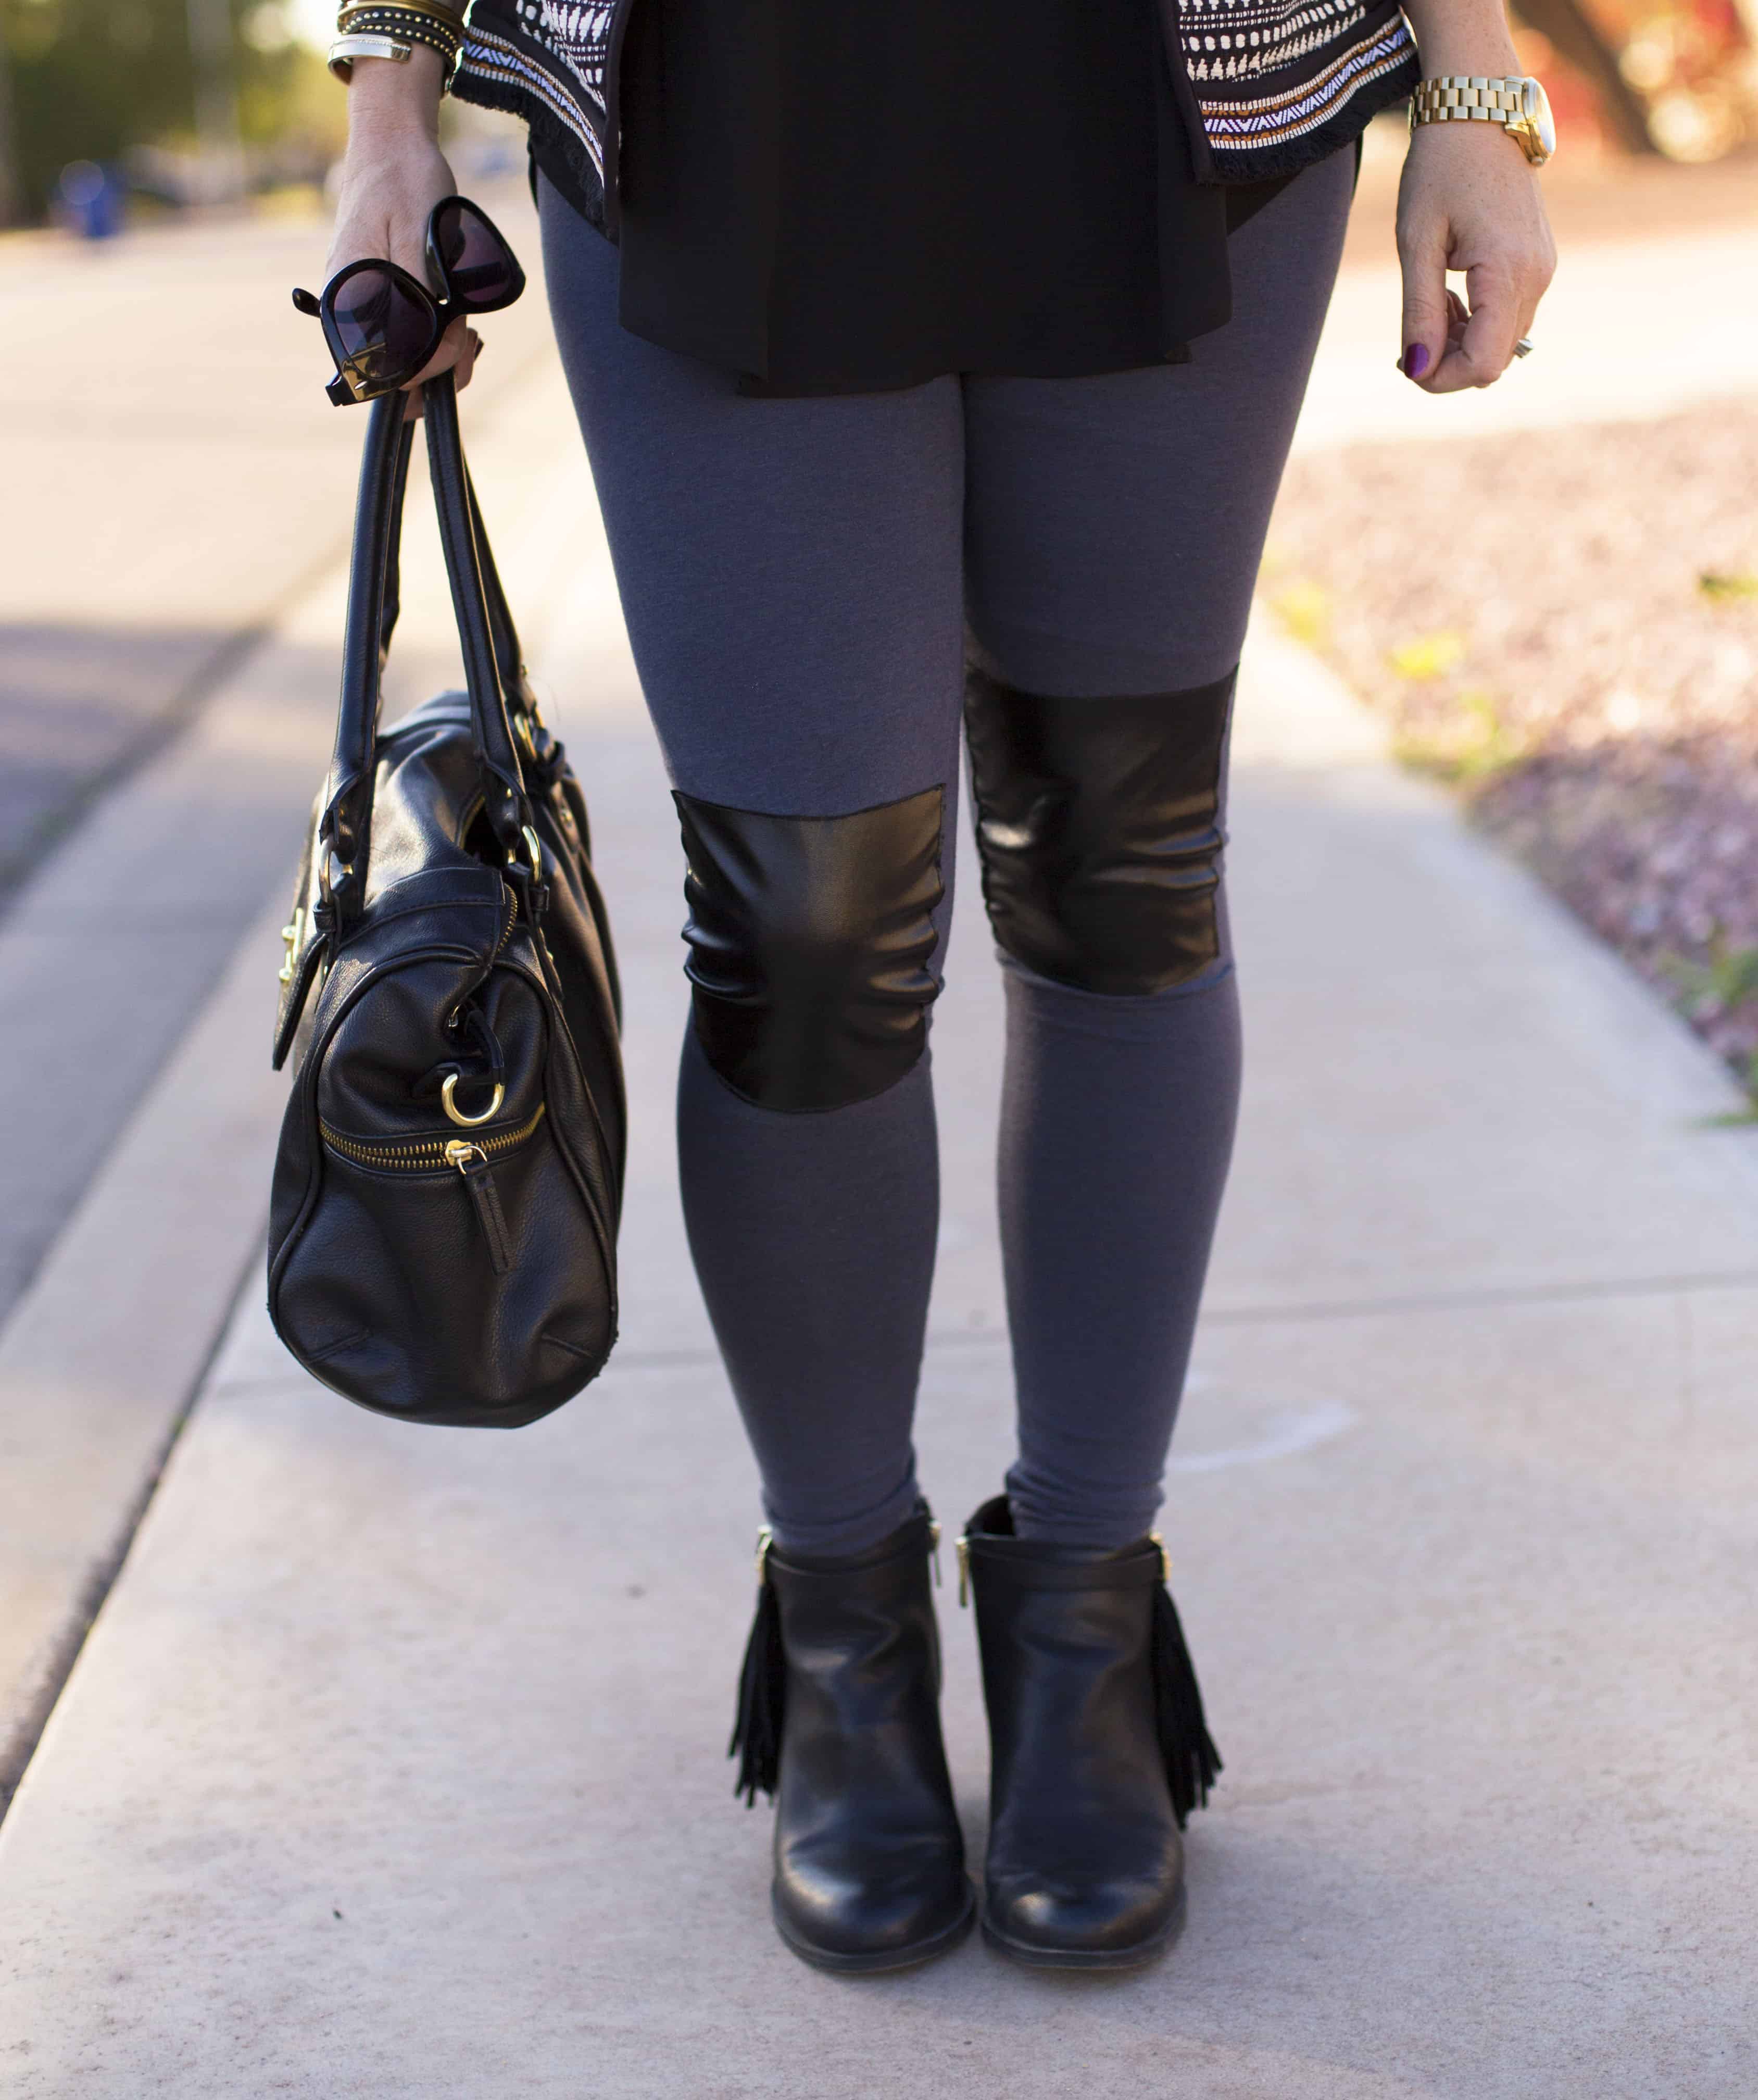
This season, leather is everywhere! Real or faux, it’s on jackets, shirts, pants…even jewelry. I have this pair of part-leather leggings which I LOVE and wish I could wear every day, as well as these faux leather pants that are amazing!
I’m seeing a lot of visual interest around the knee lately so today I’ve got a DIY for you to turn regular old plain-jane knit leggings into on-trend leather accent leggings! I love the slightly dressier look leather gives. These are perfect for a girls’ night, a date with your man, or even just running to the store. This is a really simple sewing project…a great way for beginners to get their feet wet!
BONUS: Leather is impervious to the weird stains of motherhood.

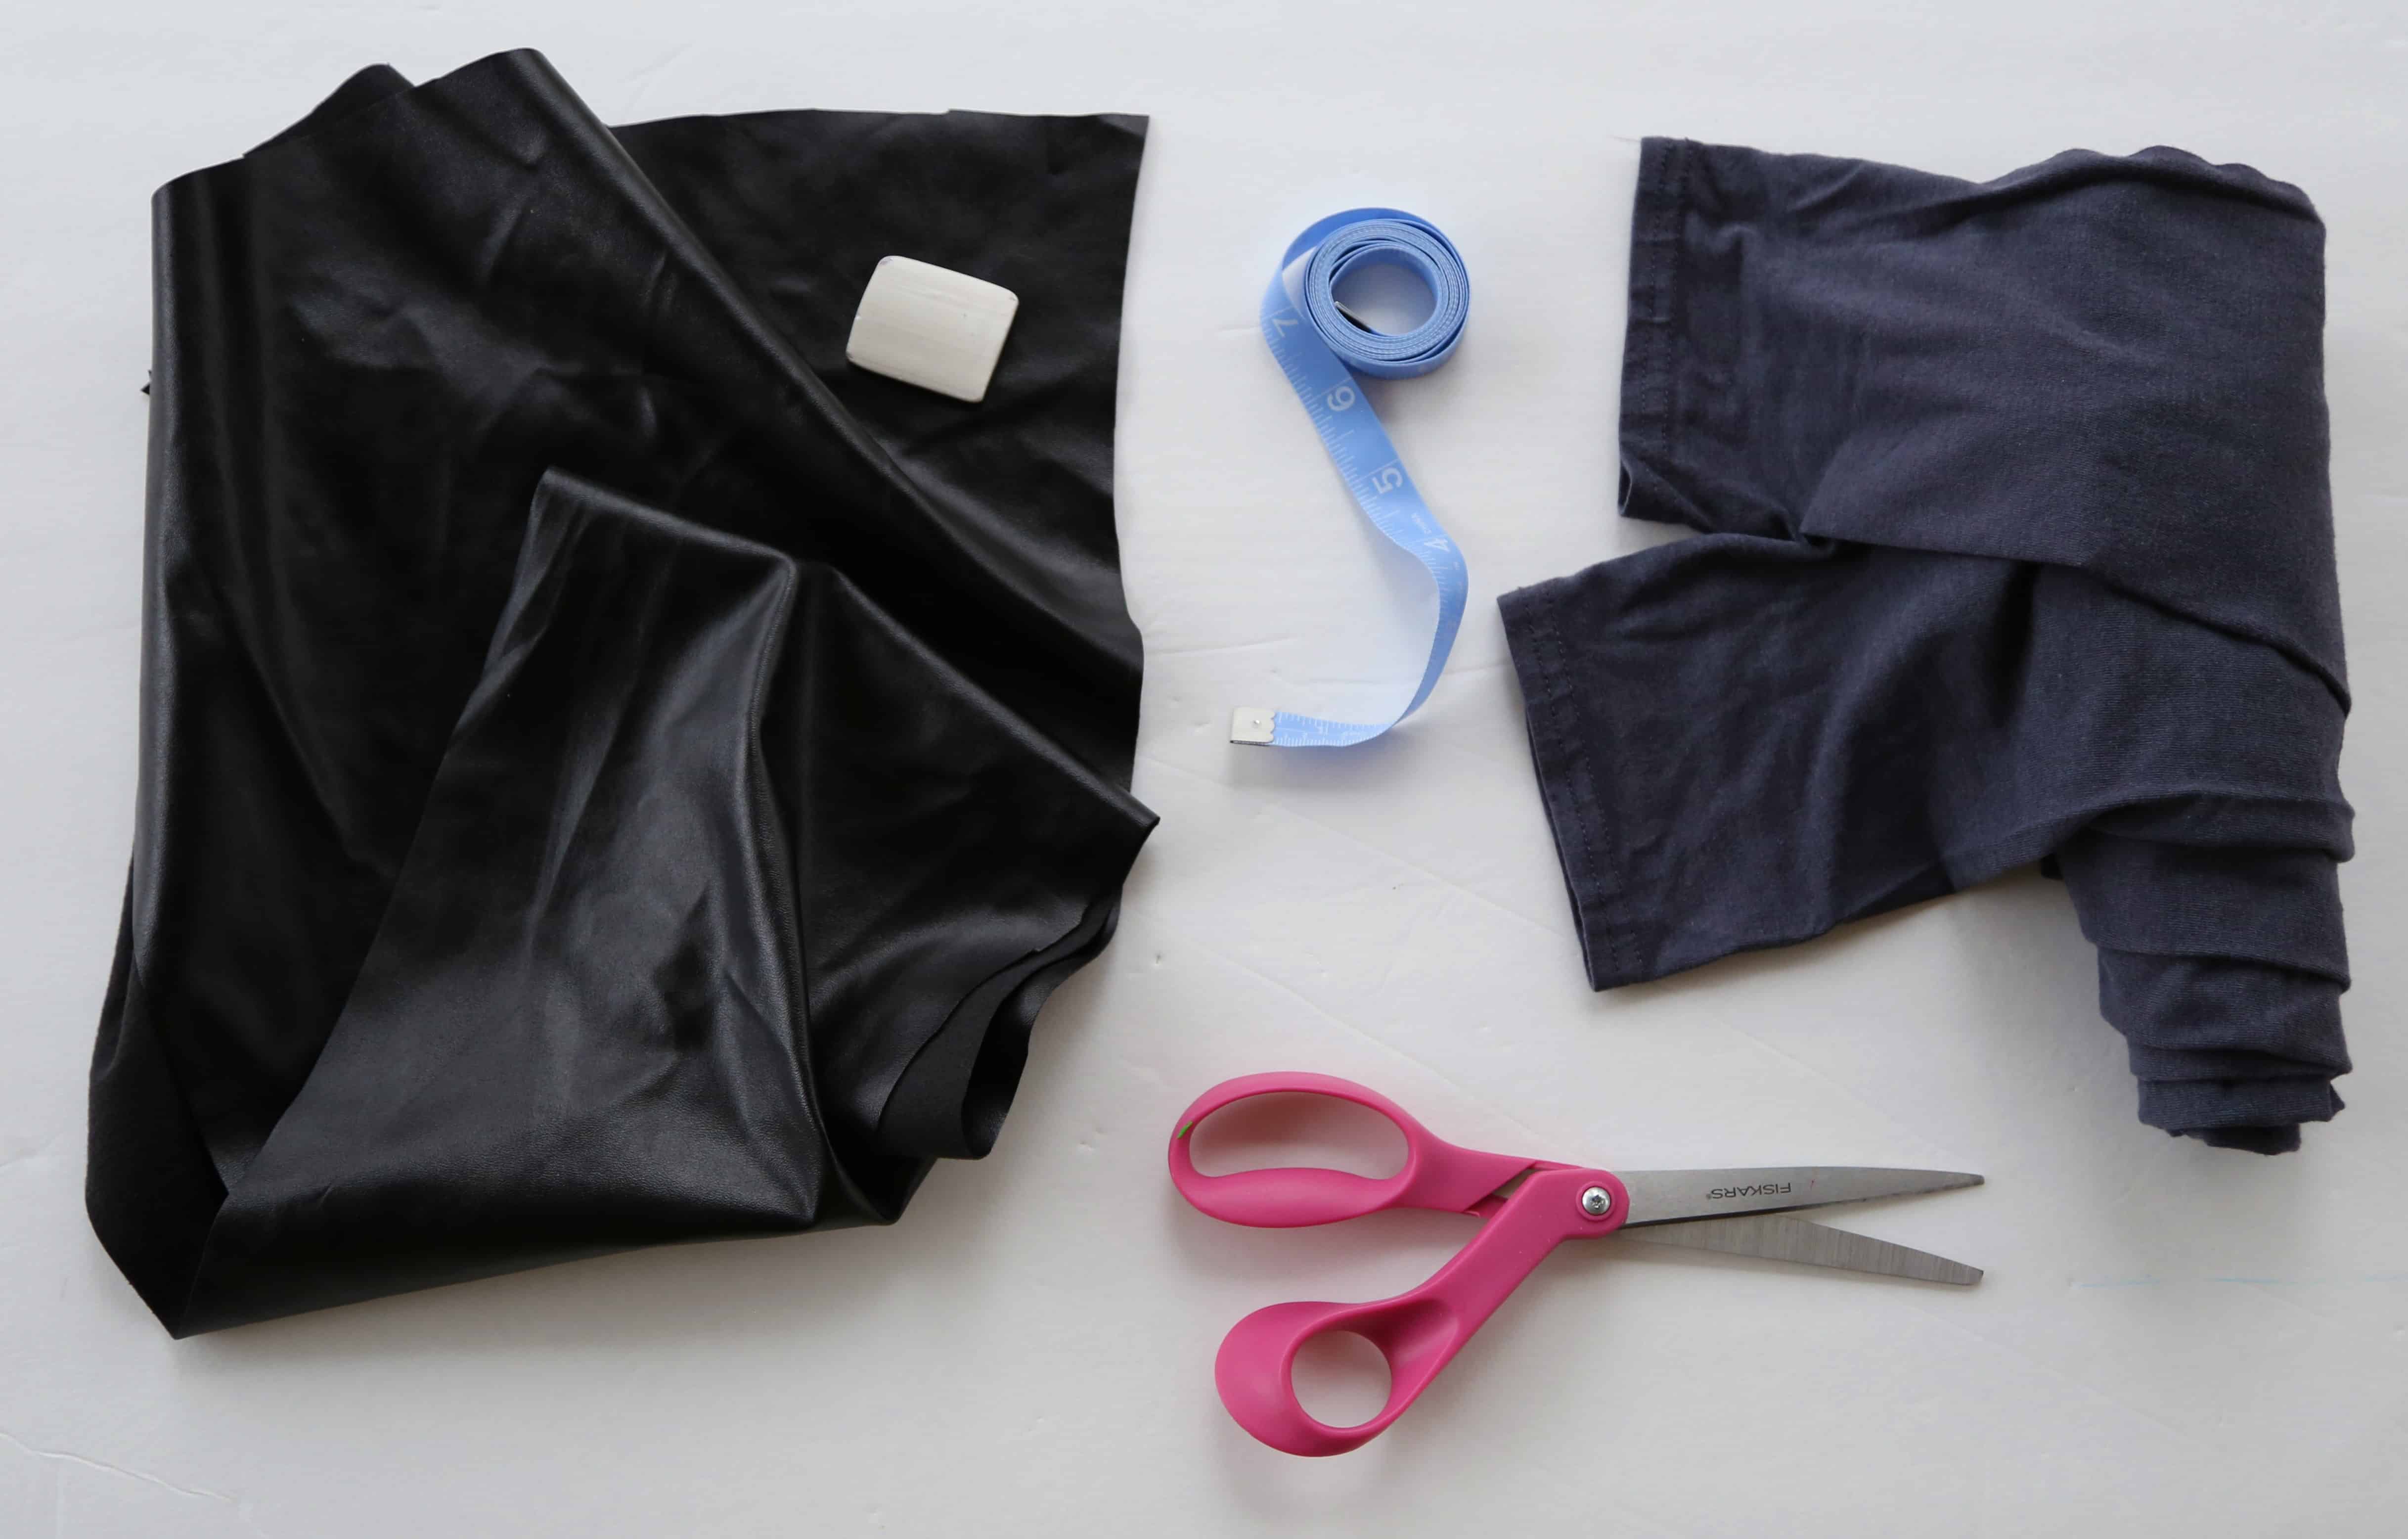
SUPPLIES
You’ll need…
1 pair of knit leggings (I got mine from H & M ages ago)
scrap faux stretch leather (I used this faux leather from Girl Charlee)
scissors
measuring tape
tailor’s chalk or other washable marking utensil
Put your leggings on and make a mark somewhere above and below your knee. Where exactly you mark is up to you…depends on how long you want your leather patch to be. Mine ended up being about 6.5 inches (16.5cm) long.
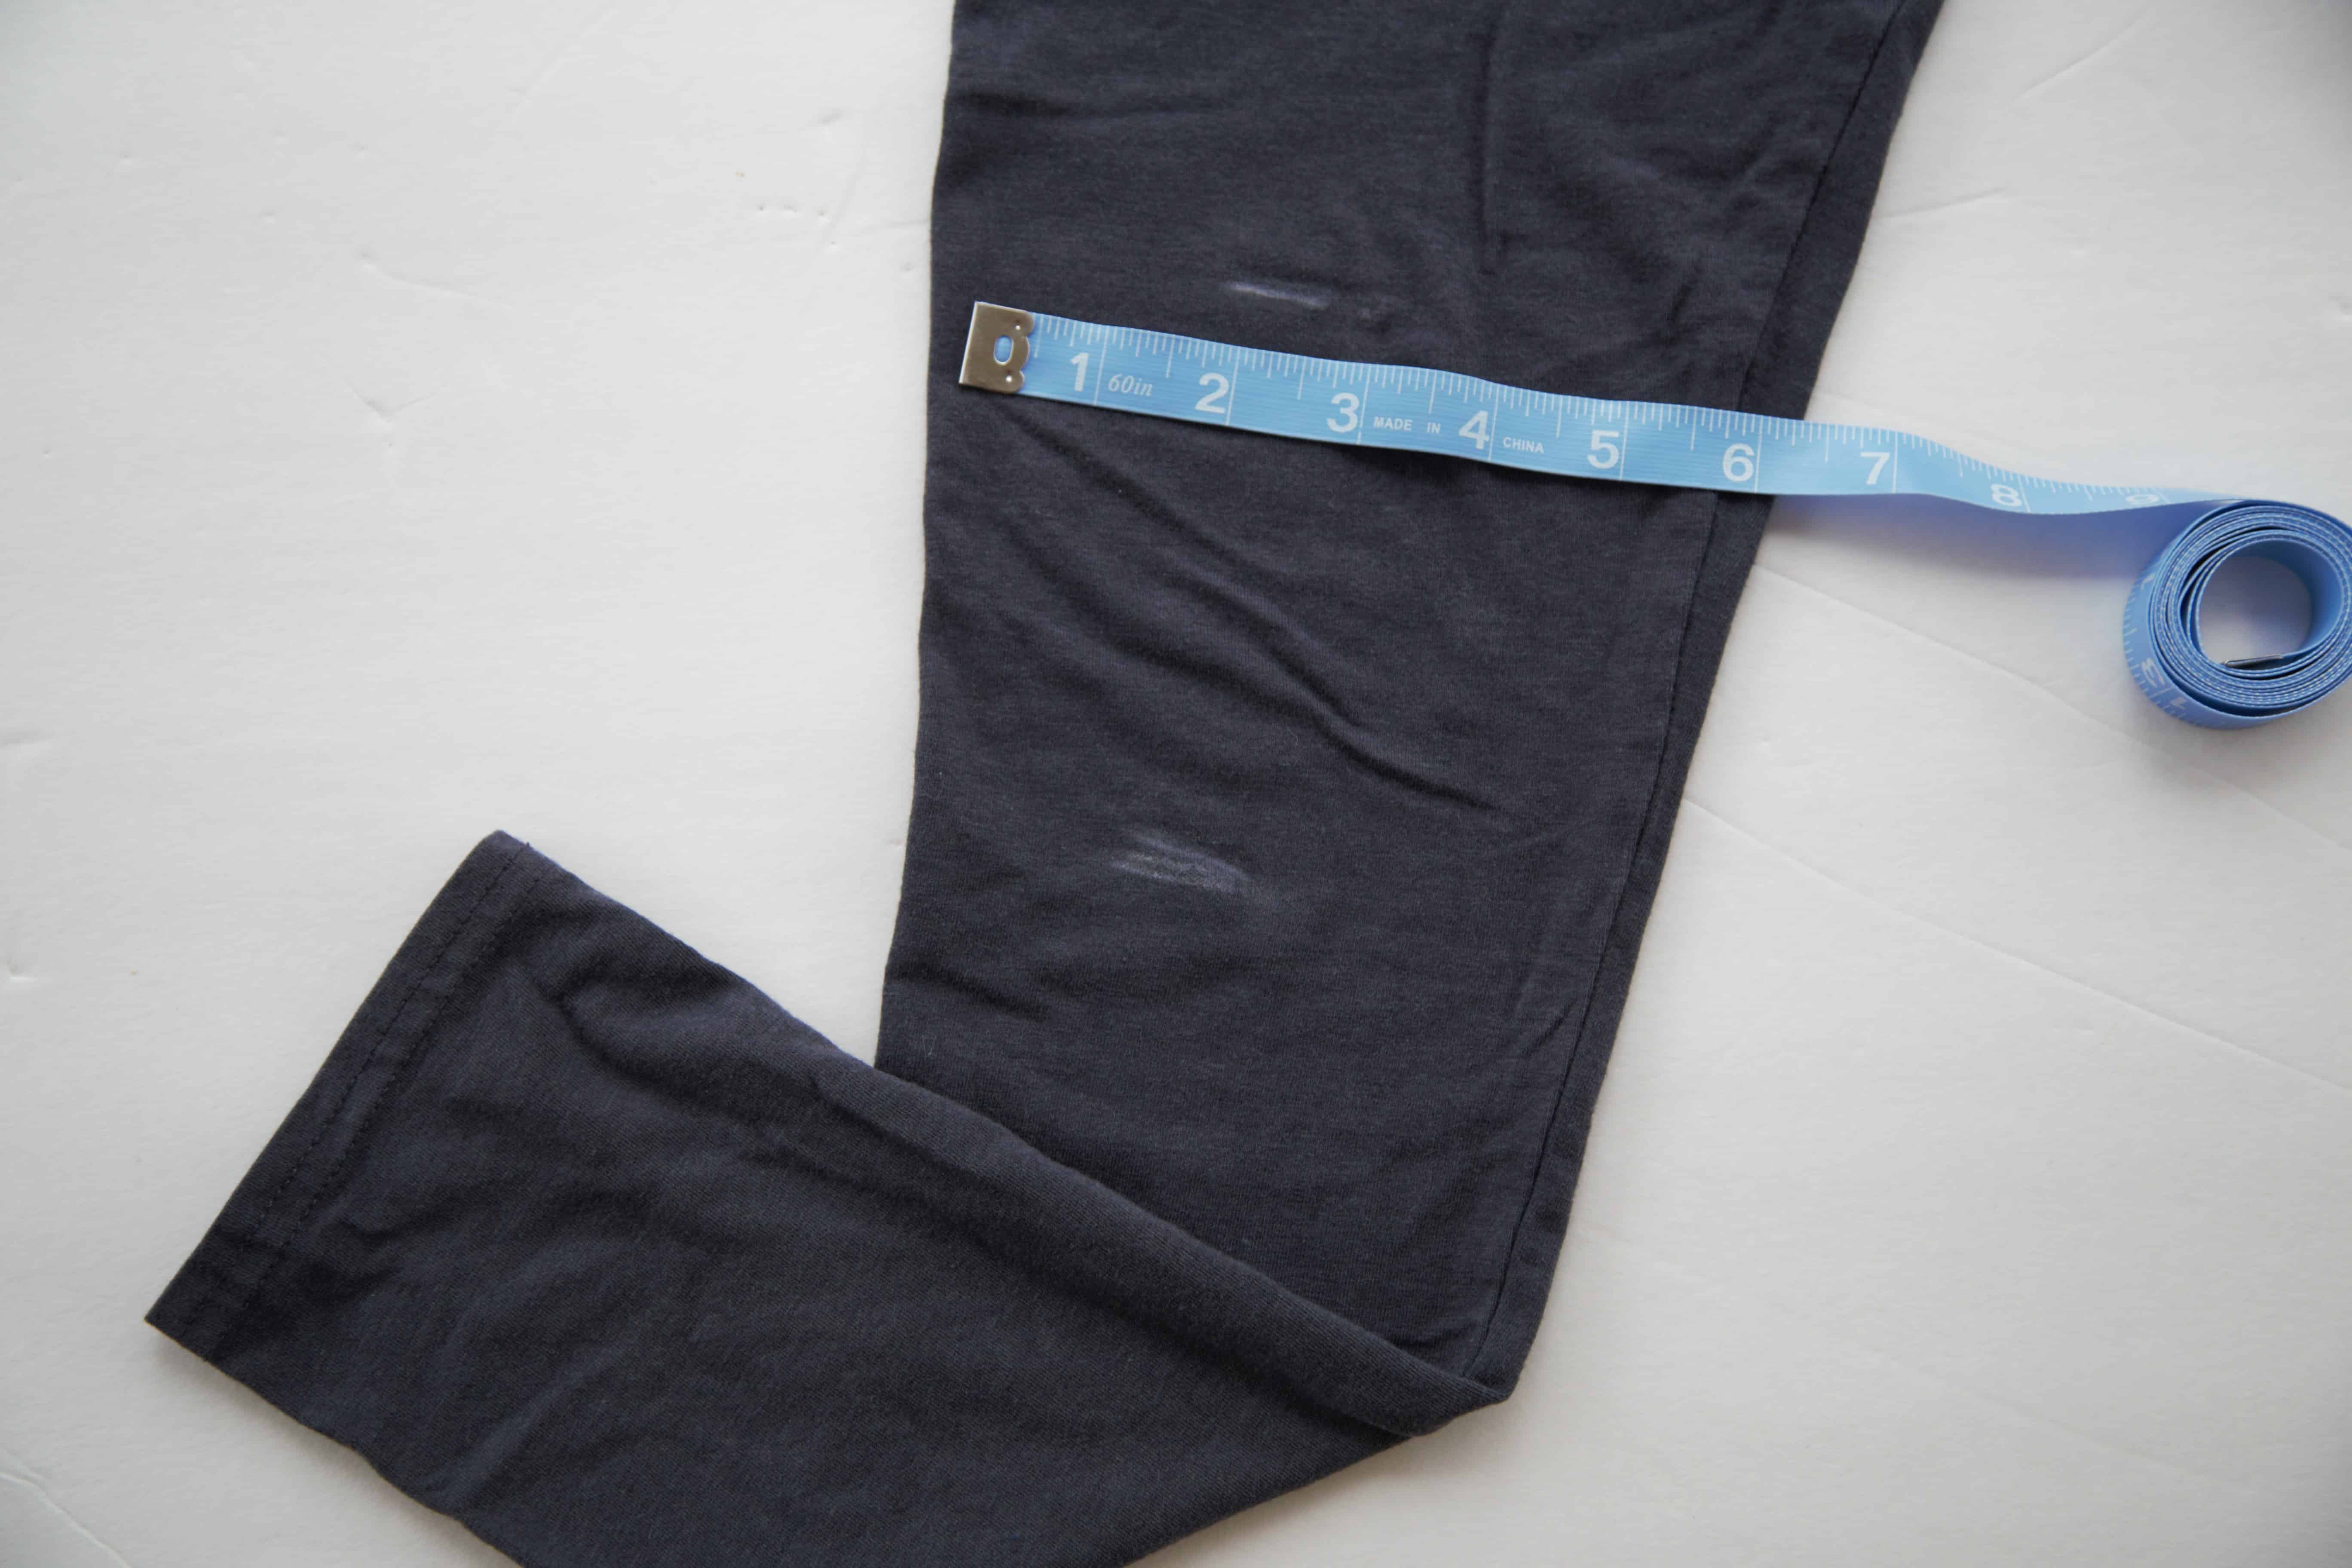
Take your leggings off and measure between your marks (height of patch) and across the front of the leg (width of patch) both at the top mark and the bottom. Your patch will be wider at the top than the bottom due to how the leg tapers. Make note of these measurements!
**You can even make your leather patch run all the way around the circumference of your knee, if you like!
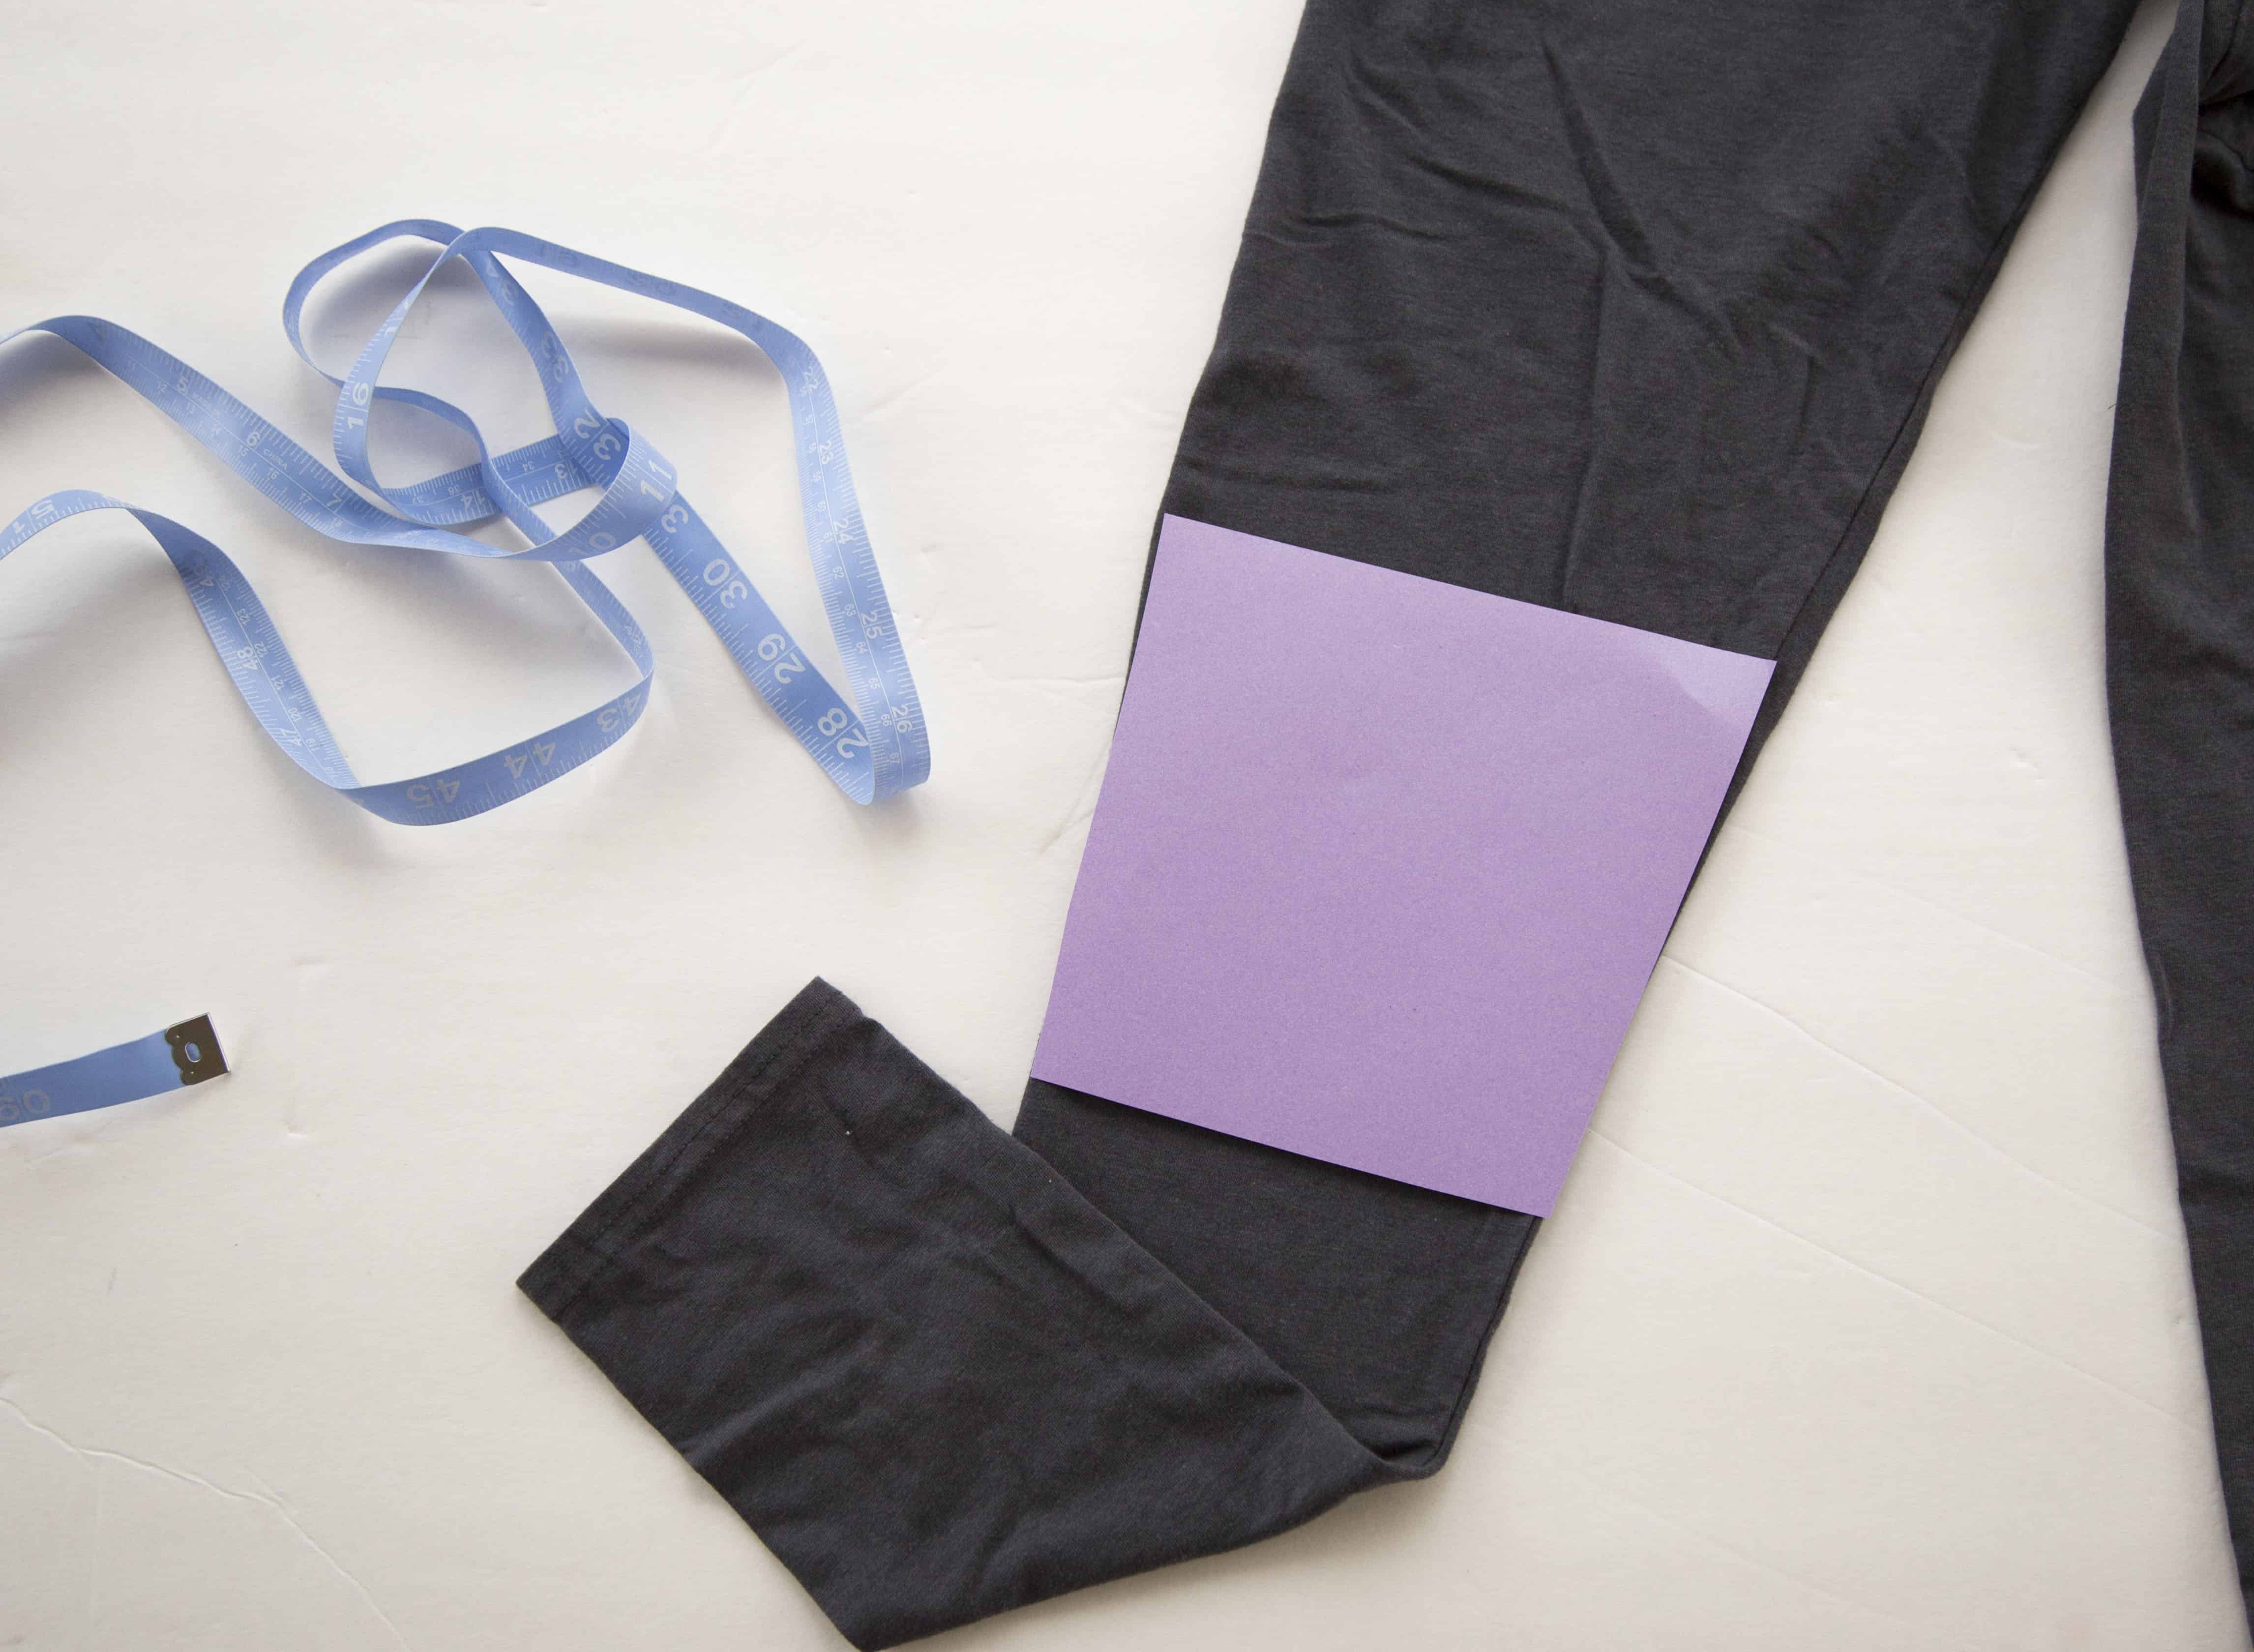
Create a pattern with a piece of cardstock using the measurements you just took. Your pattern will be a sort of quadrangle.
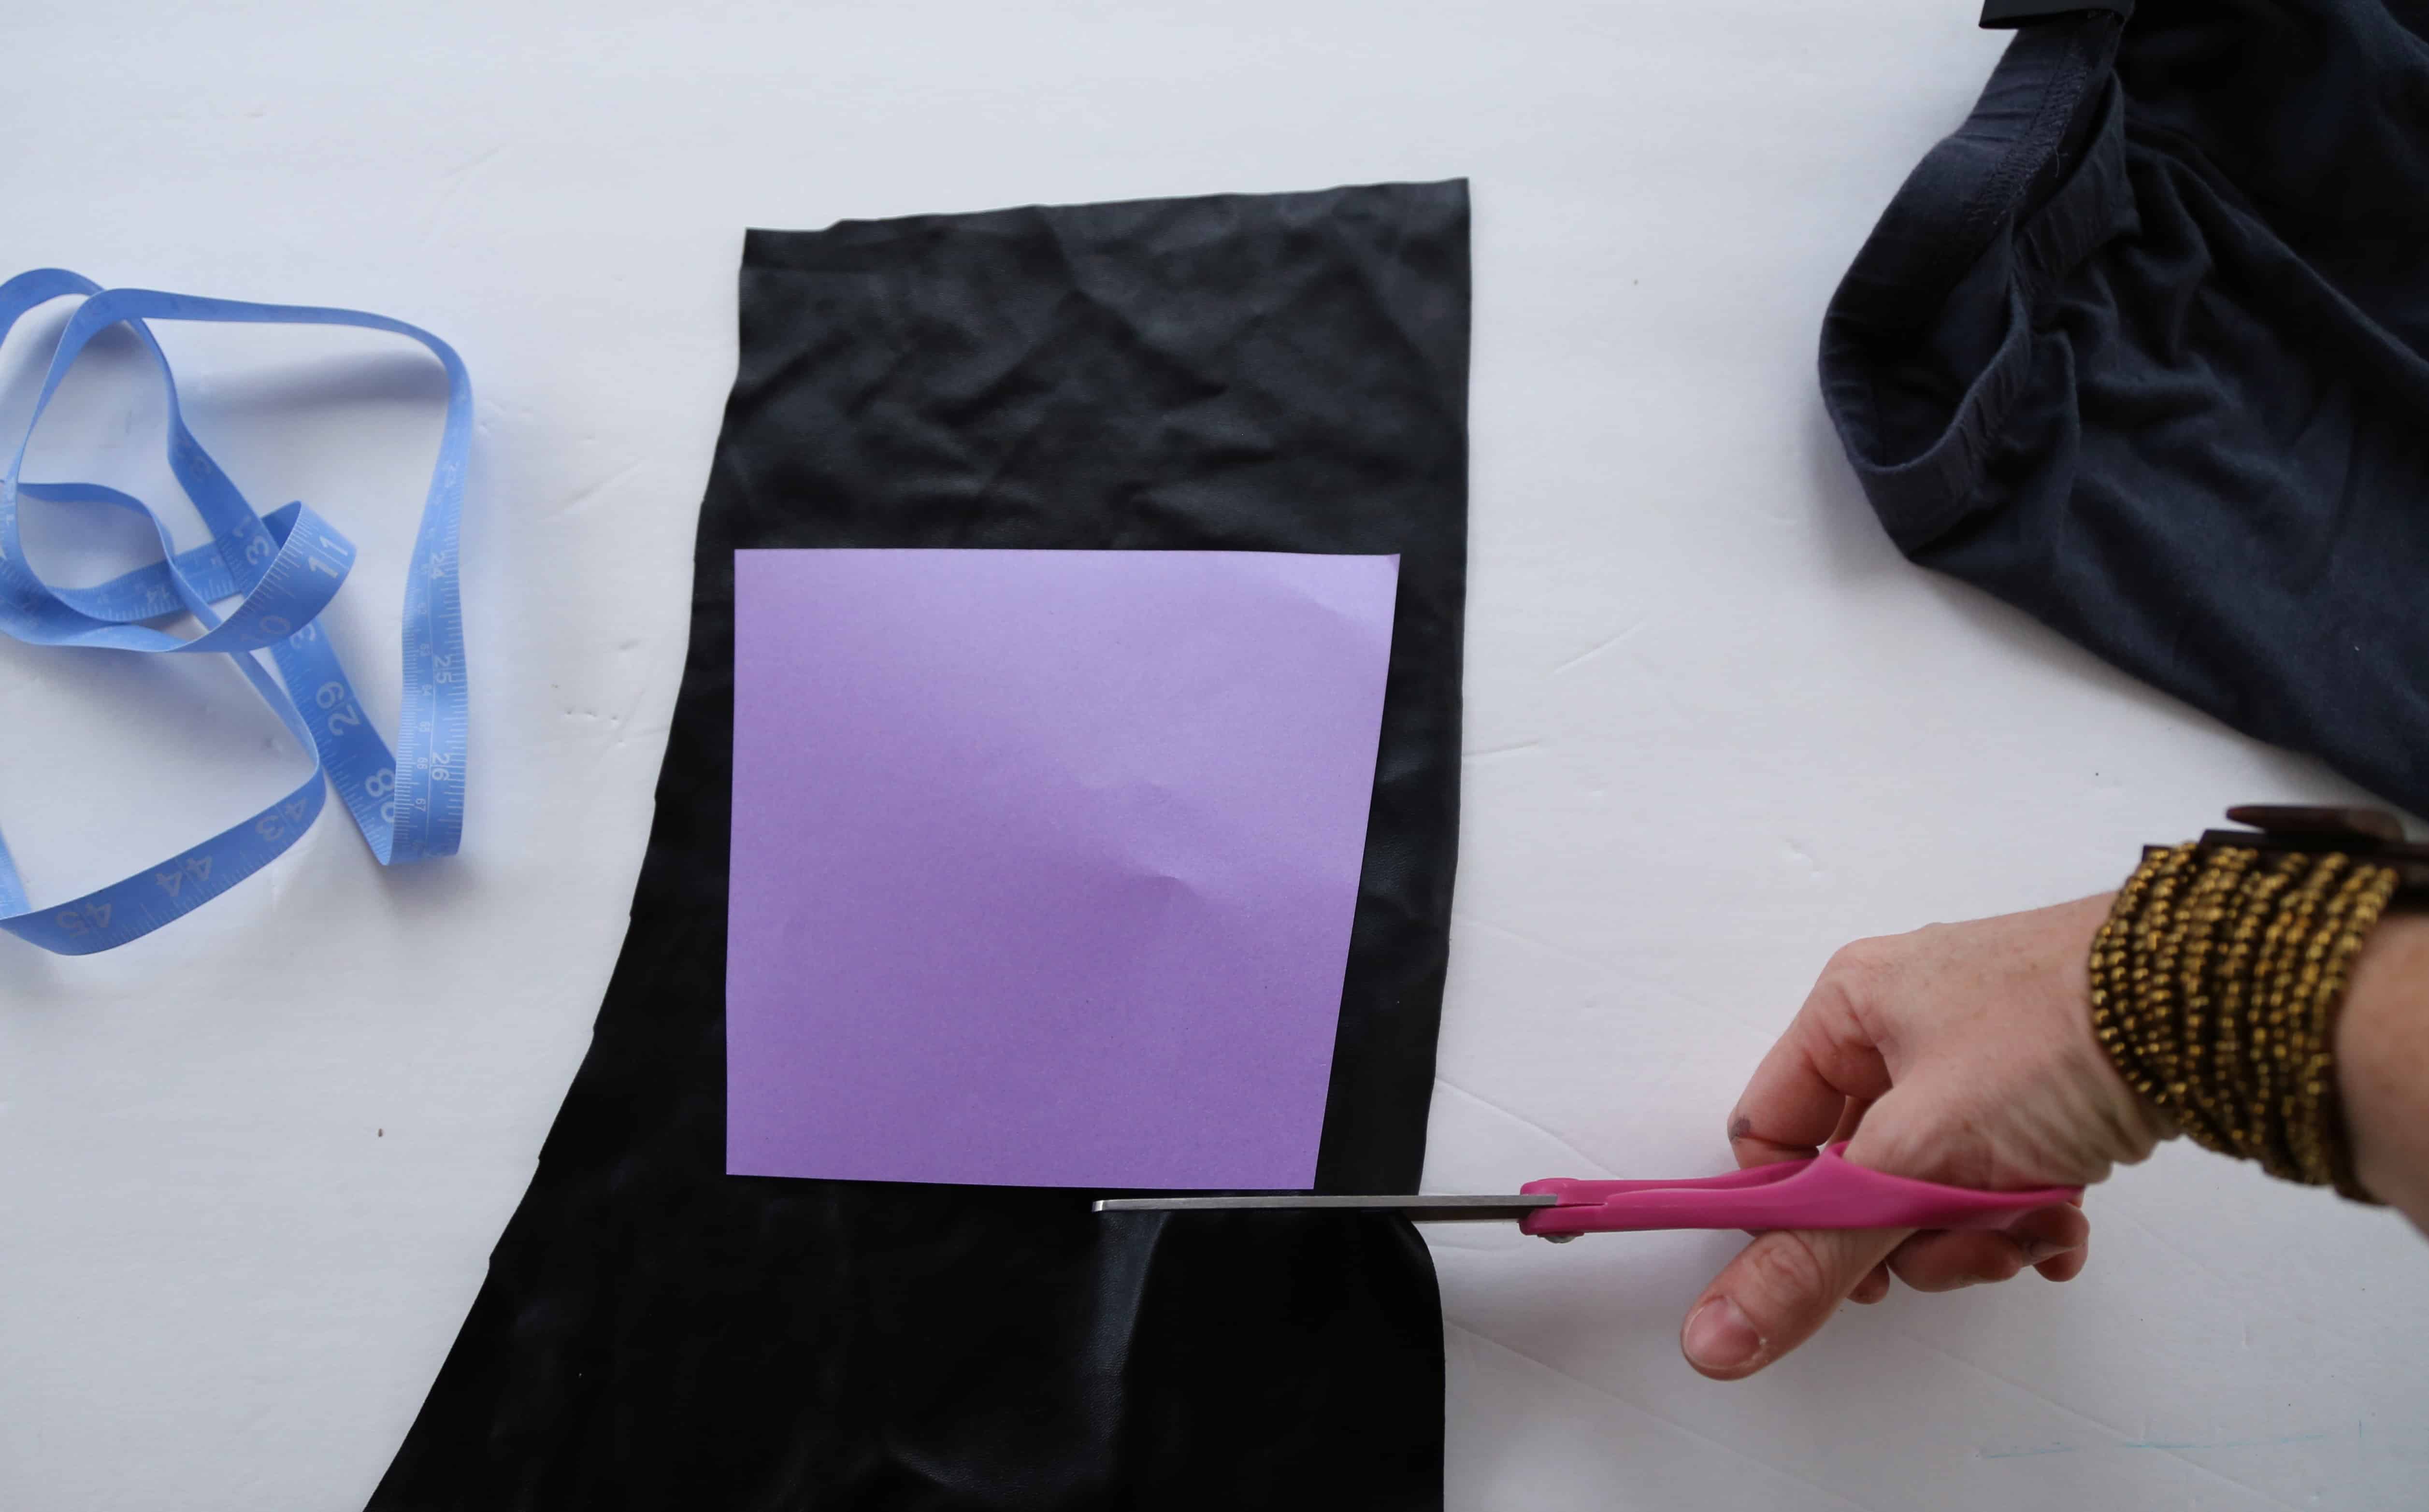
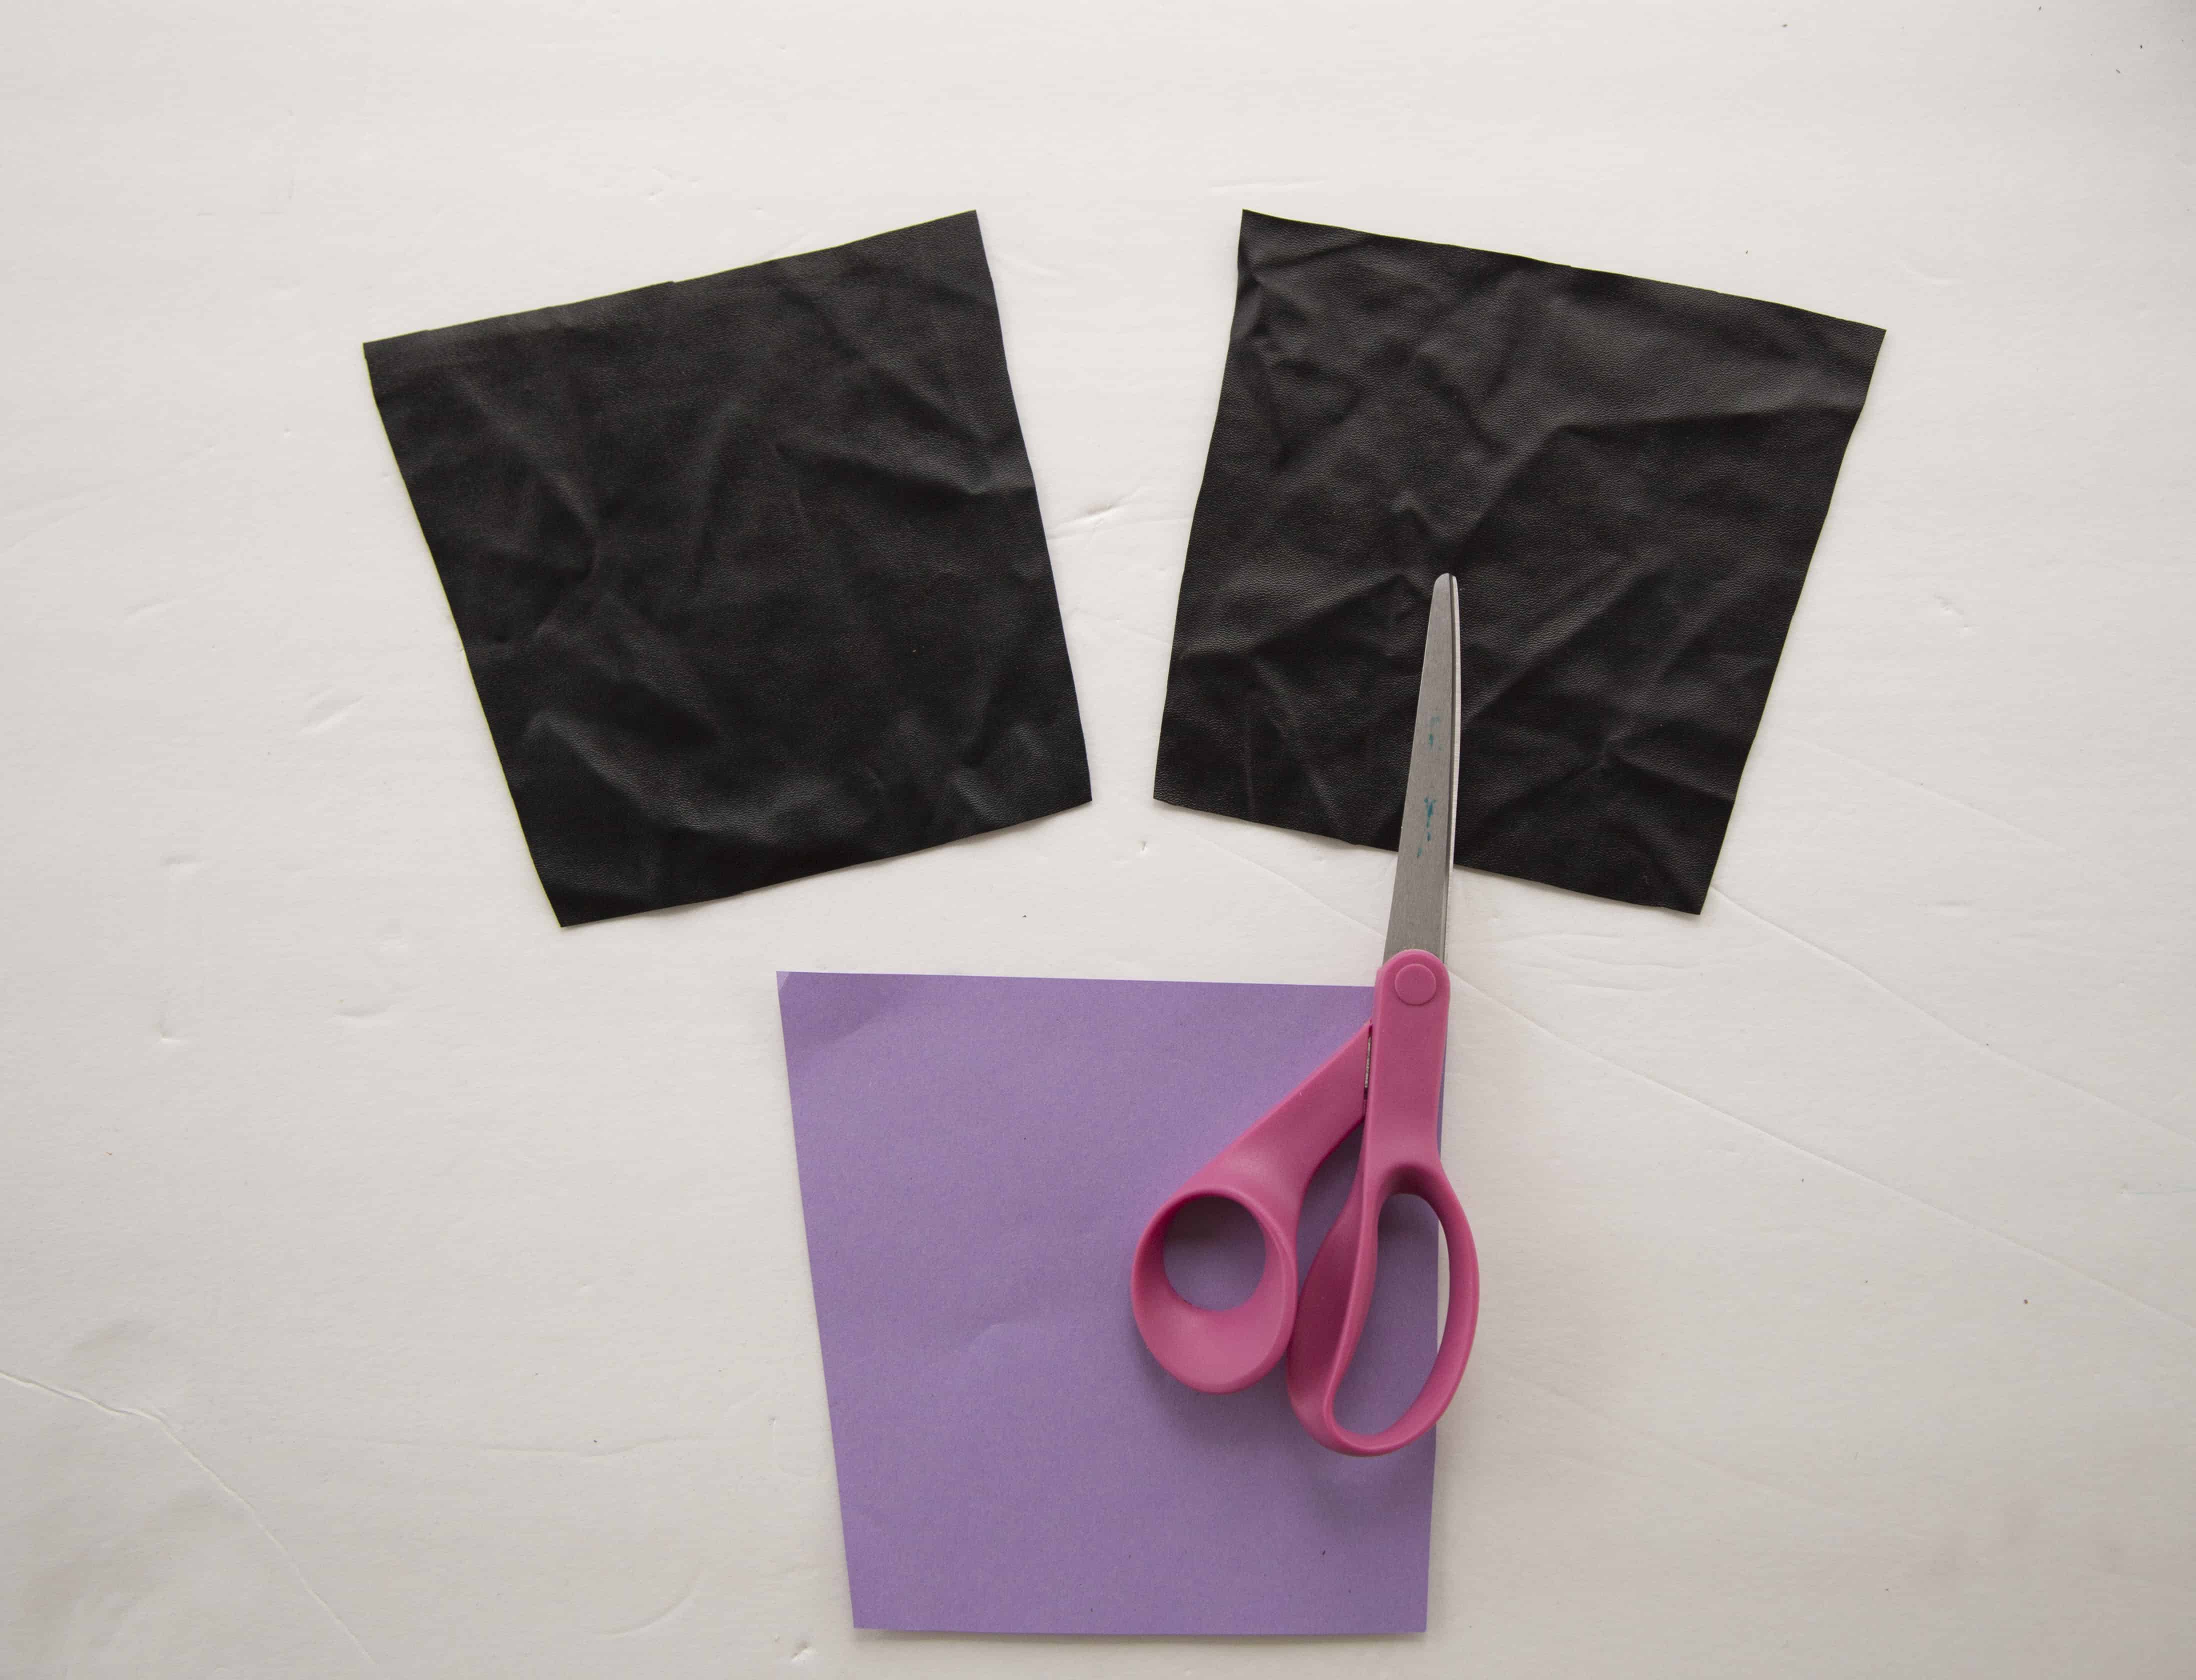
Cut out two leather patches using the pattern piece. NOTE: Be sure to flip your pattern piece over to cut the second patch! You want your patches to be mirror images of each other.
Also make sure that your leather pieces stretch along the width of the pattern. If there’s only one direction of stretch to the fabric, you want it to run horizontally and not vertically!
Now lay your patch in place on the knee of your leggings and topstitch in place! Since faux leather doesn’t fray, there’s no need to finish the raw edges.
This is the only slightly tricky part since you’ll want to topstitch through the front of the pants and not the back. Pull open your leggings at the waist and ease them onto the arm of your sewing machine. Go slowly and use your fingers to continually readjust the positioning of the patch. Pins leave holes in faux leather so you’ll just have to keep it in place with your hands. You might find that running a basting stitch through your corners keeps it in place.

One last note about leather and faux leather: sometimes it can cause your presser foot to stick or your machine to skip stitches. Try one or more of these fixes:
1. Use a Teflon presser foot (I don’t have one of these but I need one!)
2. Baste your patch on from the outside and then topstitch along the basting line from the inside of the leggings. OR, use spray adhesive to keep your patch in place and stitch along the edge of patch from the inside of leggings. I ended up using a combination of these two to avoid the skipped stitches.
3. Use tissue paper between your presser foot and fabric. Once your seam is done, just tear the paper away.
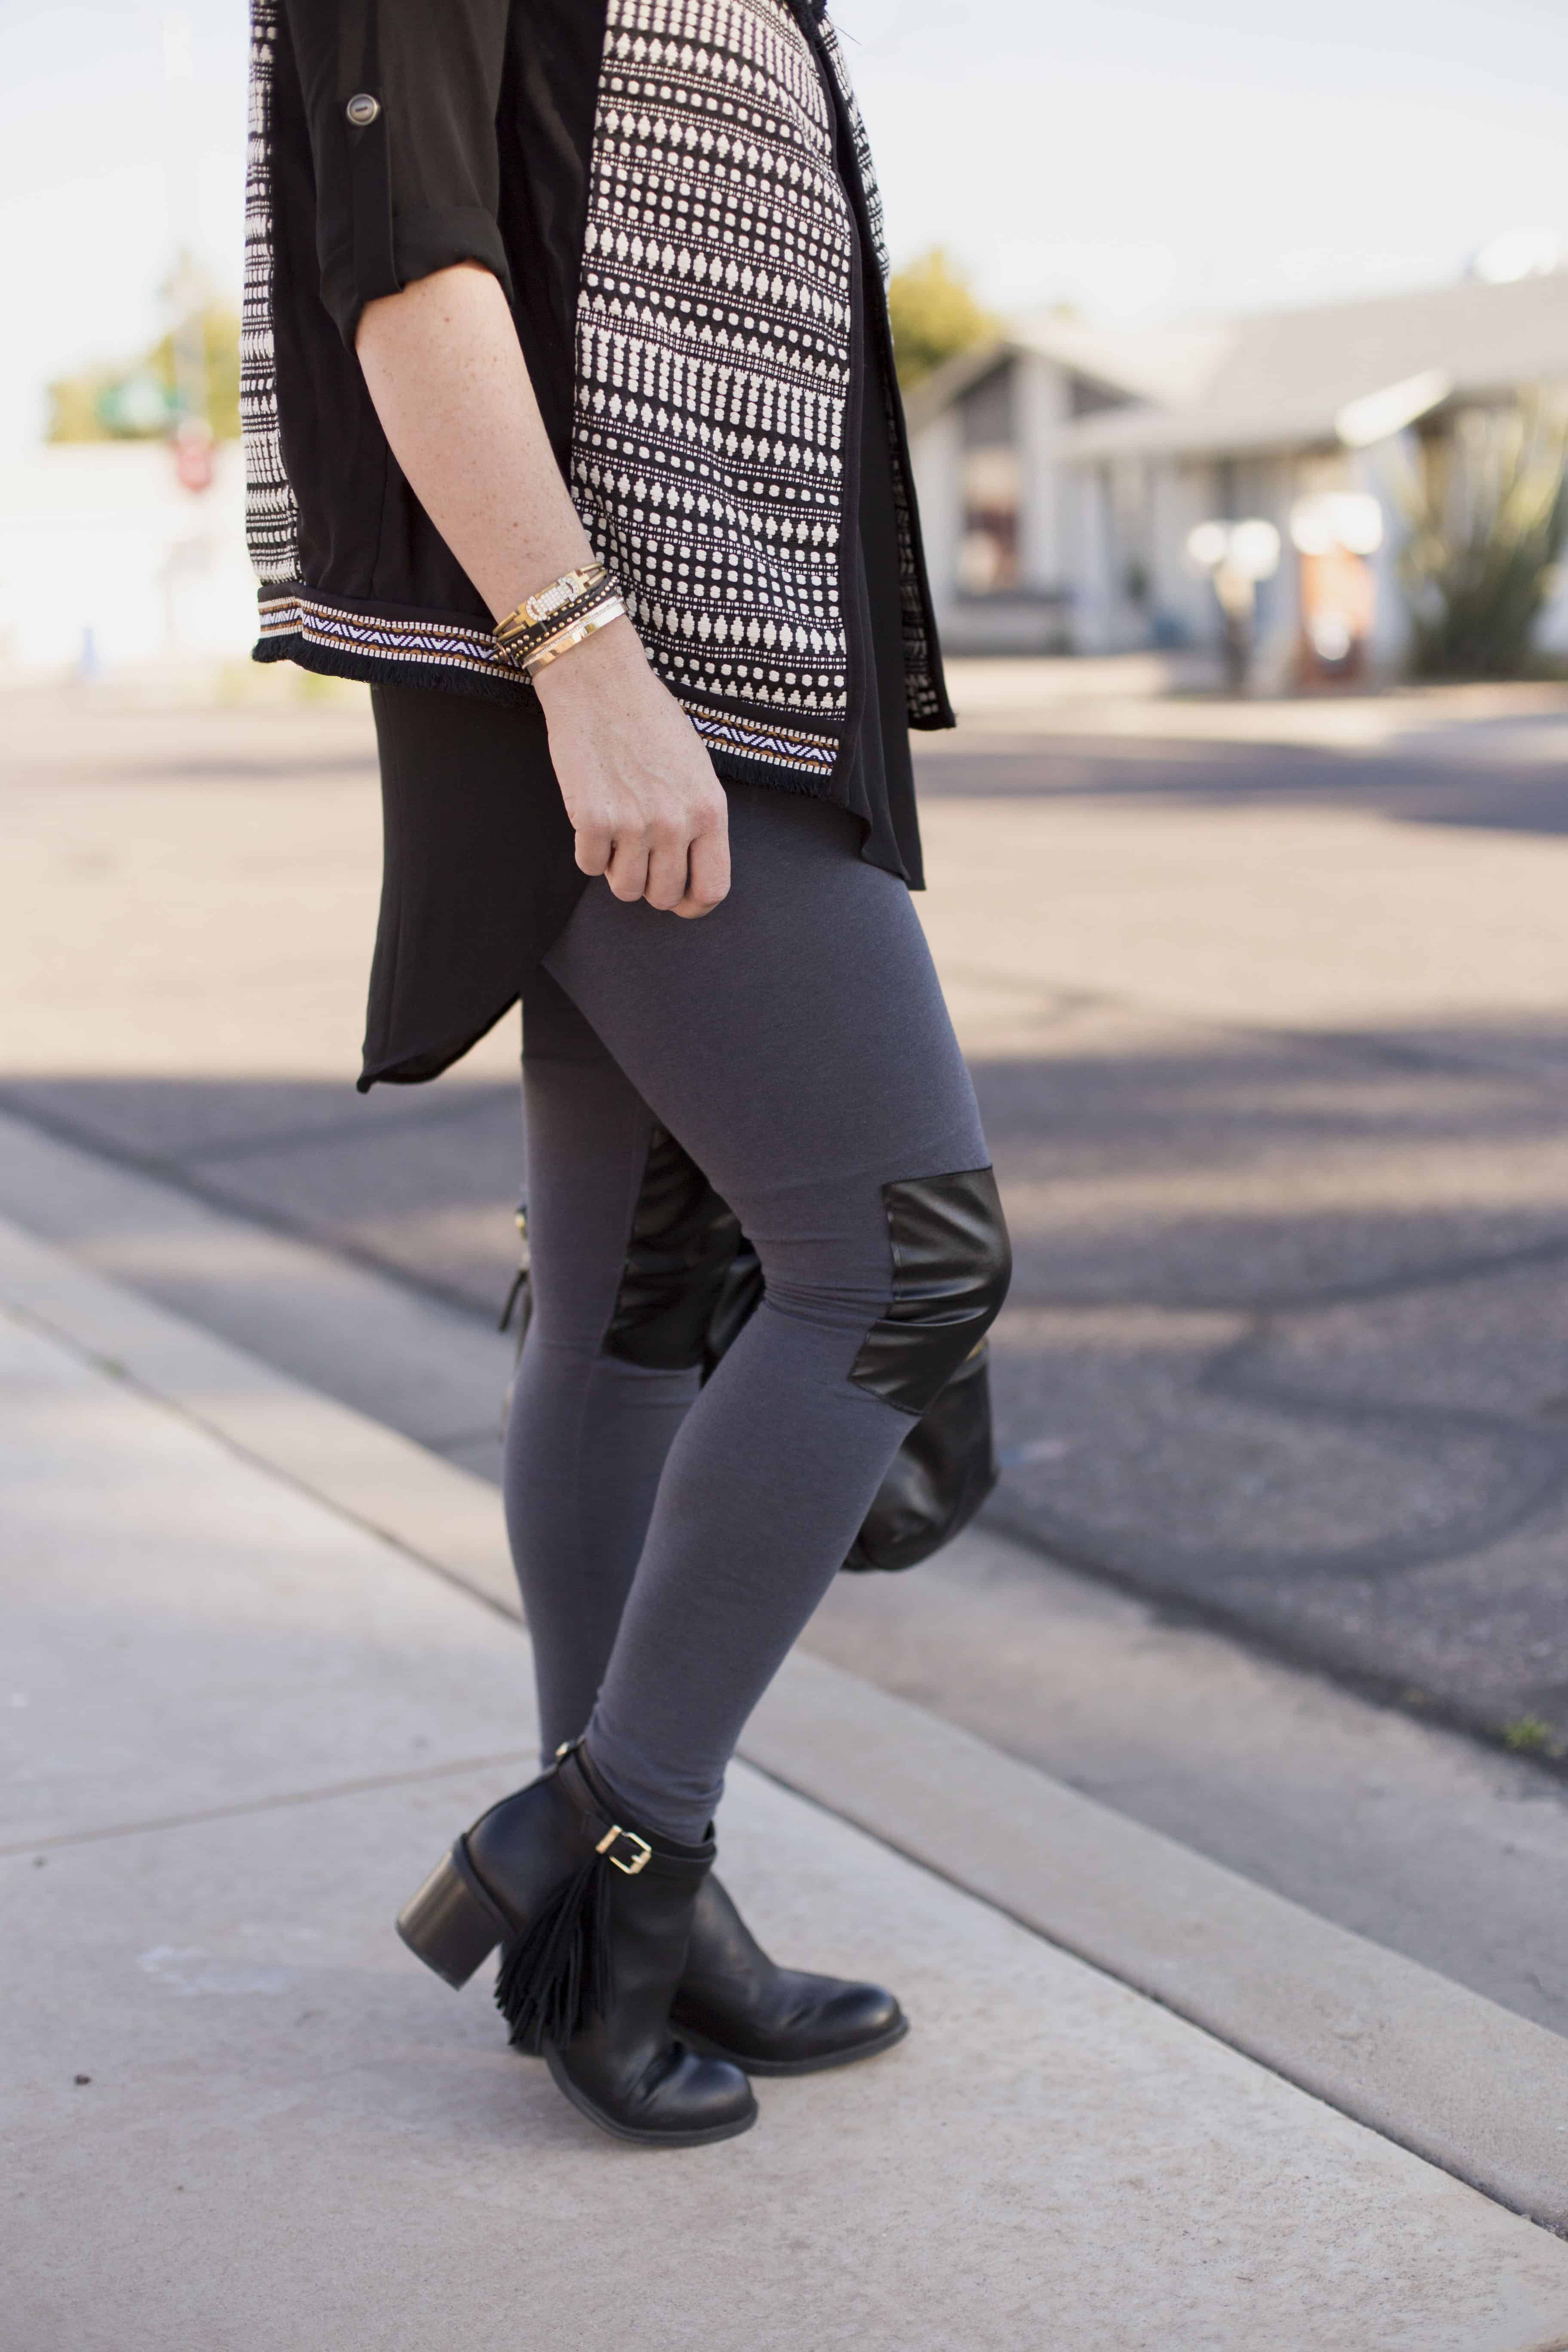
Voila! Now go strut your leather-embellished stuff!
Tunic (on sale and lots of colors!)
Vest sold out – similar here (and similar jacket here and here!)
Booties
Purse
2 Comments
Rosario
September 8, 2019 at 6:17 ami made these leggings for my boyfriend and he loves them.
http://res.cloudinary.com/powerreviews/image/upload/d_portal-no-product-image_ttlfpi.svg,f_auto,q_auto,h_768,w_auto/prod/vt30u1lx1vjn7higw2ik.jpg
Bonnie
September 8, 2019 at 7:31 amThose are awesome! Bravo!