

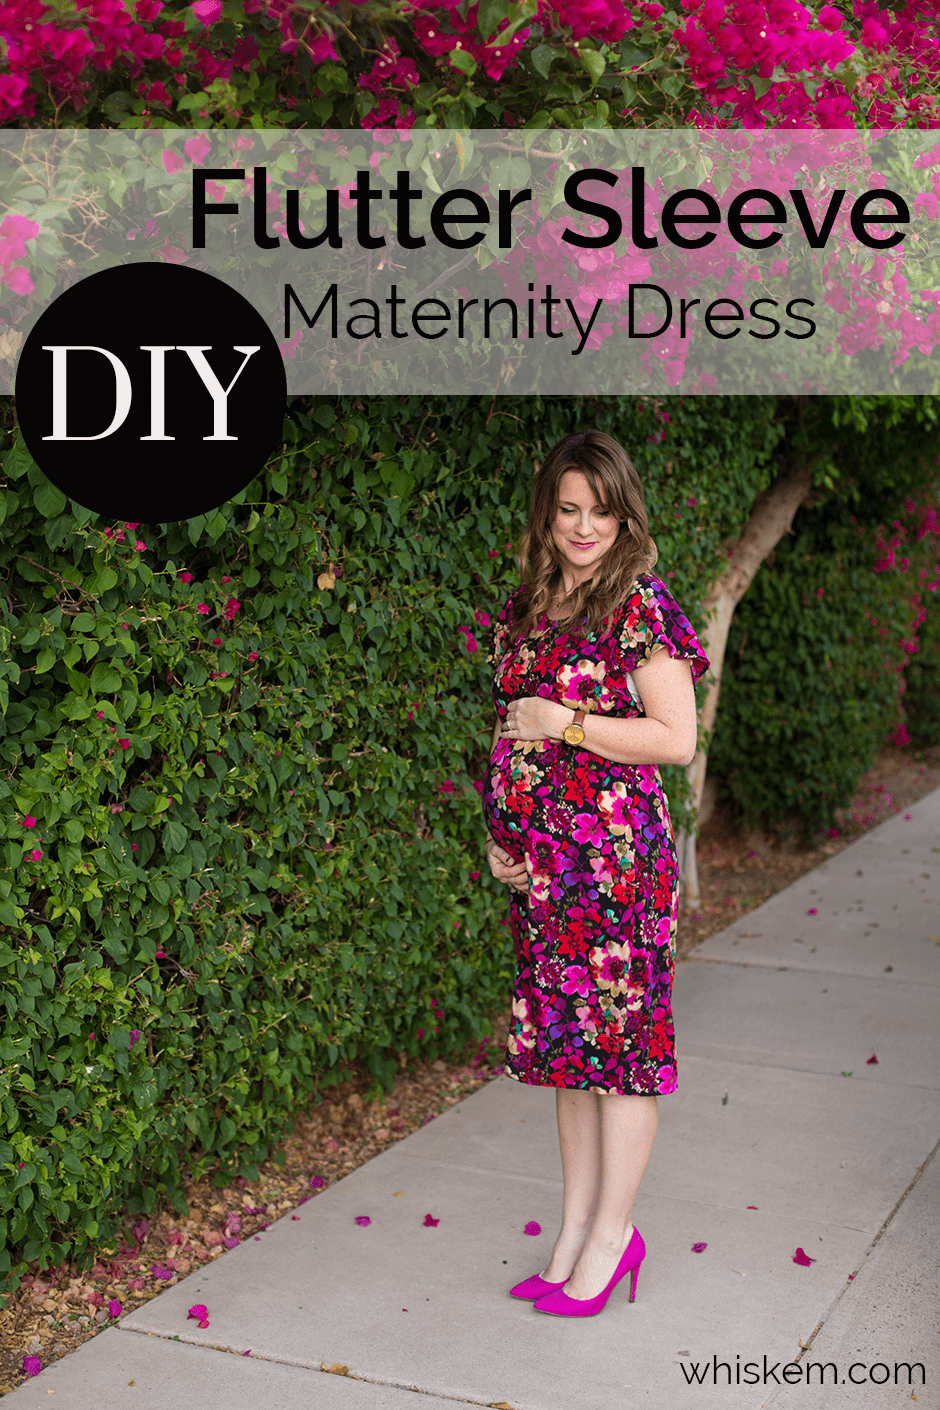
Well, I’m officially pregnant enough that it’s getting difficult to dress this bump. You’d think I’d have this great wardrobe of stylish maternity clothes now that I’m on my 7th go around but, alas…my under-the-bed box of big-girl clothes was pretty sad looking when I opened it up a couple months ago.
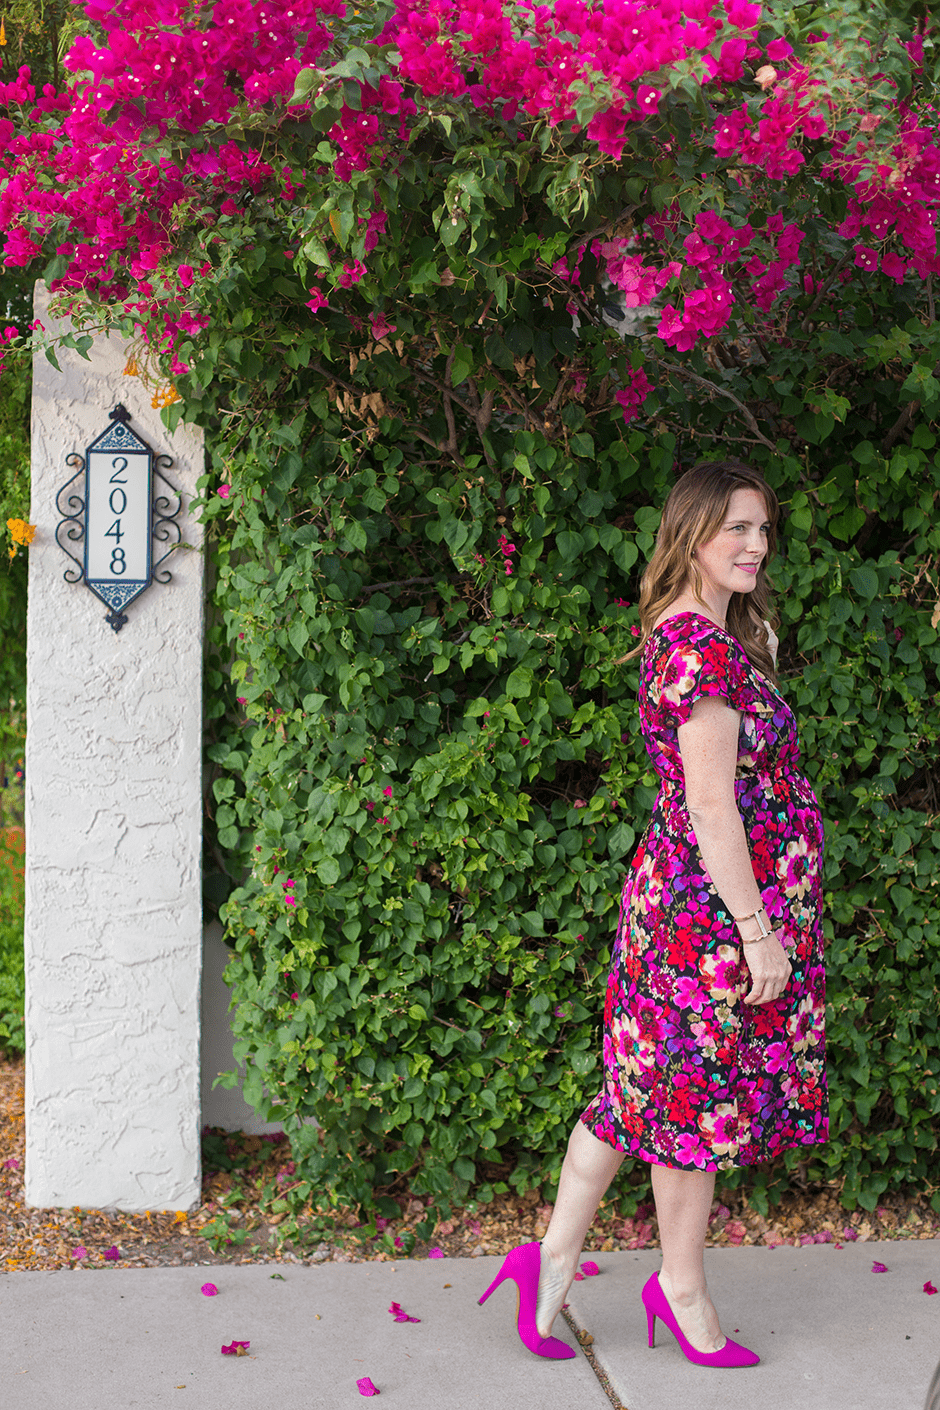
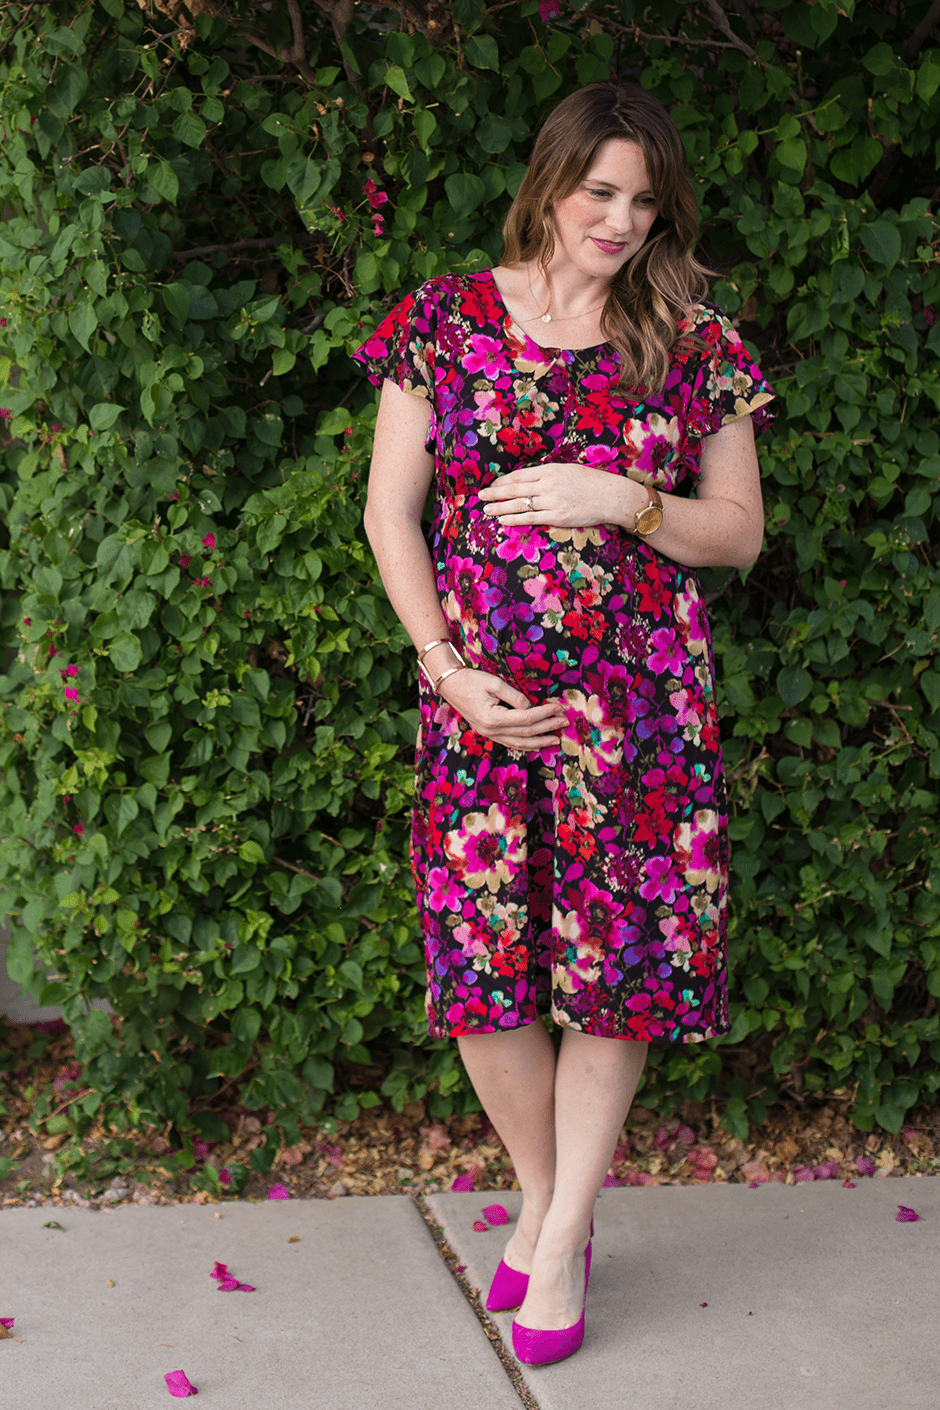
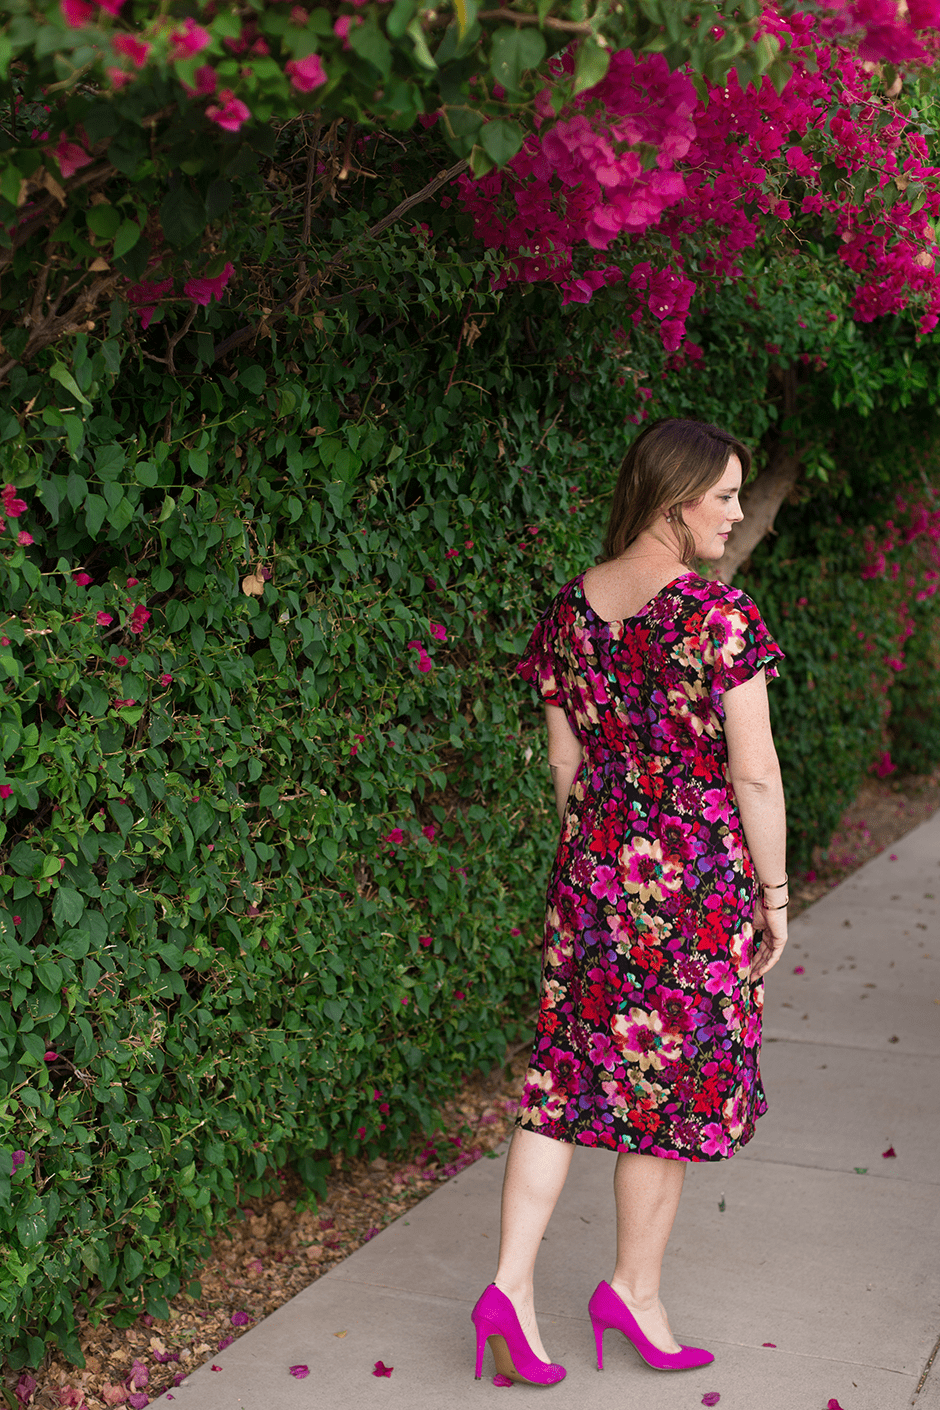
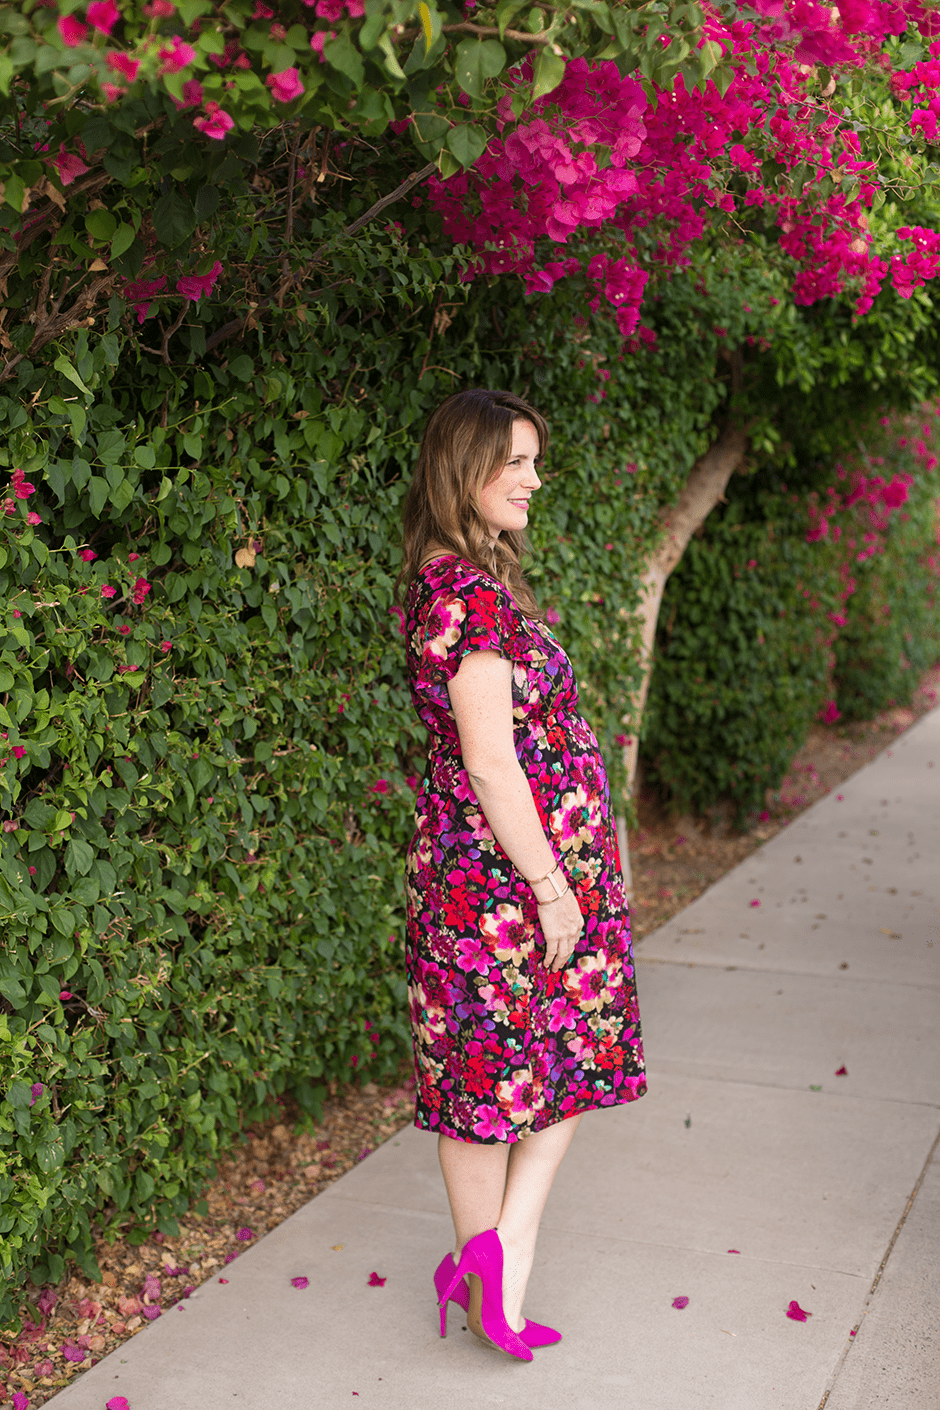
Sundays are especially hard because I want to look nice for church…and not just squeezed into a too-small T-shirt dress. I went rummaging through the fabric stash a while ago and found this floral from Joann Fabrics I’d bought ages ago. I was saving it for the perfect project and I’m thrilled with how this flutter sleeve maternity dress turned out. It’d be perfect for just about any body shape, pregnant or not!
The tutorial is pretty simple, and I’ve included a free pattern for the flutter sleeves. They’re a little trickier to draft than your typical sleeve but they lend so much more to a basic dress silhouette. Read on for the full tutorial!
What you’ll need:
2.5-3 yards of a flowy fabric (I used rayon which can be tricky for beginners but is so comfy and pretty to wear!)
1 yard 3/4″ elastic
coordinating thread
- Download the sleeve pattern by clicking above. Print at full scale (choose “no scale” or uncheck “fit to page” on your printer’s dialog box) and tape the two pages together, overlapping edges (no trimming needed). Cut out your pattern and then cut 2 sleeves from your fabric, on the fold.
- Grab a shirt or dress that currently fits you well (make sure it’s made from a woven/non-stretch fabric and not a knit), and fold it in half lengthwise. Lay it on top of your fabric, with folds aligned. Trace around your shirt/dress along the neckline, shoulder and armscye (arm hole), adding a seam allowance.To determine how wide to cut your dress waistline, you’ll need to measure around your rib cage (or waist if making a non-maternity version) and add several inches to make it wide enough to get on and off easily. For reference, my rib cage is about 33″ around, and I made my dress about 44″ wide at the waistline.Once you’ve marked your desired waist width, taper out from under the arm to this waist marking, and then a bit more out and down to the hem. Be sure to add an extra 1.25″ to the bottom of your bodice and top of your skirt to account for adding the elastic. (I’ve included a few of the measurements I used on the diagram below.)
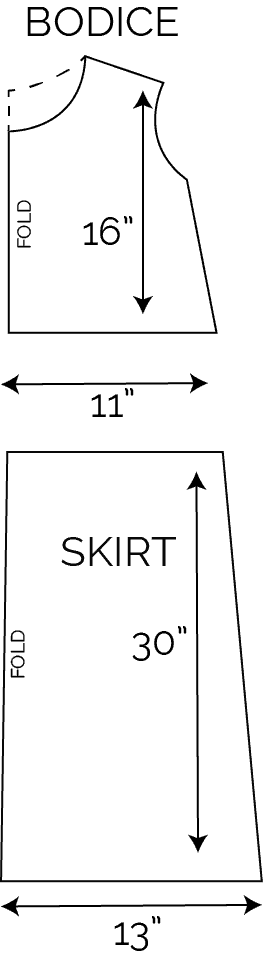
- Cut two bodice halves, one front with a lower neckline and one back with a higher neckline, and two skirt halves. NOTE: if making a maternity dress, you might consider scooping your front skirt hem down a few inches so that it hangs straight even over a big belly!
- Sew your bodice front and back together along shoulder and side seams. Sew skirt front and back together along side seams. Finish seams and press well.
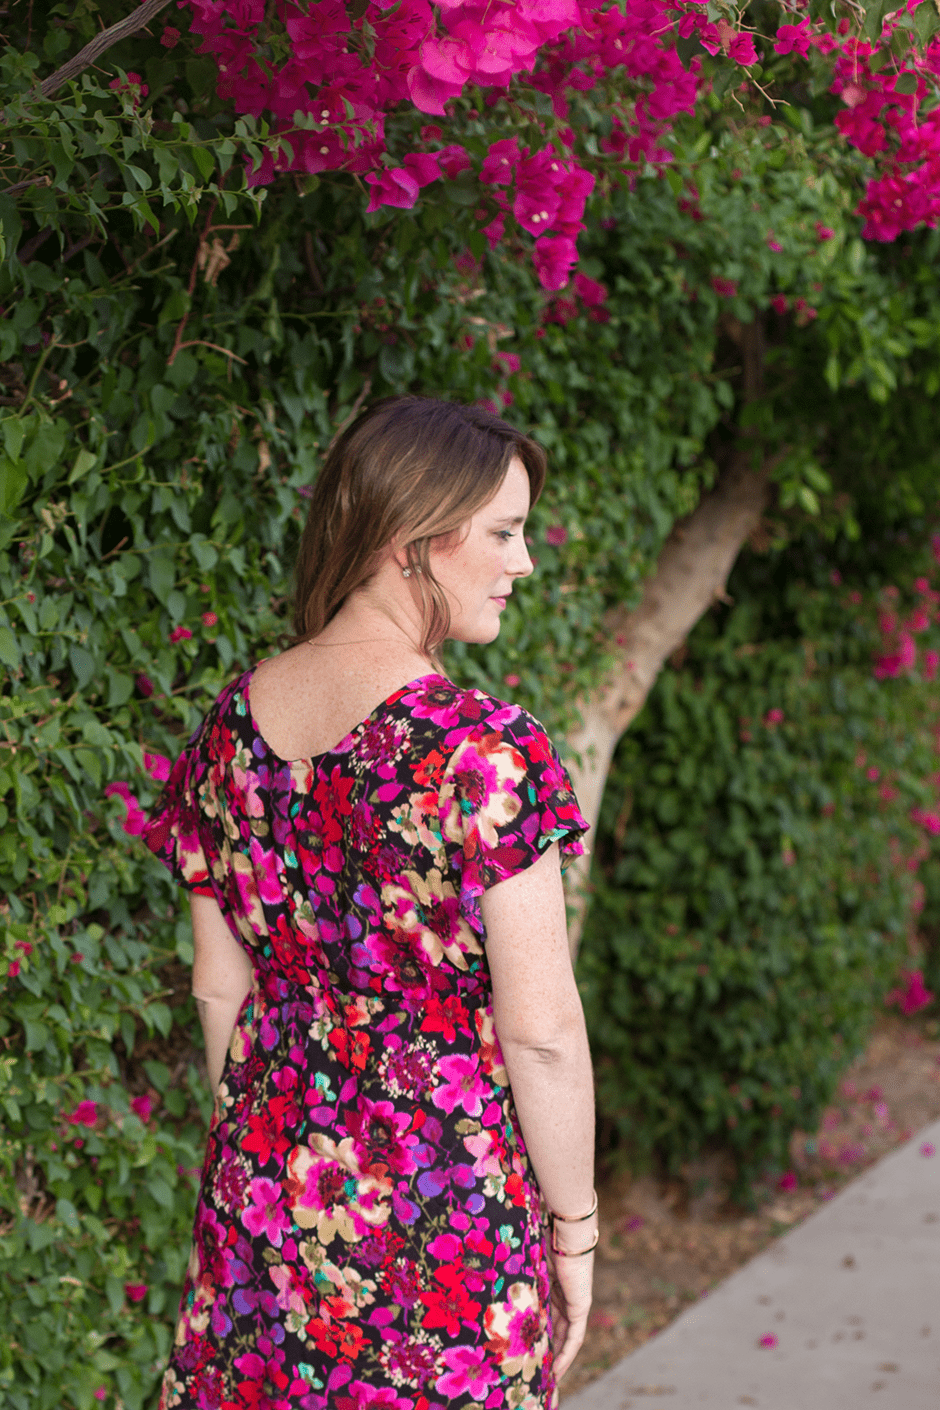
- For your sleeves, match up the short edges, right sides together, and stitch together. With bodice inside out, (and sleeves right side out) insert sleeves into arm holes and stitch in place, matching up side and underarm seams. Be sure the curve marked “shoulder” matches up to the shoulder seam on your bodice. Finish and press all seams.
- With skirt inside out, and bodice right side out, insert top of bodice into top of skirt so that raw edges at waist match up. Stitch skirt and bodice together and finish raw edge. Stitch again around waistline, about 1” inside of first stitching line.
- To create casing, fold this 1” seam allowance down and stitch close to raw edge, leaving about 2” open to insert elastic.
- Cut elastic the width of your waistline, minus 1”. Insert elastic into casing, stitch elastic together at short ends, and close up 2” opening in fabric casing.
- Finish your neckline by following this awesome tutorial from Grainline Studio. It yields perfectly flat necklines every time!
- Hem sleeves and skirt bottom using a double fold hem.And that’s it! Try on your new dress and admire your handiwork!
3 Comments
Maternity DIY Roundup
December 14, 2016 at 3:48 pm[…] Flutter Sleeve Dress by Whisk ‘Em […]
Henriette
August 25, 2017 at 3:49 pmI love your page/blog I’m a grandmother of 3 gorgeous grand kids and gave been sewing since I was very young! I now love to sew for my grandkids, you’ve given me some great ideas thank you, keep going. 8 kiddies wow you must have so much fun and love in your house, imagine when they all grow up and gave children of their own, well done and enjoy every minute of it.
Bonnie
August 26, 2017 at 4:28 pmAw, thank you Henriette! I’m glad you’re enjoying some of my sewing posts! Out family is very full of joy – and lots of craziness. I really look forward to being a grandma! I think it’s going to be an amazing phase of life 🙂