

This shop has been compensated by Collective Bias, Inc. and its advertiser. All opinions are mine alone. #SuperAbsorbent #CollectiveBias
Hey mamas! Today’s post is all about simplifying life as a busy, crazy insane mom….specifically, diaper time! Plus a super easy sewing tutorial!
Over my 11+ years of diapering babies (ay!), I’ve learned one very important thing: skimping quality when it comes to diapers is never a good idea. I’m as much of a bargain hunter as the next mom of a million kids, but we’ve been using Huggies diapers exclusively ever since our oldest, Liam, was a baby. I’ve tried the off-brand diapers before and the blowouts and soggy messes were just never worth it.
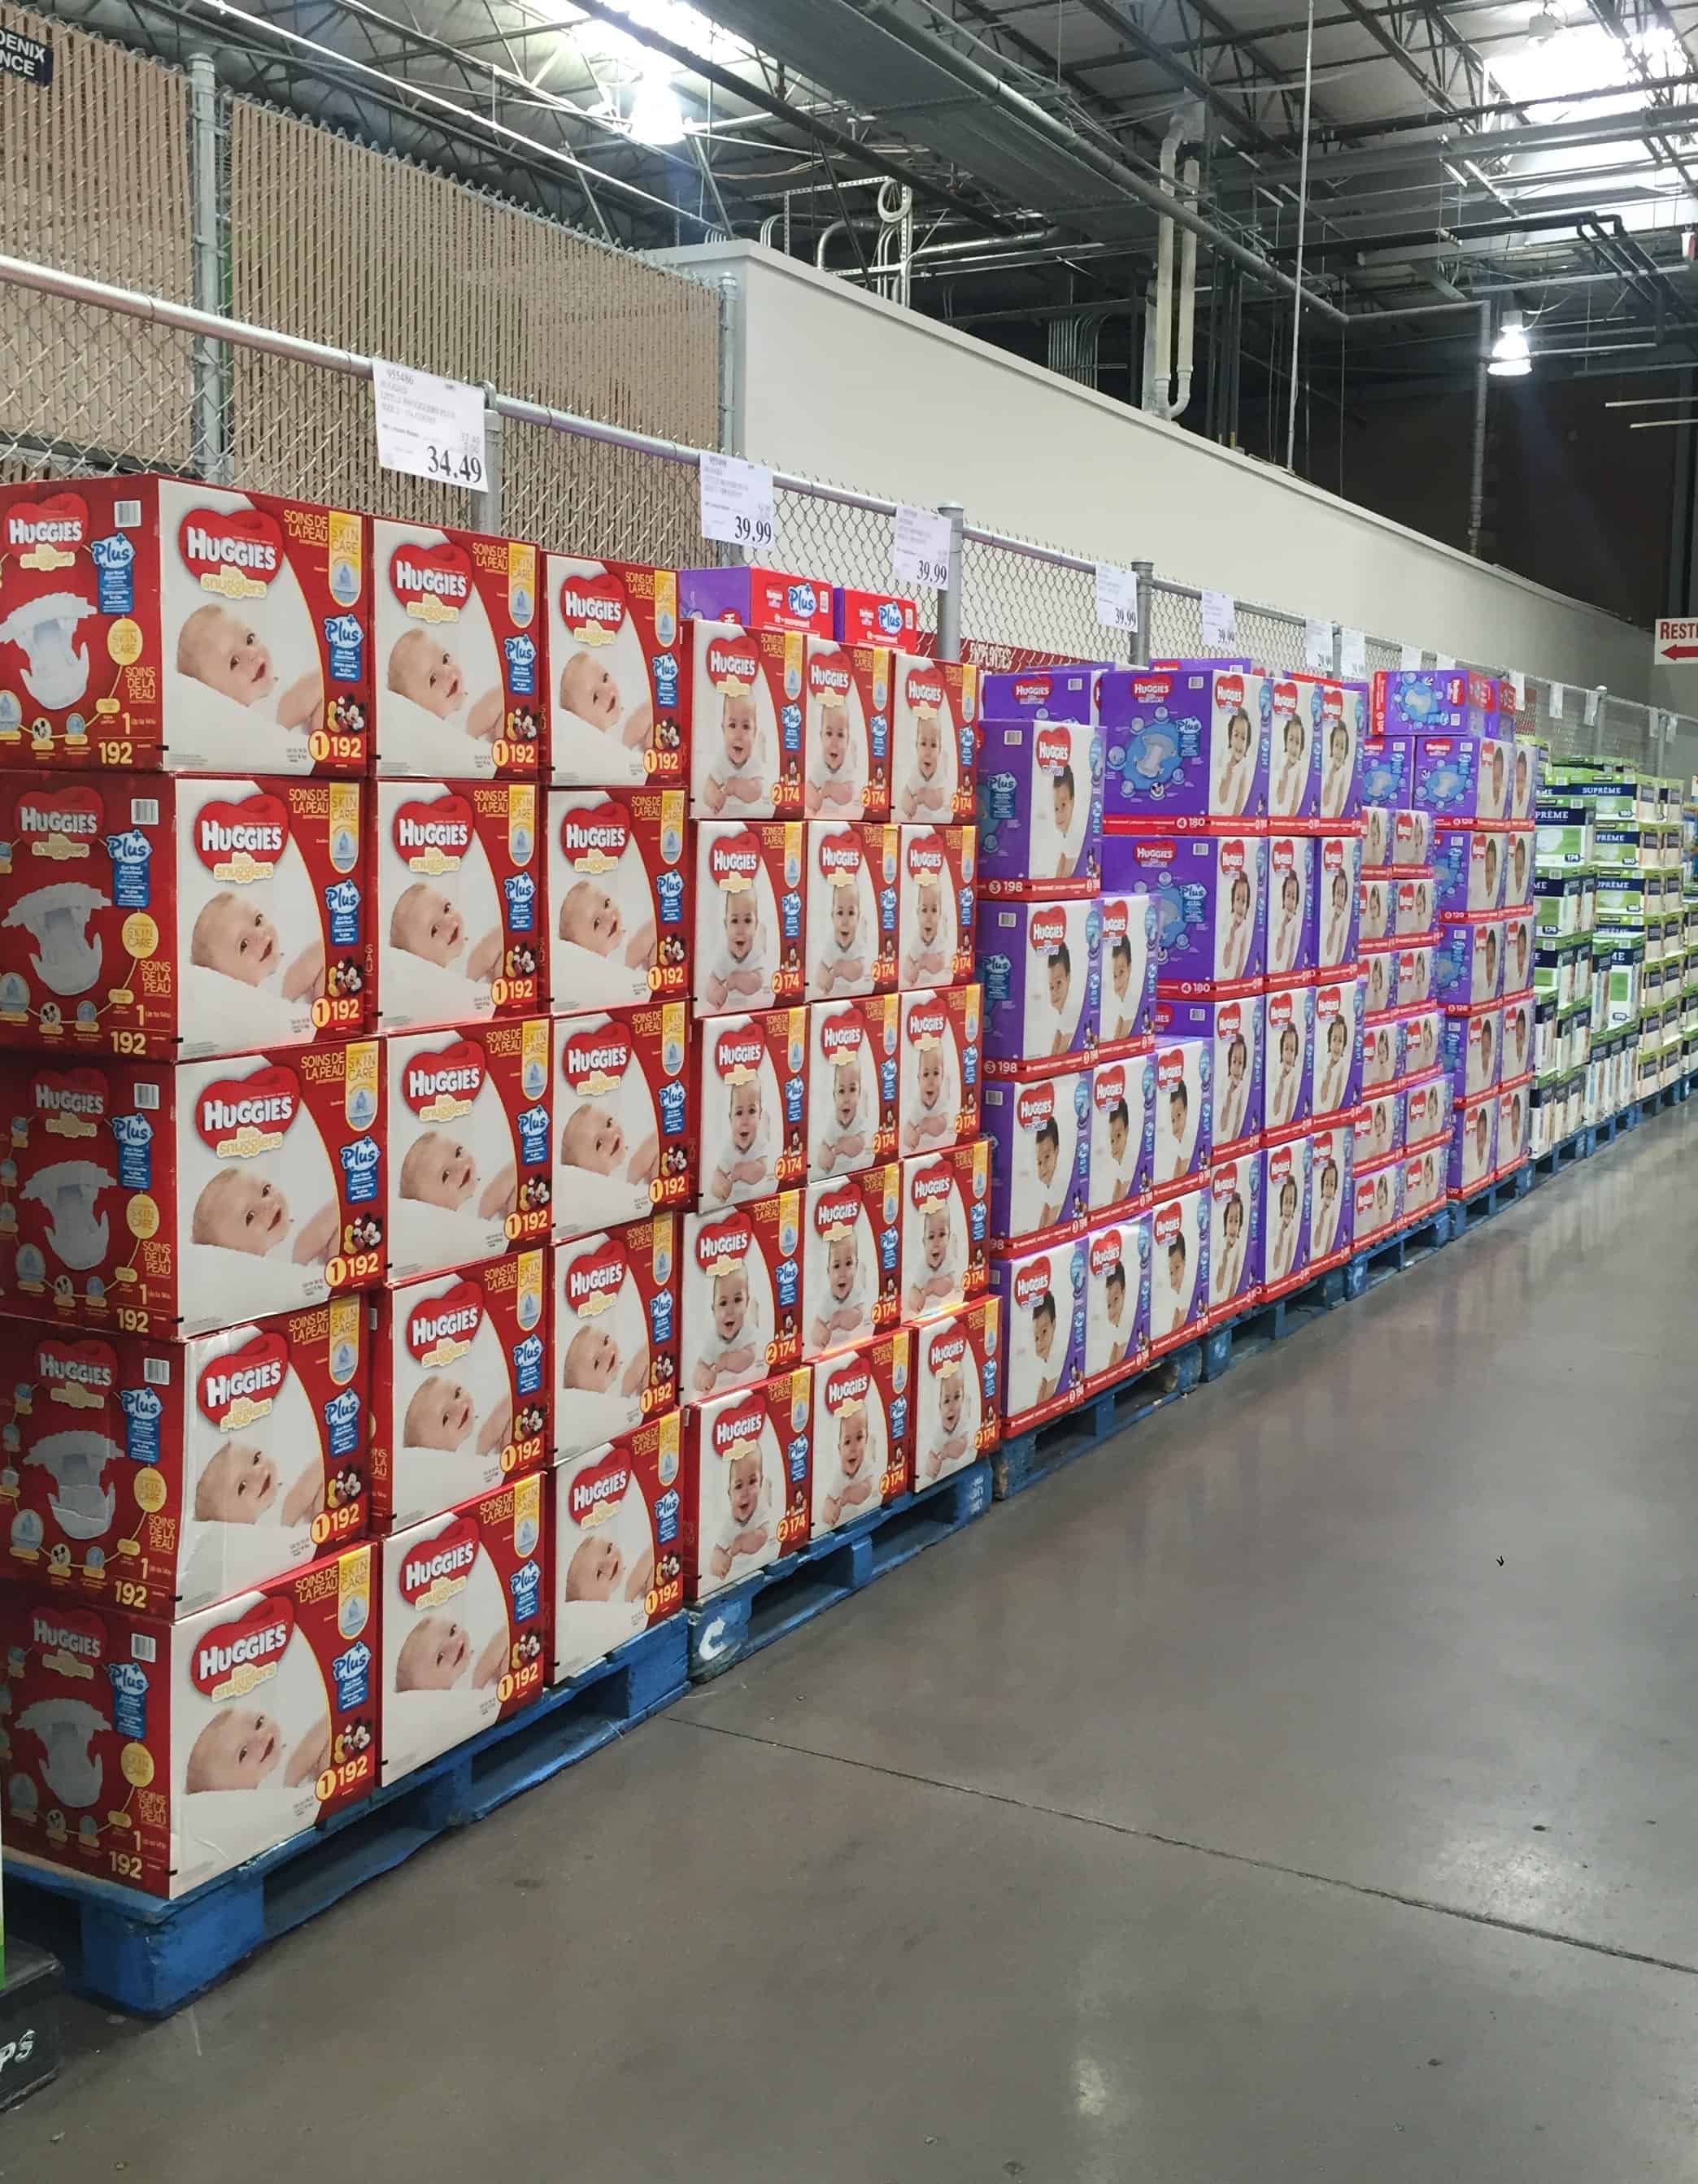
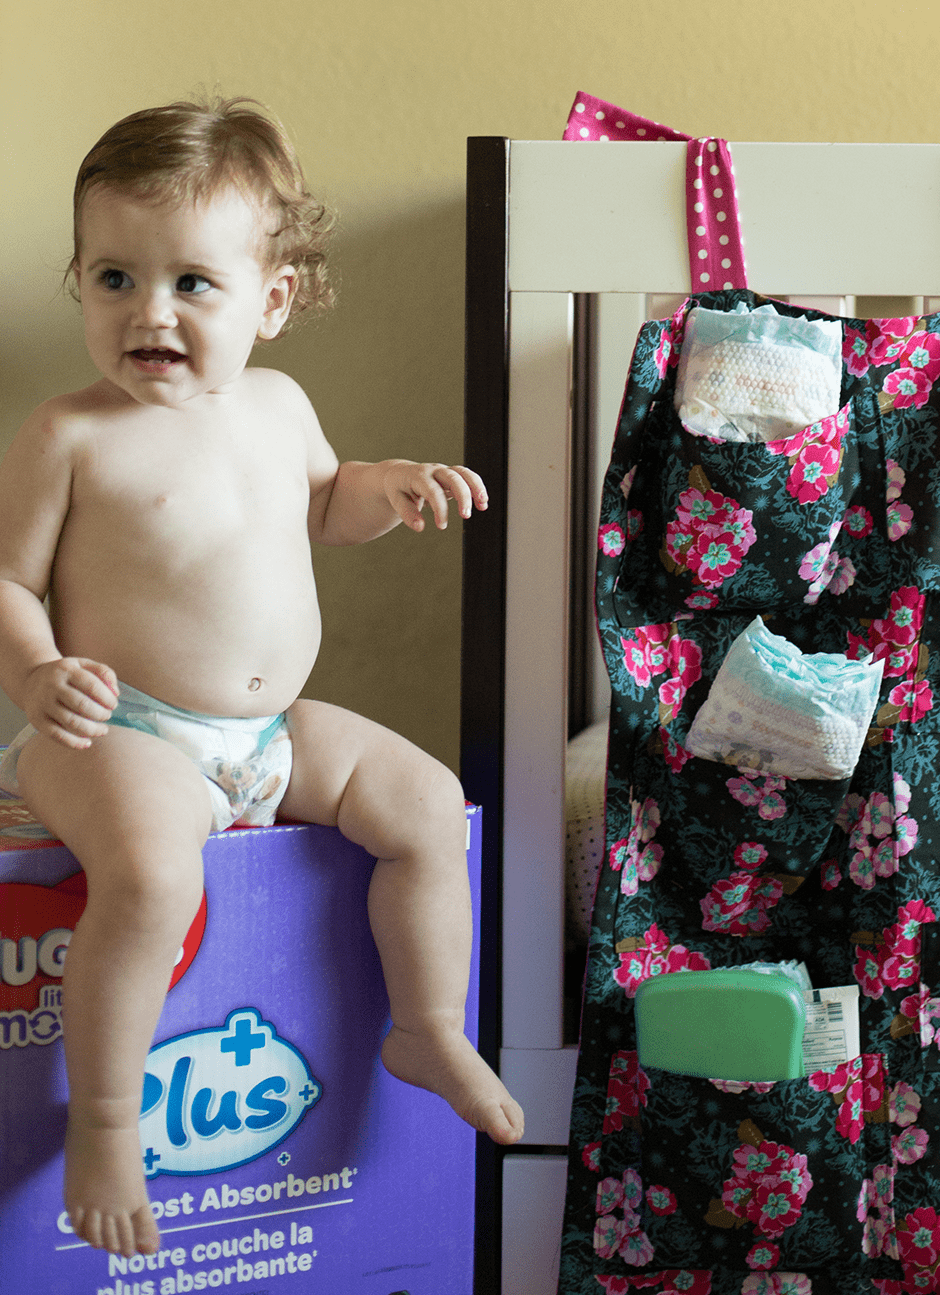
We love these Huggies Little Movers Plus diapers (only from Costco) because they absorb whatever Marilyn and Finn can throw at them (and even Vivian who wears them at night…that girl can soak a diaper like no other! #gross) plus I’m always a fan of Costco’s prices. They also carry Newborn sizes now too! The “Plus” in the name means they’re Huggies’ most absorbent diaper and perfect for the crazy active toddler, in sizes 3-6. We keep an extra box or two of these on hand at all times, because there’s not a disaster in the world quite like running out of diapers; I always keep at least 5 in my purse, a couple in my car’s glove box and more in each diaper-wearing kid’s room.
Nothing ruins a nap, playtime or car ride like a leaky diaper so here are a few of my favorite tips for making sure that doesn’t happen! First, I always change my kids right before nap and bedtime, even if their diaper feels dry. A fresh Huggies Little Movers Plus diaper can always handle whatever messes my kids make! Next, I don’t leave my kids unsupervised without clothes over their diaper (i.e. in bed). Too many of my naughty toddlers have learned to pull off a diaper or even pull something OUT of a diaper (blech!) and it always helps to have a onesie or pajamas keeping those little hands out of trouble. Lastly, we try to change our kids’ diapers as often as possible on car trips. My kids always eat and drink nonstop when in the car so this way we avoid messes while from the comforts of home.
Pretty simple stuff, but they’ve saved us time and time again!
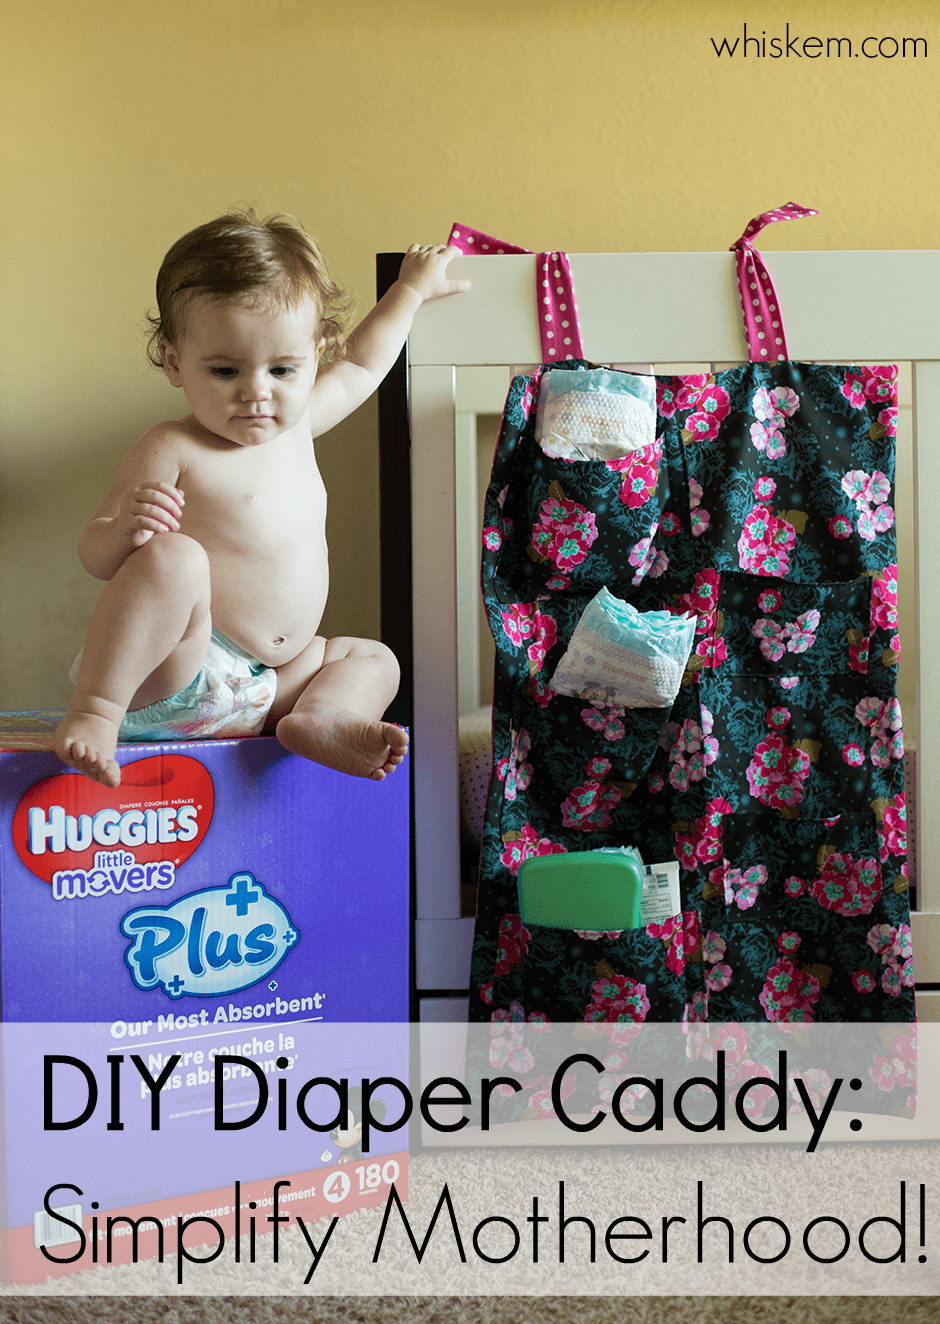
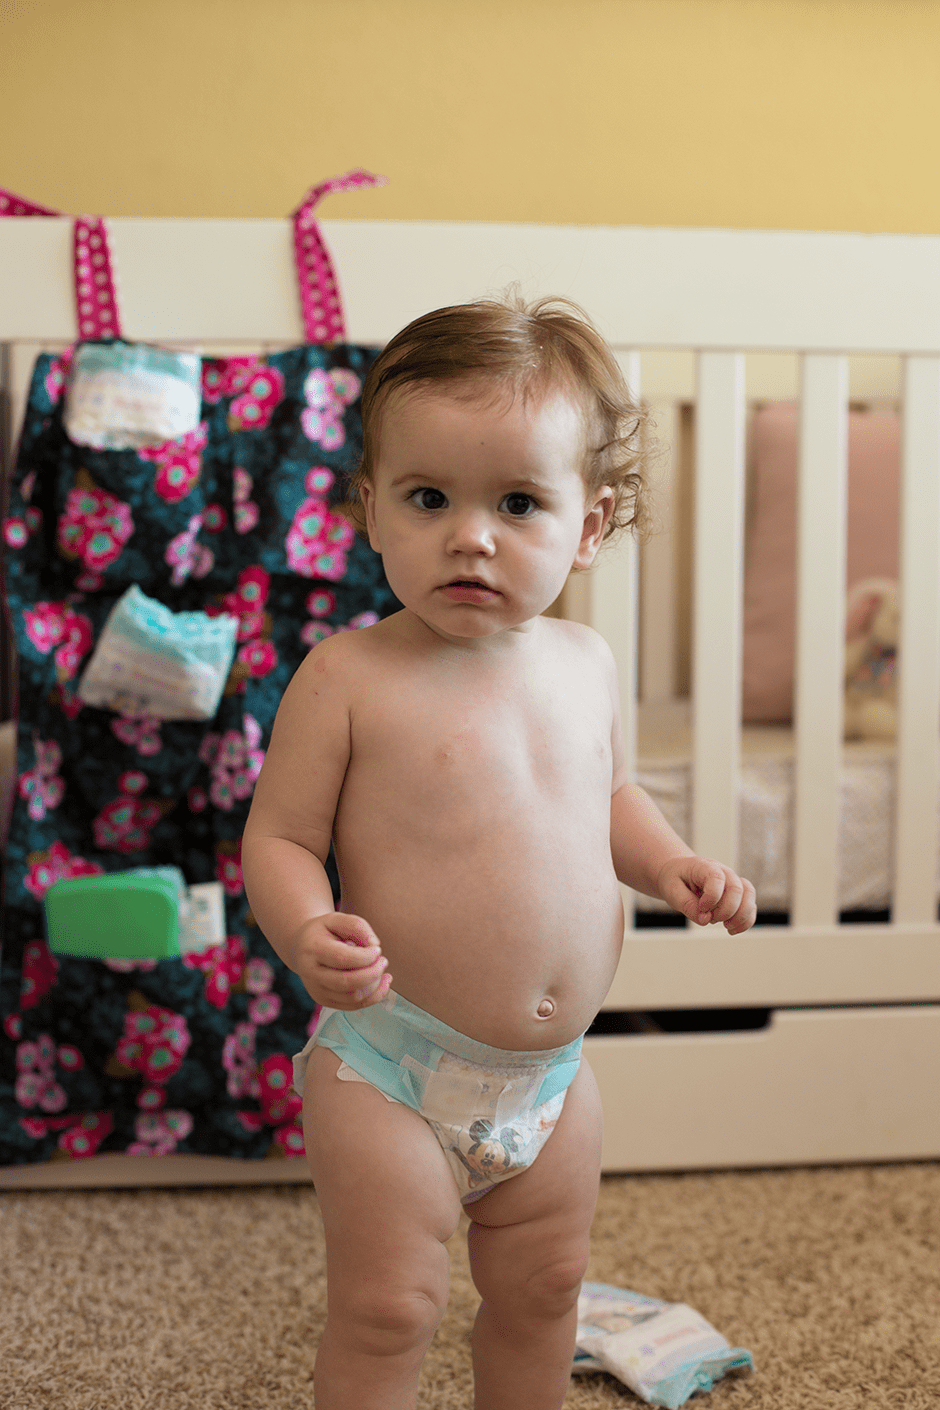
We used to have an actual changing table in our first couple babies’ rooms, but after a while we needed the space so we got rid of it. Now we simply change the babies on the floor near the crib cause we’re classy like that. I came up with this DIY diaper caddy to hang on Marilyn’s crib in order to keep all the diapers, wipes and paraphernalia close at hand, especially while wrangling a poopy, wild toddler. This is a super easy project that’s great for beginners…you only need to sew straight lines! Let’s do it!
Here’s what you’ll need:
1 yard fabric for caddy front
1/2 yard coordinating fabric for the backing
1/4 yard coordinating fabric for straps (I used quilting cotton for all the fabrics)
Matching thread
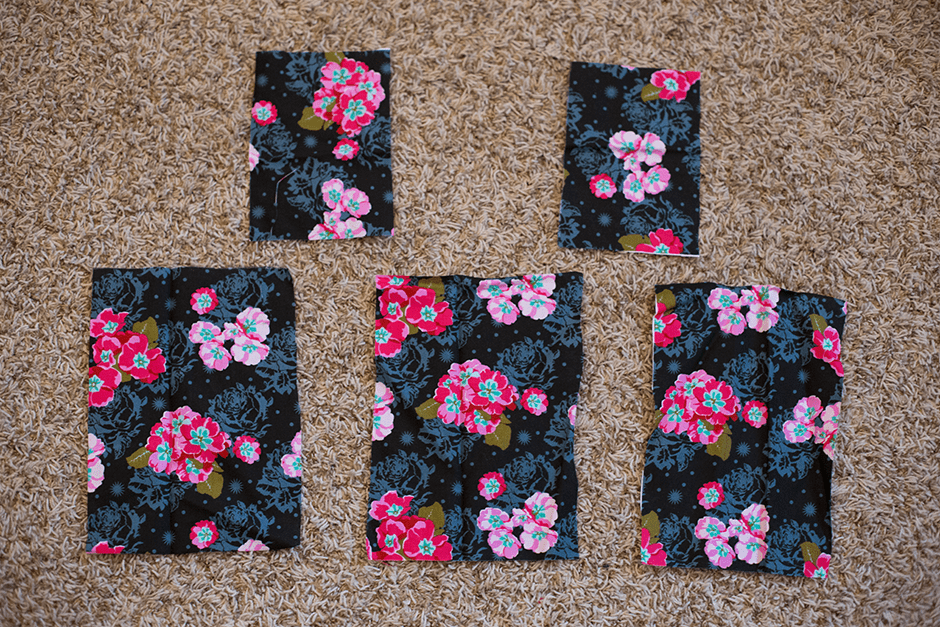
- Cut 2 rectangles of fabric for our caddy front and back, each measuring 19″ x 30″. Next, cut 4 pockets measuring 7″ x 7″, and cut one of these pockets in half to make 2 smaller pockets. Finally, cut 2 strips of fabric for your ties, each measuring 24″ x 3″. (My pockets in the picture are a little wider than these measurements but I ended up cutting them down to hold the diapers better).
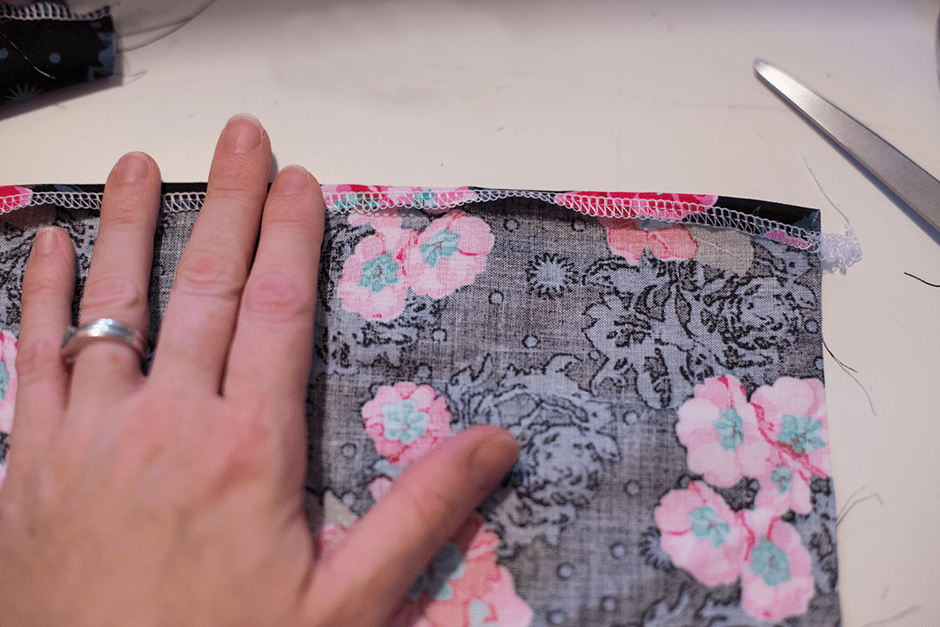
- Begin by finishing the top raw edges of each of your pockets (with a serger, pinking shears or zig zag stitch). Fold this finished edge under (about 1/4″) and press well. Topstitch close to this fold on all 5 pockets. Continue folding under and pressing all other raw edges of each pocket.
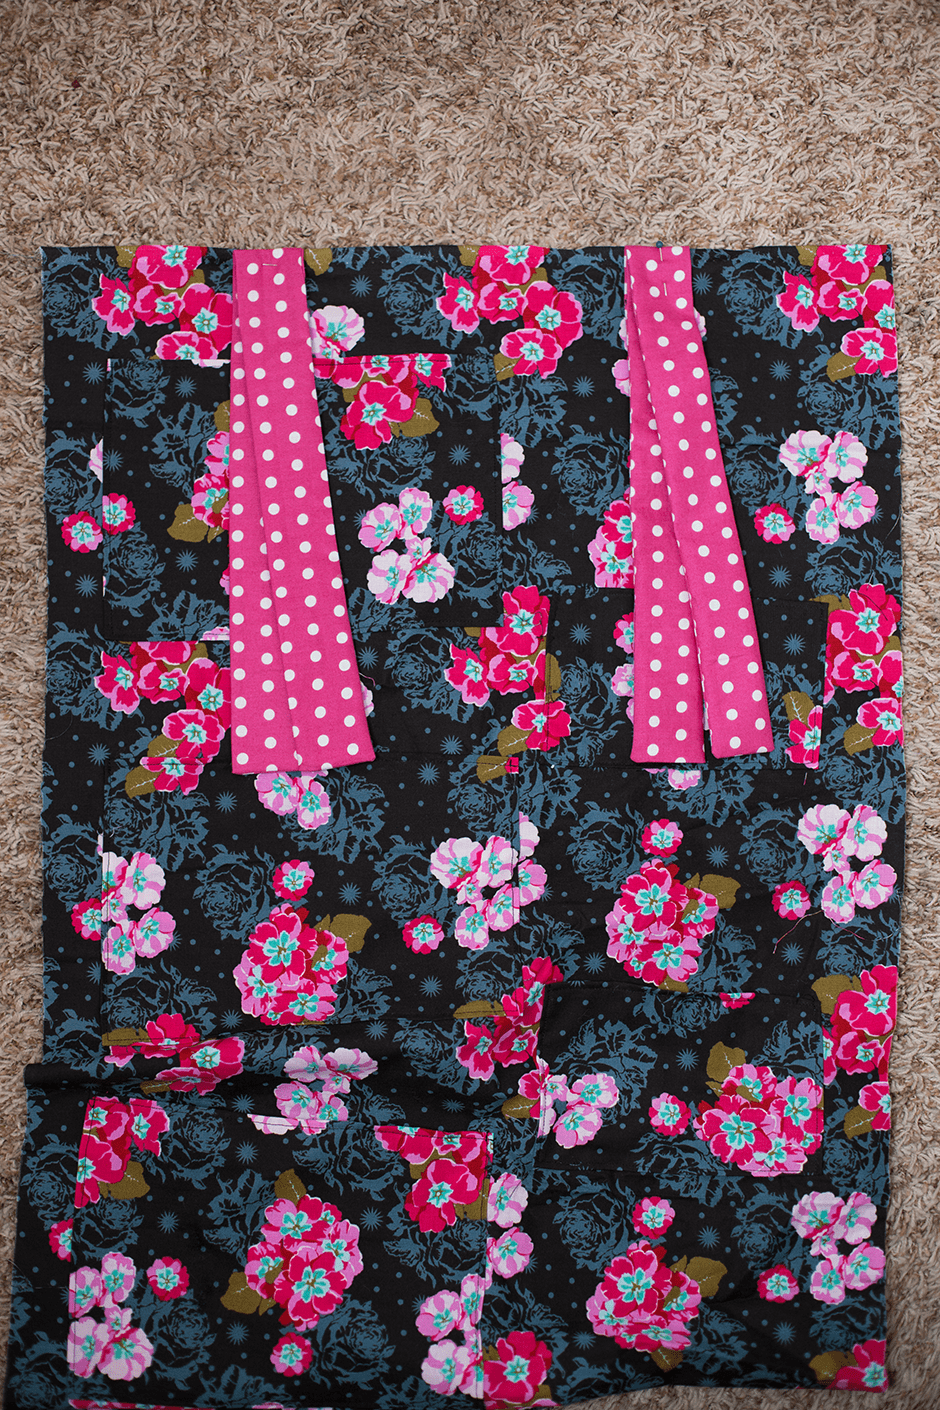
3. Pin each pocket to your caddy front where desired. I put the 3 big pockets in a vertical row on the left side with the two smaller pockets stacked on the right, but of course you can do it however you see fit! Stitch them on by sewing around the sides and bottom of each pocket. You might want to reinforce the top sides of the pockets by backstitching a couple times.
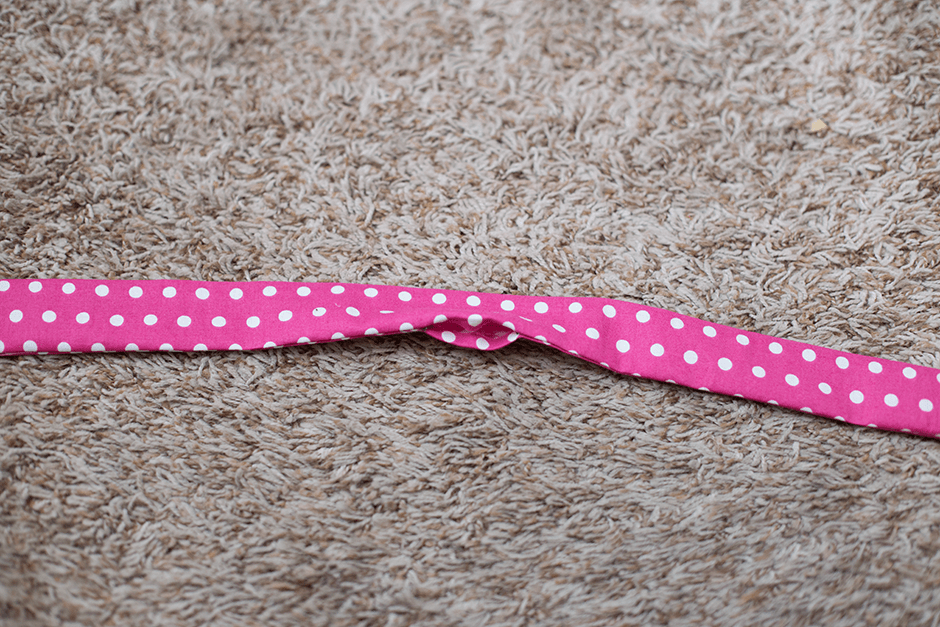
4. Create the ties by folding each strip in half lengthwise (right sides together) and stitching it closed all the way around the open sides (the 2 short sides and one long side), leaving a 3″ opening right in the center of the long side. Clip the corners of the strips and use the hole in the stitching to pull them right side out. Press well, turning in the raw edges where you left the hole.
5. Fold the strips in half widthwise (right where you left the hole), and pin this fold to the front of the caddy, with the fold of the strips lined up to the raw edge of the caddy front. Baste these strips in place.
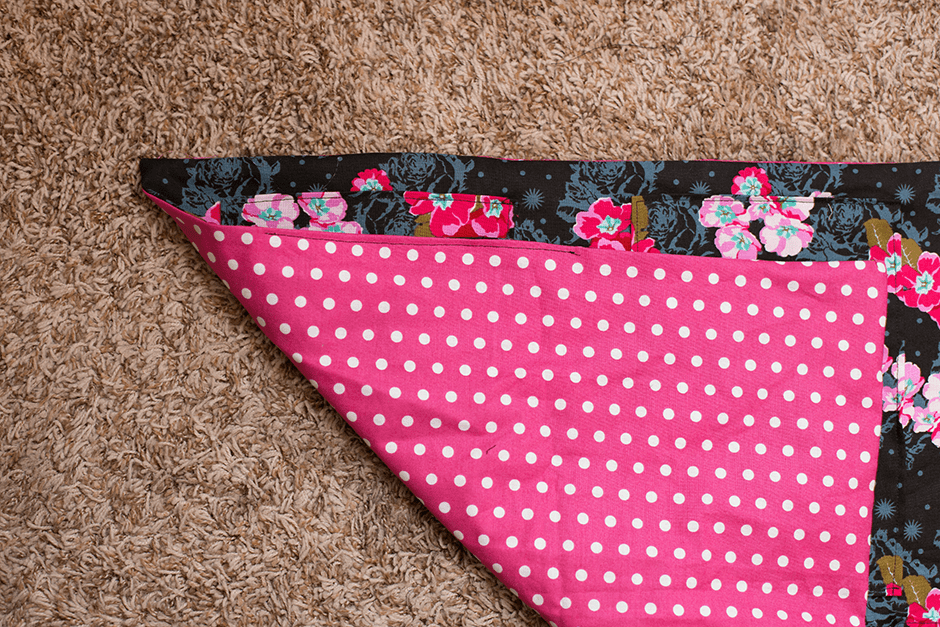
6. Lay the caddy back on top of the front, right sides together and pin. Stitch the front to back, all the way around the rectangle, reinforcing the stitching where the ties are and leaving a 5″ hole in the stitching at the bottom of the caddy. Clip the corners of the caddy and turn it right sides out. Press well, turning in the raw edges of the fabric where you left the hole.
7. Stitch the hole closed by topstitching along the folded edge. You can also topstitch around the entire perimeter of the caddy if desired.
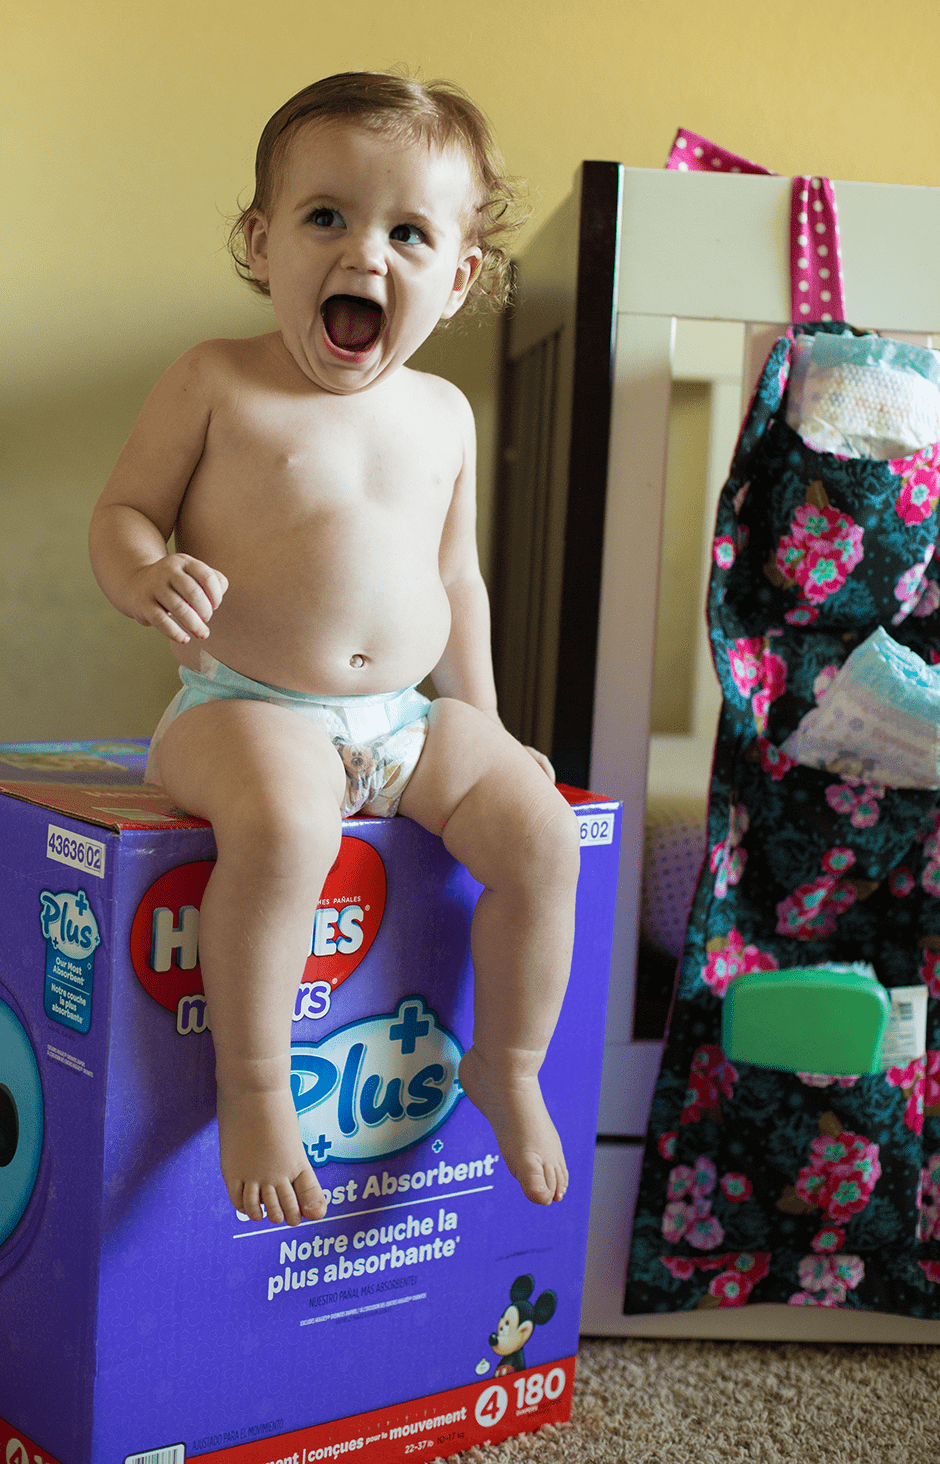
That’s it! You’ve got yourself a fun and useful little diaper organizer for all the changing necessities. I hope you enjoy these pics of my chubby little monster…and I’d love to hear any other great diapering tips you mamas have!
4 Comments
Melanie
August 15, 2016 at 12:04 pmYour little one is so adorable! Thanks for this easy to follow tutorial. #client
Sareta
August 15, 2016 at 12:12 pmSuch a fab idea! It’s so important to be organised when the little ones out number you. Congrats again, such exciting news ?
Bonnie
August 22, 2016 at 2:55 pmThanks so much Sareta! 😉
Tutorial: Diaper pocket caddy – Sewing
August 21, 2016 at 4:41 pm[…] DIY Diaper Caddy: Simplify Motherhood, by Whisk ‘Em […]