

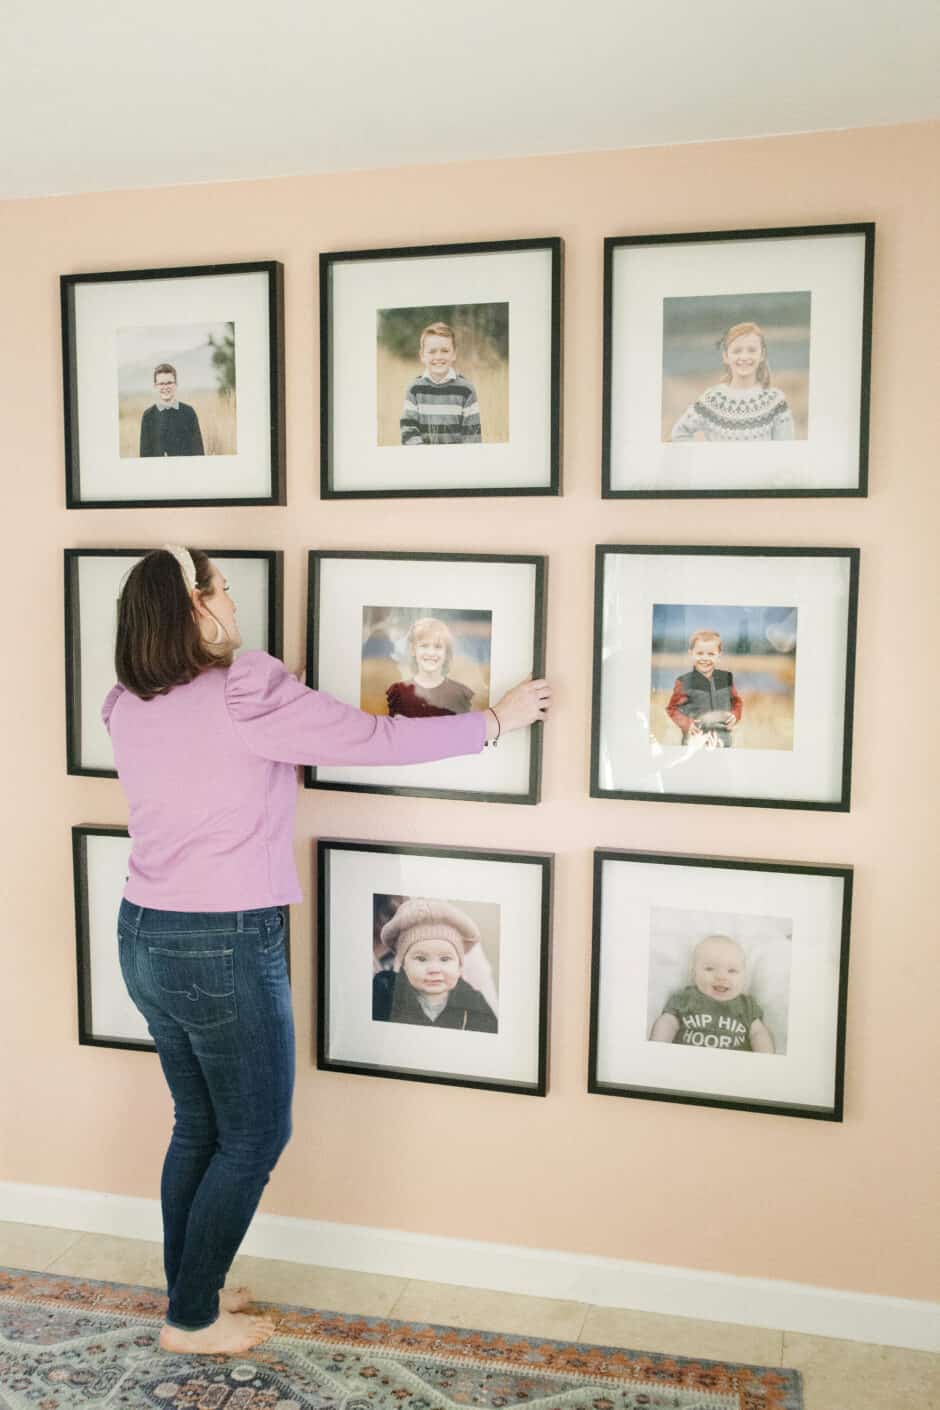
Our front entryway was just a big blank canvas when we moved in two years ago, but our new pink picture wall is now one of my favorite spots in the whole house! Here’s how anyone can create a gallery wall that makes a big impact…
Confession of a color lover: every wall in my house (except this one pictured) is WHITE. After living in two homes with lots of colorful walls and furniture, I eventually realized that I get tired of seeing the same bright, bold colors day after day (unlike my outfits which can be changed as often as I like). Since moving into this house, we’ve decided to stick with white walls throughout (almost) the entire house and I couldn’t be happier!
Except, when it came to this entryway, I just knew I needed a little bit of color to jazz it up. For one thing, this “front” door isn’t our main entry to the house (our property has kind of a funky layout so 99% of the time, our family and guests use the side door) so I knew I wouldn’t get tired of seeing this wall every single day.
Secondly, I knew I wanted to put big, pretty pictures of all of my kids on this wall and I thought that a background color would make all the difference in creating a big impact! I’m sticking with blues and pinks for the most part throughout my decor scheme (living room here and school room here) so I went with a blush pink…and haven’t regretted it for a second.
Gallery walls (read: walls with lots of pictures on them) are all the rage in home decor but there are a few things you need to know to put one together!
Pick a theme
You can really go any which way with your theme but it helps to have at least one unifying factor throughout your frames and pictures. For example, all my pictures here are of my kids and all the frames are the same: black and square.
Some other fun ideas are hanging all black and white photos, all gold frames in different sizes, all pictures of family vacation spots, etc. You really can’t go wrong, but it helps if the eye can find some unifying factor in all the busy-ness.
Mock up the wall before hanging
This is a step that I’ve skipped more often than not…and regret it every single time! There are a few ways to do this, but essentially you just pick any temporary way of seeing what your frames will look like up on the wall, and then rearrange as needed until you’re happy with them. A few ideas:
- Use painter’s tape to mock up outlines of the frames you plan to hang on the wall.
- Cut out butcher paper in the sizes & shapes of your frames and tape them up on the wall (sometimes I’ll use the paper insert/fake photo that comes with my frame to do this!).
- Tape the actual pictures you plan to hang on the wall, sans frames.
Measure thrice, hammer once
Ever heard the old adage, measure twice, cut once? Well even twice is never enough for my brain! I’ve taken to checking, double checking and then triple checking to make sure that my nails are going right where I want them.
Be sure to measure a few different ways: from the top and side of the frame to where the nail will sit, from the ceiling or floor to the frame, from the adjacent wall and/or from the neighboring picture. It’s so easy to mess this up – the good news is, nail holes are incredibly easy to patch!
Ask me how I know.
A few notes about creating a picture grid
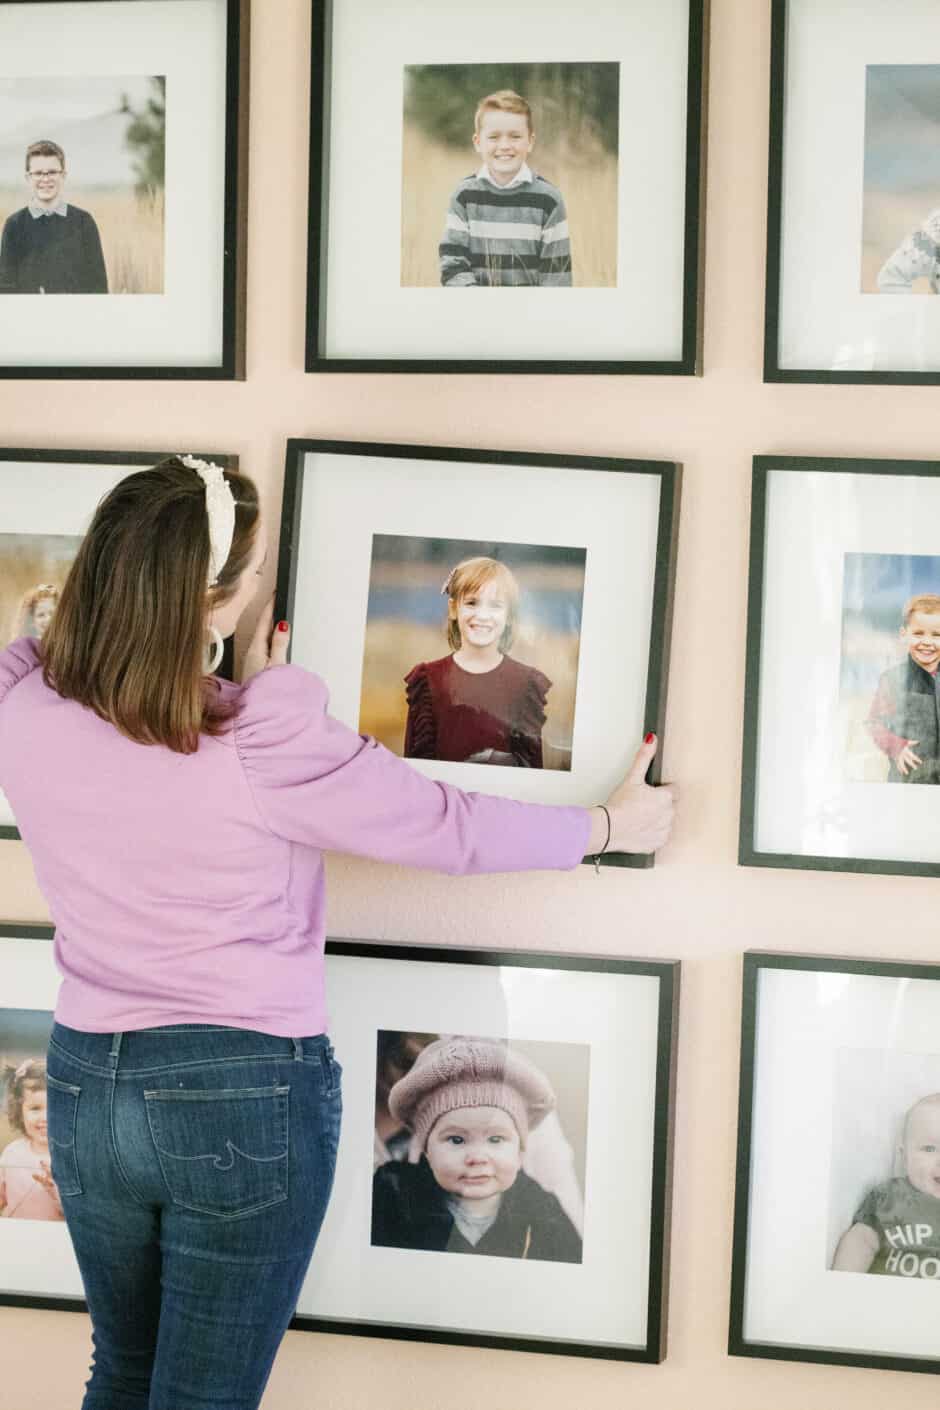
You would think that creating a picture grid like this one would be easy, right? You’d be WRONG. I can’t tell you how many issues I had with getting these pictures in just the right spot and without hanging wonky.
Here’s what I finally did to make it work. First of all, I’m NOT a fan of hanging frames with wire! They’re almost impossible to get to just the perfect height and that’s a necessity for a grid like this. I also attempted to use these locking picture hangers but even they allowed my pictures to hang slightly crooked!
I finally used two of these D-ring hangers on each side of the back of the frame so that I could easily measure where to hammer my nails and they’re pretty much guaranteed not to shift. On that note, if you do have a picture that tends to move and hang crooked, try using velcro command strips on the wall and back of the picture to keep them straight! They don’t damage paint like using poster putty or other sticky substances.
That’s it! If you haven’t tried to create a gallery wall yet, I highly recommend it for making a big impact for very little cost. My frames are from Ikea (not available online) which is a great place to start for affordable frames. I also love Home Goods and Target for the same reason.
If you liked this post, you might also like this one about how a dining room rug changed my life!
No Comments